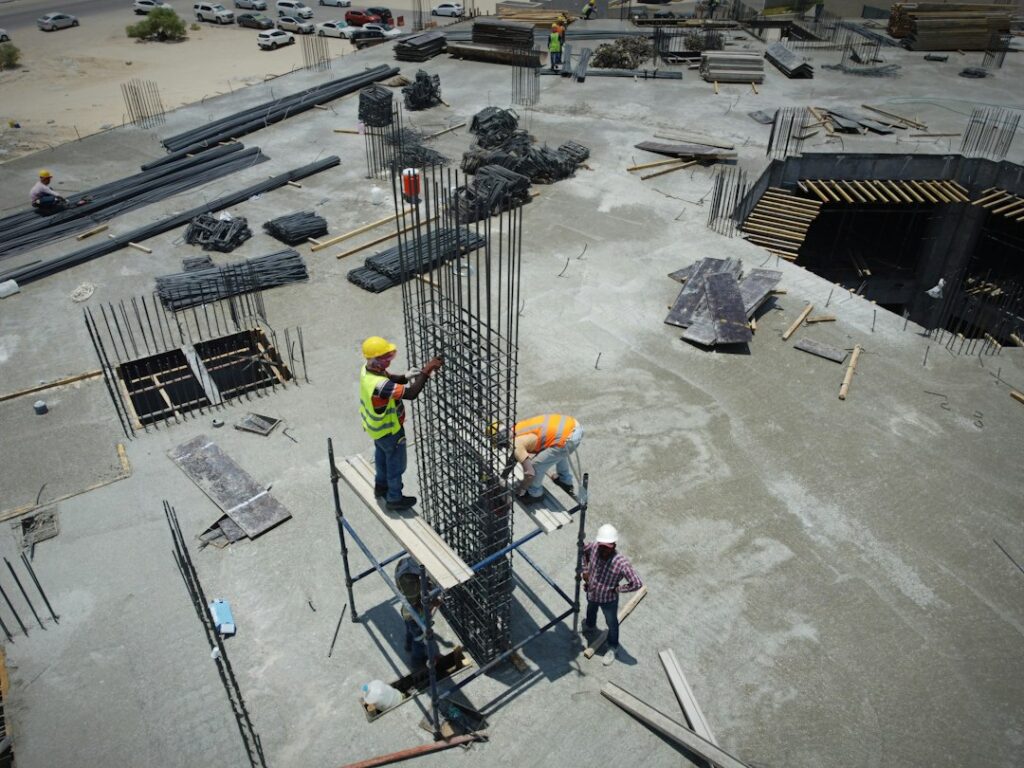
Concrete only takes the shape you give it, and it takes that shape permanently. Forming a concrete slab is the stage where most of the quality of a patio, shed pad or walkway is decided, long before a truck shows up. Crooked boards, a corner that is a few degrees off, or a form that bows outward under the weight of wet concrete will all show in the finished slab, and none of them can be fixed with a trowel.
Good formwork for a concrete slab, like building cement forms for any flatwork, comes down to five things: an accurate layout, boards set to the right height, stakes close enough to resist the pressure of the pour, corners checked square by measurement, and a planned slope so water runs away from the house. Finish with a coat of form release and you are ready for pouring day.
- Forming a Concrete Slab: Tools and Materials
- Step 1: Lay Out the Slab With Batter Boards
- Step 2: Square the Corners With the 3-4-5 Method
- Step 3: Excavate and Build the Base
- Step 4: Plan the Slope for Drainage
- Step 5: Set Stakes and Form Boards
- Step 6: Add Control Joint Marks, Isolation and Reinforcement Prep
- Step 7: Apply Form Release
- Final Checks Before the Truck Arrives
- Troubleshooting Formwork Problems
- Cost Ranges and When to Call a Pro
- Frequently Asked Questions
The focus here is the form-building stage only. Mixing, placing, screeding and finishing the concrete are separate jobs, and the choice between lumber, metal or plastic form systems is its own topic. Everything that follows assumes a typical 4 inch residential slab using dimensional lumber.
Forming a Concrete Slab: Tools and Materials
Gather everything before you start digging so the layout does not sit open for days. For a 10 by 12 foot patio, expect to spend one to two days on excavation and forming.
- Form boards: straight 2x4s for a 4 inch slab (a 2×4 is actually 3.5 inches tall, so set the bottom edge about a half inch into the base to get a full 4 inch slab), 2x6s for 5 to 6 inch slabs. Choose the straightest, least-twisted boards in the stack.
- Stakes: 2×4 or 1×4 wood stakes 18 to 24 inches long, or steel form stakes with nail holes.
- Fasteners: 3 inch double-headed duplex nails or exterior screws, which make stripping the forms much easier.
- Layout gear: wooden batter boards, mason’s line, line level or a laser level, a 25 foot tape measure, marking paint and a 4 foot level.
- Excavation and base: flat shovel, rake, hand tamper or plate compactor, and compactible gravel base.
- Bending boards: 1/4 inch hardboard or plywood strips for curves.
- Form release: a commercial form release agent and a pump sprayer or roller.
Many people forming a concrete slab for the first time underestimate how much a long string sags. A rotating laser level is worth renting for anything larger than a small pad. It lets one person set every board to an exact height and slope, and it removes the sag that creeps into long string lines.
Step 1: Lay Out the Slab With Batter Boards
Mark the rough outline with paint, then set batter boards about 2 feet outside each corner. Batter boards are simple H-shaped frames made from two stakes and a crosspiece. Stretch mason’s line between them to represent the outside edges of the slab, not the inside face of the boards. Because the lines sit outside the dig area, they survive excavation and can be tightened, loosened or shifted without pulling stakes.
Set the first line parallel to the house or another fixed reference, measured off at equal distances at both ends. That line becomes your baseline for squaring everything else.
Step 2: Square the Corners With the 3-4-5 Method
A slab that looks square by eye can be off by an inch or more over 12 feet. Use the 3-4-5 triangle to check each corner.
- From a corner where two lines cross, measure 3 feet along one line and mark it with tape.
- Measure 4 feet along the other line and mark it.
- Measure diagonally between the two marks. When the corner is exactly 90 degrees, the diagonal reads 5 feet.
- Shift the line on the batter board until the diagonal hits 5 feet exactly.
For bigger slabs, scale the triangle up (6-8-10 or 9-12-15) for better accuracy. Once all four corners are set, measure both full diagonals of the rectangle. They should match within about 1/8 inch. If they do not, adjust one side and recheck. This final diagonal test is the single most reliable check when forming a concrete slab, because it catches errors that individual corner checks can miss.
Step 3: Excavate and Build the Base
Remove sod and topsoil to firm subgrade. For a 4 inch slab on a 4 inch gravel base, dig about 8 inches under finished height, extending 6 to 12 inches past the form lines so you have room to set boards and stakes. Compact the subgrade, add gravel in 2 inch lifts, and compact each lift. Soft spots or organic soil left under the slab lead to cracking, so dig them out and replace them with gravel.
Call 811 a few days before digging to have buried utilities marked. It is free, and shallow gas, electric and irrigation lines are common in yards.
Step 4: Plan the Slope for Drainage
Exterior slabs should never be dead level. A slope of about 1/8 to 1/4 inch per foot moves water off the surface without being noticeable underfoot. On a 12 foot patio running away from the house, that means the far edge sits roughly 1.5 to 3 inches lower than the edge at the foundation.
Set the high side first. The form top along the house is typically 1 inch or more lower than the door threshold so water cannot run back inside. Mark that height on stakes at each end, then use a line level or the laser to transfer the drop to the far side. Garage and shed floors are usually sloped toward the door at a similar rate.
Step 5: Set Stakes and Form Boards
Drive stakes along the inside of the string line, offset by the board thickness so the inside face of each board lands exactly on the line. Space stakes every 3 to 4 feet, add one within 6 inches of every corner, and put two at each board splice. Drive them until they are firm and slightly lower than the top of the board so they will not catch the screed.
- Hold the first concrete form board against the stakes, set one end at its marked height and fasten through the stake into the board.
- Bring the other end to height, check with the level or laser, and fasten.
- Fasten intermediate stakes, sighting down the board to keep it straight.
- Splice boards with a scrap cleat on the outside face, never on the inside where it would mark the concrete.
- At corners, overlap one board past the other and nail through the end.
Backfill a few shovels of soil against the outside of the boards to seal the bottom edge and add support. Wet concrete weighs roughly 150 pounds per cubic foot, so even a 4 inch slab pushes hard on the forms during screeding. Kick a few spots along each side; nothing should move.
Forming curves
For curved edges, cut kerfs partway through a 2×4 every inch or so on the inside face, or use 1/4 inch hardboard strips doubled up. Set stakes every 1 to 2 feet along a curve, since thin material deflects easily.
Step 6: Add Control Joint Marks, Isolation and Reinforcement Prep
Before the pour, mark control joint locations on top of the forms with a pencil. Space them at no more than 2 to 3 times the slab thickness in feet, so a 4 inch slab gets joints every 8 to 12 feet, ideally dividing the slab into roughly square panels.
Where the slab meets the house foundation, steps or an existing slab, install isolation joint material against that surface so the new concrete can move independently. If the design calls for wire mesh or rebar, set chairs or bricks to hold it in the middle third of the slab thickness, and keep reinforcement at least 2 inches back from the forms.
Step 7: Apply Form Release
A thin coat of form release on the inside faces keeps concrete from bonding to the wood, so boards strip cleanly and the slab edges stay sharp. Spray or roll it on the day before or the morning of the pour, and avoid puddles that can stain the concrete or drip onto the gravel.
Treat release agents as chemicals. Work with good ventilation if forming in a garage, wear chemical-resistant gloves and eye protection, and use the respirator the label calls for when spraying. Never mix release products with other chemicals, and keep solvent-based products and their vapors away from pilot lights, heaters and other ignition sources. Some builders use vegetable oil or diesel as improvised release; diesel is flammable and contaminates soil, so stick with a product made for the job.
Final Checks Before the Truck Arrives
- Remeasure both diagonals one last time.
- Pull a string across the forms in several directions to confirm the planned slope and catch any low board.
- Confirm the base depth by measuring from a string across the forms down to the gravel.
- Walk the perimeter and push on every board.
- Plan a path for the truck chute or wheelbarrows that does not cross the forms.
- Lightly dampen the gravel just before pouring on hot days, without leaving standing water.
Troubleshooting Formwork Problems
Boards bow outward during the pour. Stakes were too far apart or not deep enough. Drive extra stakes behind the bulge immediately and brace them back to a second stake.
Concrete leaks under the boards. The bottom edge is not sealed. Pack soil or gravel against the outside, and fill large gaps before pouring.
Water ponds on the finished slab. The slope was too shallow or a form board sagged between stakes. Check slope with a laser on the next project, and do not rely on a long, loose string line.
Forms stick when stripping. Release was missed or applied too thin. Wait the full recommended time, then tap the board outward gently rather than prying against the green concrete edge.
Cost Ranges and When to Call a Pro
Form materials for a small residential slab are inexpensive: lumber, stakes and release for a 10 by 12 foot patio often total roughly $75 to $200, and much of the lumber can be reused. Renting a laser level usually runs a modest daily fee, and plate compactor rental is in a similar range. Contractors typically fold forming into an overall slab price of roughly $6 to $12 per square foot, depending on region, thickness and access.
Hire a concrete contractor when the slab will carry a vehicle, support a structure, sit on expansive clay or a steep grade, or exceed about 200 square feet, which is more concrete than most DIY crews can place and finish before it sets. Check with your local building department about permits, since driveways, garage floors and slabs attached to the house often require one, and confirm any HOA rules before you build.
Frequently Asked Questions
What size lumber do I use for concrete form boards?
Use 2x4s for a standard 4 inch slab and 2x6s for 5 to 6 inch slabs or driveways. Pick straight, flat boards and avoid heavily twisted or cracked pieces.
How far apart should stakes be when forming a concrete slab?
Space stakes every 3 to 4 feet along straight runs, within 6 inches of corners, at every splice, and every 1 to 2 feet along curves.
How much slope does a concrete patio need?
About 1/8 to 1/4 inch per foot, running away from the house. That is enough to shed water without feeling sloped underfoot.
Can I use oil instead of form release?
Plain oils can work in a pinch but may stain the concrete. Avoid diesel or motor oil, which are flammable and contaminate soil. A purpose-made release agent is the safer choice.
When can I remove the forms after pouring?
For most slabs, wait at least 24 to 48 hours in warm weather and longer in cool weather, then strip carefully without prying against the fresh edge.