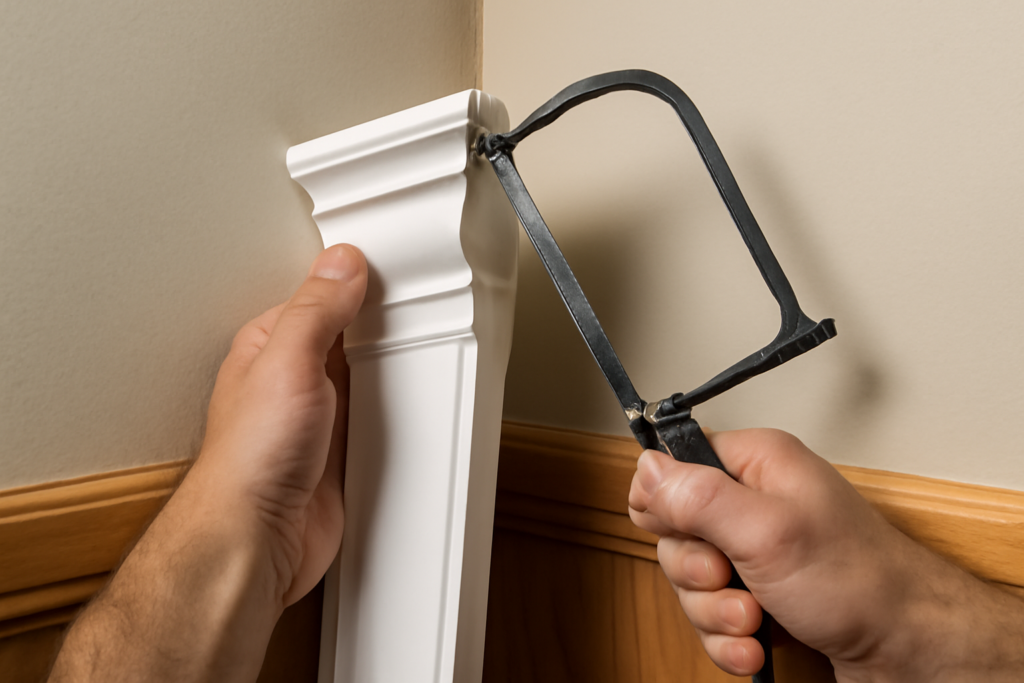
Coping crown molding is the professional technique for creating tight, gap-free inside corners that stay closed for the life of the room. Instead of mitering both pieces and hoping the wall is perfectly square, coping cuts one piece to nest against the face of the other, following its exact profile. It looks intimidating but is a learnable skill that separates amateur trim work from professional results. This guide walks through why coping works, the tools, and the step-by-step method.
- Why Cope Instead of Miter
- How Coping Works in Principle
- Tools You Will Need
- Step-by-Step: Coping an Inside Corner
- The Critical Back-Bevel
- Handling Crown's Spring Angle
- Common Mistakes to Avoid
- Coping vs Miter for Different Corners
- Coping Painted vs Stained Molding
- Speeding Up With Power Tools
- Practice Makes Tight Joints
Why Cope Instead of Miter
A mitered inside corner cuts both pieces at 45 degrees so they meet in the corner. The problem is that almost no wall corner is a perfect 90 degrees. Framing, drywall buildup, and settling leave corners slightly open or closed, so mitered joints gap. Worse, wood expands and contracts with humidity, and a mitered inside corner opens up over the seasons. A coped joint, by contrast, hides these problems: one piece butts square into the corner, and the other is carved to fit tightly over its face, so seasonal movement and out-of-square walls barely show.
How Coping Works in Principle
The idea is simple even if the execution takes practice. You install the first piece of crown with its end cut square, running it straight into the corner. The second piece is cut so its end profile matches and overlaps the face of the first piece. To get that shape, you first cut a 45-degree miter on the second piece, which reveals the profile line, then you cut along that line with a coping saw, back-beveling slightly so only the front edge touches. The result is a piece that fits like a puzzle over the installed one.
Tools You Will Need
- A compound miter saw to make the initial 45-degree cut that exposes the profile.
- A coping saw with a fine blade, the key tool for following the curved profile.
- A pencil to darken the profile line for visibility.
- A round file or rasp and sandpaper to fine-tune the cope.
- A utility knife for cleaning up tight detail cuts.
- A test scrap of the same molding to practice and check the fit.
Some pros also use a coping foot on a jigsaw or an angle grinder with a carving disc to speed up the process, but a hand coping saw is the traditional, accurate, and inexpensive method to learn on.
Step-by-Step: Coping an Inside Corner
Start by installing the first piece of crown with a square-cut end running fully into the corner. This piece needs no coping. For the second, or coped, piece, position it in the saw as if cutting a normal inside miter, and cut a 45-degree miter. This exposes the profile of the molding along the cut edge, where the face meets the miter.
Trace that profile edge with a pencil so you can see it clearly. Then take your coping saw and cut along the profile line, angling the saw so you remove material from behind the front edge, creating a back-bevel. This ensures only the thin front edge of the molding contacts the installed piece, letting it seat tight even if things are slightly off. Test the fit against a scrap of the first molding, and refine with a file and sandpaper until the joint closes cleanly.
The Critical Back-Bevel
The back-bevel is what makes coping work. If you cut straight through, the full thickness of the molding has to match perfectly, which is nearly impossible. By angling the coping saw to remove material behind the face, you leave only a knife-thin front edge that needs to touch. That edge tucks tightly against the profile of the installed piece, and any minor inaccuracy hides behind the face. Aim for roughly a 5- to 10-degree back-bevel, more on deep or complex profiles.
Handling Crown’s Spring Angle
Crown molding sits at an angle between the wall and ceiling, called the spring angle, which complicates coping compared to flat baseboard. The trick is to cut the initial miter with the crown held in the saw in its installed orientation, either nested against the fence upside down or laid flat using the correct compound miter settings. Get comfortable with how your specific crown sits in the saw before coping, and always cut a test piece first, because mixing up the orientation is the most common beginner error.
Common Mistakes to Avoid
The top mistake is holding the crown in the wrong orientation in the saw, producing a cope that faces the wrong way. Always mark the top and bottom and test on scrap. Second is cutting straight through with no back-bevel, so the joint refuses to close. Third is rushing the file-and-fit refinement; a good cope often needs several test fits and touch-ups. Fourth is coping the wrong end, or both ends, of a piece. Fifth is expecting perfection on the first try instead of practicing on offcuts.
Coping vs Miter for Different Corners
Cope only inside corners. Outside corners are still mitered, because there is no overlapping face to cope against; you simply cut matching miters and glue and nail them. So a typical room uses coped inside corners and mitered outside corners. Plan your installation direction so you start with a square-cut piece in one corner and cope into it, working around the room, and always cope into a previously installed piece rather than trying to cope two loose pieces together.
Coping Painted vs Stained Molding
Whether your crown will be painted or stained changes how forgiving coping is. With painted trim, a small gap or imperfect cope can be filled with paintable caulk and disappears under the finish, so beginners get a little margin for error. With stained or clear-finished wood, caulk shows and looks amateurish, so the cope must fit tightly on its own, demanding more skill and patience. For stained crown, take extra time refining the cope with a file and test-fitting repeatedly until the joint closes cleanly with no filler. This is one reason many first-time trim carpenters start with painted crown, then move to stained work once their coping technique is dialed in and consistent.
Speeding Up With Power Tools
While the hand coping saw is the classic method, several power tools can speed up coping once you understand the fundamentals. A jigsaw fitted with a coping foot lets you follow the profile faster than a hand saw, and it excels on dense hardwoods that tire your arm with a manual saw. Some carpenters use an angle grinder with a carbide carving wheel to rough out the cope quickly, then finish the edge by hand. There are also dedicated coping jigs and machines for high-volume trim work. These tools trade a little control for speed and are worth exploring on a large job with many corners, but learn the hand method first so you understand exactly what shape you are cutting and why the back-bevel matters.
Practice Makes Tight Joints
Coping is a hands-on skill that clicks after a few attempts. Buy a couple of extra feet of your molding and practice coping onto scrap until you can produce a joint that closes with light pressure. Once you have the motion, coping is often faster than fussing with adjusting miters to chase an out-of-square corner, and the joints stay tight for years. It is the single technique that most elevates DIY crown work to a professional standard.
Coping crown molding rewards patience with corners that look flawless and stay closed through seasons of wood movement and imperfect walls. Master the initial miter that reveals the profile, cut carefully along that line with a back-bevel, and refine the fit on scrap first. Do that, and your inside corners will read as clean, professional joinery that no mitered corner can match.