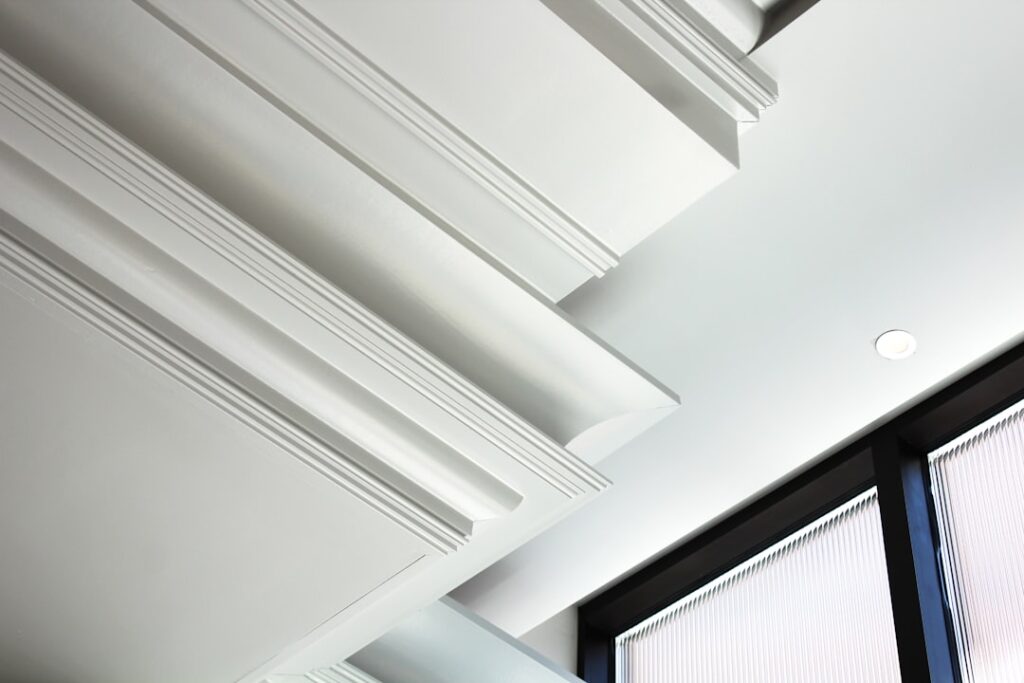
More crown molding gets ruined at the saw than at the wall. Learning how to cut crown molding trips people up because the material doesn’t sit flat — it leans between wall and ceiling at a “spring angle,” which turns every corner into a compound cut and makes it maddeningly easy to cut a perfect miter in the wrong direction. The fix isn’t math; it’s a repeatable setup. This guide covers the two reliable methods — cutting “upside down and backwards” in the saw, and cutting flat with compound settings — plus coping, which is how pros make inside corners tight in rooms that aren’t square. (For choosing profiles, sizing, and the full installation process, see our crown molding guide; this article lives at the saw.)
Know Your Spring Angle First
Flip your crown over and look at the two flat surfaces milled on the back — those sit against wall and ceiling. Most American crown is 38/52 (the molding leans 38 degrees off the wall) and some is 45/45. It matters because every chart and preset assumes one or the other. To check: hold a scrap in a framing square as it would sit installed; if the wall leg measures longer than the ceiling leg, it’s 38/52. Also confirm your corner angles — most rooms are “90 degrees” only in theory. An $8 angle finder or a digital protractor (about $30) will tell you whether that corner is actually 88 or 92, and on outside corners especially, cutting to the real angle instead of assuming 90 is the difference between a hairline joint and a gap you could park a nickel in.
Method 1: Upside Down and Backwards (No Bevel Required)
The oldest trick is still the most foolproof for standard-size crown: nest the molding in the saw at its spring angle, but inverted — the saw fence acts as the wall and the saw table acts as the ceiling. Because the crown is upside down, everything is mirrored, which is where the “backwards” comes in. The procedure:
- Set the miter saw bevel to 0 — you’ll only swing the miter table, 45 degrees left or right (or to half your measured corner angle).
- Place the crown upside down: the ceiling edge flat on the table, the wall edge against the fence.
- Clamp or screw a stop block or length of scrap to the table so every piece nests at the identical angle. This single step eliminates most bad cuts.
- Remember the mirror rule: an inside-corner left-hand piece is cut with the table swung right, and vice versa. Write “LEFT = table RIGHT” on masking tape on the saw until it’s instinct.
Cut a pair of 6-inch test scraps and check them in an actual corner before touching your good stock. Every crown carpenter alive has confidently cut four wrong corners in a row; the test-scrap habit is the cure.
Method 2: Cutting Flat With Compound Settings
Wide crown — anything much over 4-1/2 inches — won’t nest under most 10-inch saws, so you lay it flat on the table and let the saw make both angles at once. For standard 38/52 crown in a square corner, the settings are the famous pair: miter 31.6 degrees, bevel 33.9 degrees. (45/45 crown uses miter 35.3, bevel 30.) Most modern miter saws have detents at exactly these numbers. Cut with the molding flat, face up, and follow a chart for which way to swing and tilt for each of the four cut types — left/right, inside/outside. Manufacturers print these charts in every saw manual, and they exist because nobody memorizes all eight combinations. Flat cutting is more precise on wide stock and safer than balancing a big profile against the fence, but it’s less intuitive; keep the chart taped to the saw and, again, cut test pairs first.
Cope Inside Corners Instead of Mitering Them
Here’s the professional secret: in real houses, mitered inside corners open up — walls aren’t square, and wood moves. Pros cope inside corners instead. The first piece runs square-cut tight into the corner. The mating piece gets a 45-degree inside miter, which exposes the profile’s cross-section as a crisp line; you then cut along that line with a coping saw, back-beveling as you go, so the piece ends in a knife-edge silhouette of the profile that nests over the face of the first piece like a puzzle. The steps:
- Cut the open 45 as if mitering an inside corner.
- Darken the profile edge with a pencil so the line is easy to follow.
- Cope along the line with the saw angled 5 to 10 degrees behind the face for clearance.
- Fine-tune with a rat-tail file and 100-grit paper until it snaps tight against a scrap.
A coped joint stays closed when the miter would have gaped, absorbs out-of-square corners invisibly, and takes maybe five minutes per corner once you’ve done three or four. Outside corners still get mitered — you can’t cope an outside corner — which is why measuring the true angle matters most there.
Measuring and Marking Without Mistakes
Measure wall lengths at the ceiling, not at four feet, because walls lean. For pieces that cope on one end, cut the cope first, then measure and square-cut to length — trimming a square end is easy, re-coping isn’t. Mark the direction of every cut on the back of the stock in pencil (“cope L,” “OS miter R”) before you walk to the saw; the thirty-second walk erases angle memory with astonishing reliability. On long runs needing a splice, join pieces with a 30-degree scarf joint over a stud rather than a butt joint — it disappears under paint. And buy 10 to 15 percent extra material. Even pros burn stock learning a new profile’s quirks.
Troubleshooting Joints That Won’t Close
When a test corner gaps, the gap’s location tells you the cause. A joint open at the top (ceiling side) but tight at the bottom means the corner is wider than your saw setting — remeasure the wall angle and split the difference across both pieces. Open at the bottom, the corner is tighter than cut. A miter that’s tight along its whole face but twisted means one piece wasn’t nested at the same spring angle as the other — this is precisely what stop blocks prevent, so add one and recut. And a corner that fit perfectly during dry-fit but opened when nailed usually means hollow drywall behind it; the nail pulled the molding into a low spot. Don’t chase it with more nails — shim behind the crown or float the low area, and drive fasteners where framing actually backs the wall.
Small gaps have honest fixes. Burnish a hairline miter closed by rolling a screwdriver shaft along the outside corner — the wood fibers fold over and close the line. Gaps under 1/16 inch on paint-grade work take lightweight filler or latex caulk and disappear under two coats. Anything bigger gets recut, because filler shrinks and telegraphs. Tearout on MDF and primed profiles is a blade problem: step up to an 80-tooth finish blade, slow the cut, and score the show face with a knife on fussy profiles.
Tools Worth Having at the Saw
A 10-inch compound miter saw handles most crown; a 12-inch sliding saw earns its price on wide stock cut flat. Beyond the saw: a coping saw with fresh fine-tooth blades ($15), an angle finder, stop blocks or a crown stop accessory ($20 to $40 for brands like the Bench Dog Crown-Cut jig, which holds the spring angle for you), a rat-tail file set, and a 23-gauge pin nailer for tacking test pieces. Some carpenters now rough out copes with a cordless jigsaw or an angle grinder with a carving wheel — faster, but master the hand cope first so you know what a good joint feels like. Get the cuts right at the bench and the installation practically finishes itself.