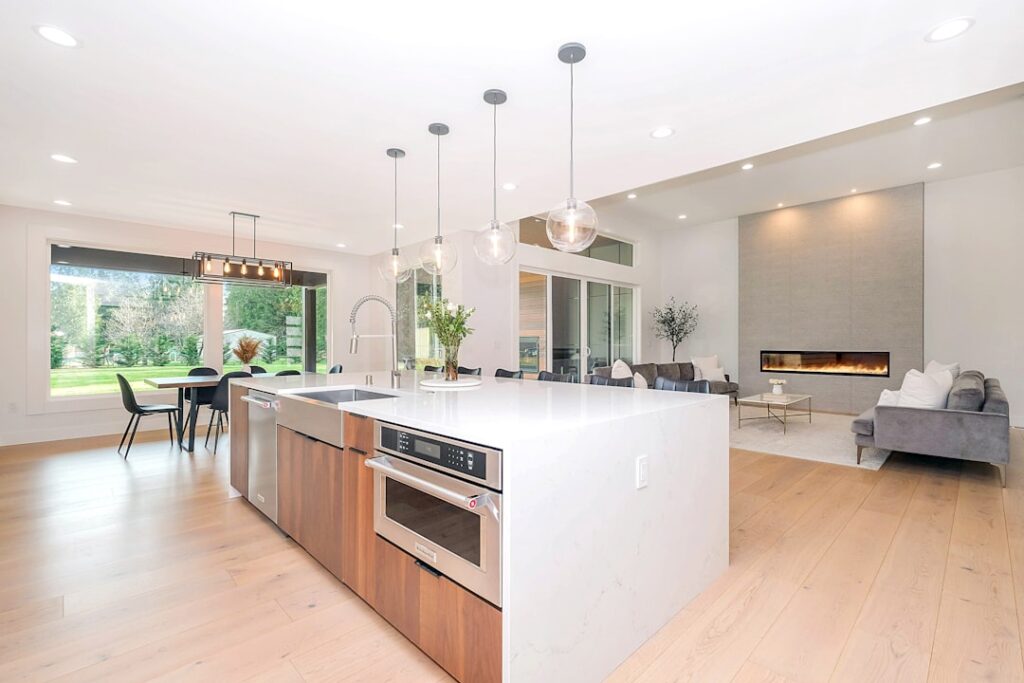
A beautiful countertop is wasted if you are chopping vegetables in your own shadow. Countertop lights mounted under your upper cabinets solve that problem by casting bright, even light exactly where you prep, read recipes, and work. Beyond function, they add a warm ambient glow that makes any kitchen feel more finished. This guide covers the main types, how bright you actually need, wiring options for every skill level, and the installation details that separate a professional look from a DIY afterthought.
Part of our Countertops guide — explore the full guide →
Why Under-Cabinet Lighting Matters
Overhead ceiling fixtures sit behind you when you stand at the counter, which means your body blocks the light and casts a shadow right onto your work surface. Task lighting mounted beneath the upper cabinets eliminates that shadow entirely and dramatically improves visibility and safety when you handle knives or hot pans.
There is a design payoff, too. Countertop lights wash down over the backsplash, highlighting tile texture and stone veining while adding a layered, restaurant-quality ambiance. Many homeowners leave them on at a low level as gentle nighttime lighting instead of flipping on the harsh overhead fixtures.
Types of Countertop Lights
Several fixture styles serve different needs and budgets. Understanding the differences helps you match the right product to your kitchen and your comfort with installation.
- LED strip lights are flexible ribbons that deliver continuous, shadow-free illumination and hide easily behind a cabinet lip.
- Puck lights are small round fixtures that create pools of light and work well for accent or display cabinets.
- Linear light bars are rigid, low-profile fixtures that link together for even coverage with simple mounting.
- Under-cabinet pucks with motion sensors switch on automatically, handy for pantries and closets.
For most kitchen counters, linear LED bars or a quality strip kit give the cleanest, most even result.
How Bright Should They Be
Brightness is measured in lumens, and for task lighting over a work surface you want roughly 250 to 450 lumens per linear foot of counter. A typical 3-foot run between cabinets therefore needs somewhere around 750 to 1,300 lumens to prep comfortably without straining your eyes.
Color temperature matters just as much. Measured in Kelvin, a range of 2700K to 3000K gives a warm, inviting white that flatters wood and stone, while 3500K to 4000K reads crisper and more neutral for detailed tasks. Look for fixtures with a color rendering index, or CRI, of 90 or higher so food and finishes show their true colors.
Hardwired Versus Plug-In Options
You have two broad wiring paths, and the right one depends on your skills and whether you are mid-remodel. Hardwired systems connect directly to your home’s electrical and are controlled by a wall switch or dimmer, giving the cleanest look with no visible cords. They usually require a licensed electrician and are easiest to install before the backsplash goes up.
Plug-in and battery options are the DIY-friendly route. Many LED strip and light bar kits come with a low-voltage transformer that plugs into a standard outlet inside a cabinet, and rechargeable battery pucks need no wiring at all. These cost less and install in minutes, though you trade some tidiness for the convenience.
Powering and Dimming
Most under-cabinet LEDs run on 12-volt or 24-volt low-voltage power supplied by a driver, also called a transformer. Add up the total wattage of your fixtures and choose a driver rated at least 20 percent above that number so it runs cool and lasts. Undersizing the driver is the most common cause of premature LED failure.
Dimming adds real flexibility, letting you crank up the light for cooking and dial it down for evenings. Confirm that your LEDs, your driver, and your switch are all dimmable and compatible, since mismatched components cause flickering and buzzing. Many plug-in kits include an inline dimmer or a remote, sidestepping the issue entirely.
Installation Tips for a Clean Look
The secret to a professional result is hiding the fixture and its wiring. Mount lights toward the front edge of the cabinet bottom rather than the back, which pushes the light forward onto the counter and reduces glare reflecting off a glossy backsplash. A small light rail or valance on the cabinet face conceals the fixtures from view.
Plan your layout before you stick anything down. Dry-fit the strips or bars, mark your positions with painter’s tape, and route wires through small holes drilled in the back or side of the cabinet toward your power source. Clean the mounting surface with rubbing alcohol so adhesive backing bonds firmly and does not sag over time.
Placement and Spacing for Even Light
Where you position fixtures determines whether you get smooth, even illumination or distracting hot spots and dark gaps. Continuous LED strips and linear bars give the most uniform wash and are the safest choice for a professional look. If you use puck lights instead, space them roughly 12 to 16 inches apart so their pools of light overlap rather than leaving shadowed zones between them.
Mount fixtures toward the front of the cabinet underside, about an inch or two back from the front edge, so the light falls onto the work surface instead of straight down the backsplash. Run a continuous line across each cabinet section rather than lighting only the center, since gaps at the ends leave the corners of your counter dim exactly where you often work.
Smart Controls and Color Options
Modern countertop lighting can do far more than switch on and off. Many kits now offer tunable white, letting you shift from warm 2700K light for evening ambiance to cool 4000K light for detailed prep work at the touch of a remote or app. Some systems even include full RGB color for accent lighting during entertaining.
Smart-home integration adds real convenience. Fixtures compatible with voice assistants or a home hub can be scheduled, dimmed, or grouped with other kitchen lighting scenes. Motion-activated options are worth considering for glass display cabinets and pantries, where hands-free operation is genuinely useful when you walk up with an armload of groceries.
Avoiding Glare and Hot Spots
Poorly aimed countertop lights create harsh glare bouncing off a glossy stone or tile surface, which is uncomfortable and undoes the benefit of good task lighting. The fix is a diffused light source and a lens or frosted cover rather than bare, exposed LEDs. A diffuser spreads the light evenly and softens the reflection off a polished counter or backsplash.
Hot spots, those bright pools directly beneath a fixture, are the other common complaint. Continuous strips and linear bars avoid them by design, while spacing puck lights properly keeps their beams from creating a scalloped pattern of bright and dim zones. Positioning fixtures toward the front cabinet edge also angles the light onto the work surface instead of glaring back up at your eyes from a shiny backsplash.
Cost and Value
Countertop lighting fits almost any budget. A basic plug-in LED strip kit for a small kitchen runs $30 to $80, while premium linear bar systems with dimming and high CRI can total $150 to $400 for a full run of cabinets. Hardwired installation with an electrician typically adds $200 to $600 depending on how many circuits and switches are involved.
For the money, few upgrades deliver as much daily satisfaction. Better task lighting makes cooking safer and more pleasant, and the ambient glow elevates the entire room. Whether you choose a simple stick-on strip or a fully integrated hardwired system, well-planned countertop lights are one of the highest-impact improvements you can make in a kitchen.