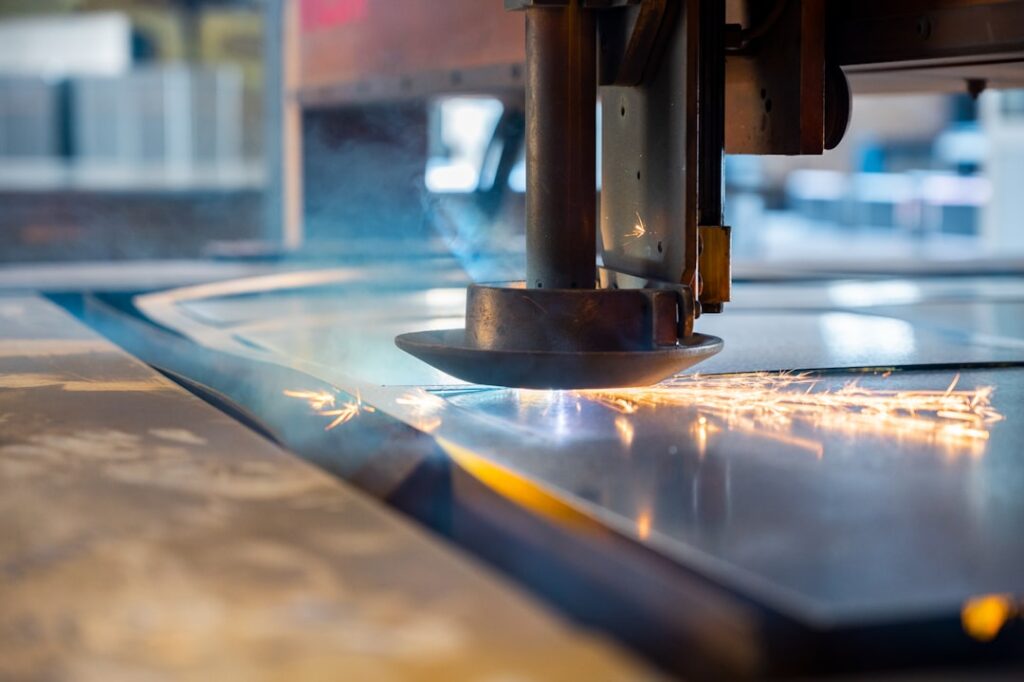
Let me be straight about cutting granite countertops: it’s absolutely doable with a $40 diamond blade on a circular saw you already own, and it’s also the easiest place in a kitchen project to turn a $600 slab into two pieces of expensive rubble. I’ve cut granite in fabrication shops with bridge saws and on driveways with an angle grinder, and the difference between a clean cut and a chipped, cracked mess is 20 percent equipment and 80 percent technique — support, speed, and water. Here’s the complete playbook: tools, setup, straight cuts, sink cutouts, and the mistakes that break slabs.
Part of our Countertops guide — explore the full guide →
First: Should You Cut It Yourself?
Honest triage before we sharpen anything. DIY cutting granite countertops makes sense for: trimming a prefab or remnant piece to length, cutting a bathroom vanity top, notching around a wall, or making a cooktop/sink cutout in a slab that isn’t yet installed. Call a fabricator instead when: the slab is already installed (cutting in place fills the house with slurry and risks cracking over cabinets), the cut involves a laminated or mitered edge you’d have to reproduce, the stone is an exotic you can’t afford to lose, or you need a polished edge — DIY cutting gets you a clean cut, but a factory-polished edge takes wheels, pads, and practice. A fabricator charges roughly $10 to $20 per linear foot for straight cuts and $150 to $300 for a sink cutout; weigh that against your slab’s replacement cost.
Tools and What They Cost
| Tool | Cost | Best For |
|---|---|---|
| 7-1/4″ circular saw + continuous-rim diamond blade | $25–$60 (blade) | Straight cuts, the DIY workhorse |
| 4-1/2″ angle grinder + diamond blade | $60–$120 total | Cutouts, curves, notches, back-cuts |
| Wet tile/stone saw (rental) | $60–$120/day | Cleanest straight cuts, smaller pieces |
| Diamond hole saw set | $20–$40 | Faucet holes (1-3/8″ typical) |
| Water feed (helper w/ spray bottle or hose drip) | $5 | Dust control, blade life, cut quality |
| Clamps, painter’s tape, straightedge, foam sheets | $30–$60 | Setup — as important as the saw |
Blade choice matters more than saw choice. You want a continuous-rim diamond blade rated for granite/hard stone — the continuous rim cuts slower than segmented but chips far less at the surface. A turbo-rim blade is the middle ground if you’re impatient. Buy a name brand (DeWalt, Diablo, MK Diamond); the $12 bargain-bin blade wanders and chips.
Safety, non-negotiable
Cutting granite countertops generates crystalline silica dust, and dry-cutting without protection is how people earn silicosis. Cut wet whenever possible, work outdoors, and wear a P100 respirator (not a dust mask), safety glasses, and hearing protection. If you must use a corded saw with water, keep the water feed modest, aim it at the blade not the motor, and plug into a GFCI outlet — or use a battery saw, which sidesteps the issue.
Setup: Where Slabs Are Saved or Broken
More granite breaks from bad support than bad sawing. The slab must be supported continuously — sagging at the cut line pinches the blade and snaps the piece as you finish the cut.
- Support the whole slab on rigid foam insulation sheets over a flat surface (driveway, sturdy table). The foam supports both sides of the cut so nothing drops when you break through. Sawhorses alone are how offcuts snap off early and take a corner of your keeper piece with them.
- Mark the cut with a wax pencil or marker on painter’s tape. Tape both sides of the line — it reduces surface chipping and makes the line visible through water spray.
- Clamp a straightedge guide (a level or straight board) offset from the line by your saw’s blade-to-shoe distance. Freehanding a granite cut guarantees a wandering line.
- Face-up or face-down? With a circular saw, blade teeth exit downward, so cut face up with a continuous rim blade and tape. With heavy chipping concerns or a coarse blade, some pros cut face down on foam — protect the polished face with tape and a sacrificial sheet.
Making a Straight Cut
- Set blade depth about 1/8 inch deeper than the slab (3 cm granite = roughly 1-3/8 inch depth).
- Score first: make a first pass only 1/8 to 1/4 inch deep along the whole line. This shallow scoring pass establishes a chip-free edge at the polished surface.
- Then cut through in one or two deeper passes, letting the blade work at its own pace — steady feed, no forcing. If the saw bogs or the blade glazes, you’re pushing too hard.
- Keep it wet. A helper trickling water on the blade from a bottle or hose keeps dust down, keeps the blade cool, and visibly improves cut quality. Expect gray slurry everywhere; tarp anything you care about.
- Support the last 6 inches. The end of the cut is when unsupported offcuts snap. If the foam-bed setup is right, this is a non-event; if the offcut overhangs, have your helper support it (not lift it — just prevent the drop).
Ease the fresh edge with a rubbing stone or 120-grit diamond hand pad — two minutes of work that removes the sharp arris and micro-chips. If the cut edge will show, progressive polishing with diamond pads (50 through 3000 grit, about $30 a set for an angle grinder backer) can get you a respectable satin sheen; a true factory gloss takes practice, so plan visible edges to be cut by the fabricator or hidden against walls and appliances.
Sink and Cooktop Cutouts
Cutouts concentrate stress at their corners, which is why the technique differs:
- Do it before installation whenever possible, on the foam bed. Cutting a sink hole over installed cabinets is a last resort.
- Drill relief holes at the corners with a diamond hole saw — a rounded corner resists cracking; a sharp square corner invites it. Most sink templates specify a radius anyway.
- Cut the straight runs with the angle grinder or circular saw, connecting hole to hole. Plunge cuts with a circular saw are sketchy on granite; I do cutout runs with a 4-1/2 inch grinder for control, in two or three deepening passes.
- Support the dropout. The waste piece must not fall through and lever against the last inch of cut — foam under everything, and a helper’s hands flat under the dropout at the end.
- Undermount sinks need a polished cutout edge since it’s visible; drop-in sinks hide the cut, making them far more DIY-friendly. Faucet holes: diamond hole saw, water puddle dammed with plumber’s putty ring, light pressure, let it grind.
The Five Mistakes That Break Slabs
- Unsupported offcuts — the cut is 90 percent done, the waste sags, the crack runs back into your keeper. Foam bed prevents this categorically.
- Forcing the feed — granite sets the pace, not you. Pushing causes wandering, chipping, blade glazing, and bogged motors.
- Dry cutting the whole job — dust everywhere, hot blade, chipped edge, and a silica exposure you can’t undo. Water is cheap.
- Square cutout corners — stress risers that crack later even if they survive the cut. Always radius.
- Cutting installed counters without dust containment — slurry mist coats a kitchen in minutes. If it must happen in place, plastic-tent the area, run a fan to a window, and shop-vac at the blade.
My parting advice comes down to respecting the sequence: rigid support, taped and guided line, shallow scoring pass, wet steady cutting, protected finish. Follow it and a first-timer can put a clean, straight edge on granite with a $40 blade — I’ve watched homeowners do it in an afternoon. Skip a step and the stone finds the weakness every time. Cut outdoors, wear the respirator even for “just one quick cut,” leave show-facing polished edges to the fabricator, and when the piece in question is irreplaceable or already glued to your cabinets, spend the $200 on a pro and keep your Saturday. Granite forgives careful; it never forgives hurried.