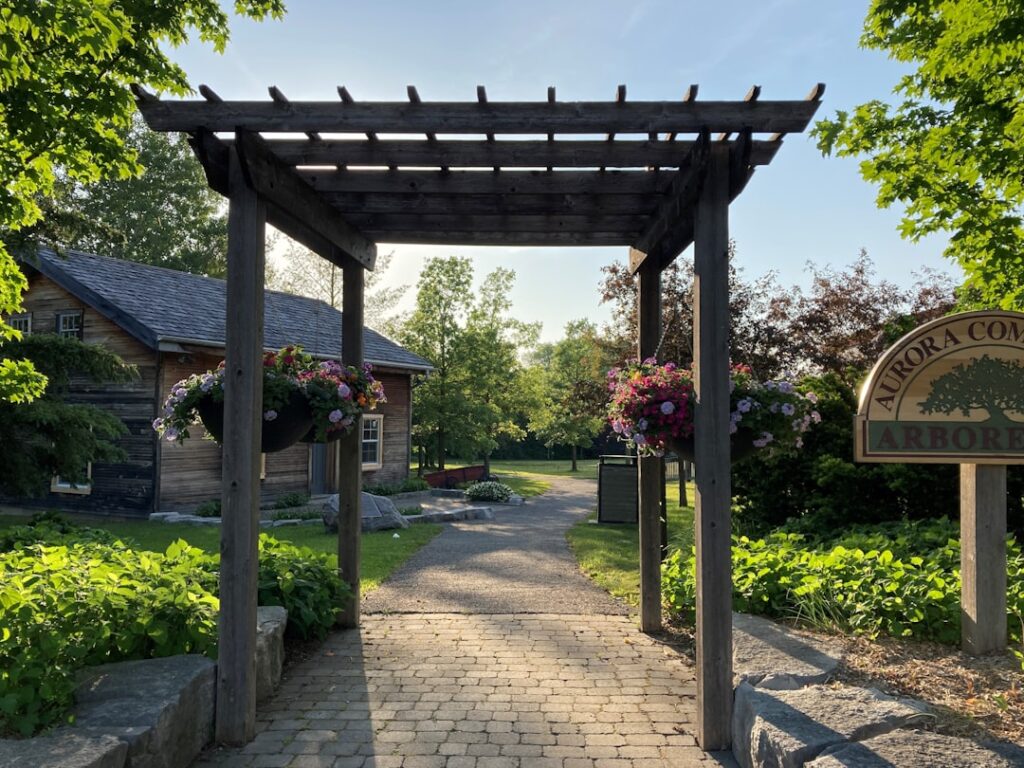
A pergola looks great, but those open slats let plenty of midday sun straight through, which is why so many homeowners add shade after the fact. A well-built DIY pergola canopy turns a decorative structure into a usable outdoor room, cutting heat and glare so you can actually sit out there on a hot afternoon. The trick is choosing the right canopy style for your climate and attaching it so it survives wind and weather instead of becoming a sail that tears loose in the first storm.
Part of our Decks & Outdoor guide — explore the full guide →
Why Add a Canopy at All
Open-top pergolas provide partial, dappled shade at best. A fabric or panel canopy blocks direct sun, lowers the temperature underneath by a noticeable margin, and protects furniture from UV fading. Depending on the material, it can also offer some light rain protection. For patios that bake in the afternoon, a canopy is the difference between a space you use and one you avoid.
Canopy Styles to Consider
There are three popular approaches, each with a different balance of cost, effort, and flexibility.
Fixed Fabric Canopy
A panel of outdoor fabric stretched across the top is the simplest and most affordable option. You can run a single flat panel or create gathered, wave-style swags between the beams for a softer look. Fixed canopies are easy to install and replace, but they stay up permanently, so choose a fabric rated for sun and consider taking it down in winter.
Retractable Canopy
A retractable system runs fabric on a wire or track so you can slide it open or closed. This is the most versatile choice: shade when you want it, open sky and rain runoff when you do not. It costs more and takes more careful installation, since the wire must be tensioned correctly, but the convenience is hard to beat.
Shade Sail
Triangular or rectangular shade sails attach to the pergola corners (and sometimes a nearby post or wall) at varied heights for a modern, angular look. They shed rain well when mounted at a slope and handle wind better than flat panels because they are tensioned tightly. Sails are a strong DIY option, but they require solid anchor points and proper tension to avoid sagging and flapping.
Choosing the Right Fabric
Material choice determines how long your canopy lasts and how much protection it gives. Look for fabric made for outdoor use.
- Solution-dyed acrylic resists fading and mildew and holds color for years, making it a top long-term choice.
- HDPE shade-cloth (the breathable mesh used in shade sails) blocks a high percentage of UV while letting heat escape, so it stays cooler underneath. It is not waterproof.
- Polyester with a waterproof coating offers some rain protection but can sag and degrade faster in intense sun.
Check the UV-block rating and confirm the fabric is mildew-resistant. Breathable materials actually feel cooler than fully waterproof ones because they vent rising heat rather than trapping it.
Measuring and Planning
Measure the area you want to cover and add allowance for how the fabric attaches and tensions. For a wave-style fabric canopy, you typically need extra length per panel to create the drape, so order more material than the bare span. For shade sails, measure the distance between anchor points and account for the hardware (turnbuckles, D-rings) that takes up several inches at each corner. Plan attachment points before you cut anything.
How to Attach the Canopy Securely
Secure attachment is what separates a canopy that lasts from one that ends up in your neighbor’s yard. The method depends on the style.
- Fabric panels on a wire: Run stainless-steel cable between the beams, tension it with eye bolts and turnbuckles, and thread the fabric onto the wire with rings or clips so it can slide.
- Grommeted panels: Lace the fabric to the pergola frame through grommets using cord or bungees, spacing attachment points closely so wind load is spread out.
- Shade sails: Use heavy-duty stainless hardware, turnbuckles for tension, and lag the anchor points into solid framing, not thin trim. Mount corners at different heights for drainage.
Use corrosion-resistant stainless or galvanized hardware throughout. Tension everything firmly; a loose canopy flaps, wears, and stresses its attachment points until something fails.
Weather and Wind Considerations
Wind is the enemy of any overhead fabric. A tightly tensioned sail handles gusts far better than a loose flat panel, which acts like a sail in the worst way. In storm-prone areas, choose a retractable or removable design so you can pull the fabric in when bad weather threatens. For rain, slope the canopy or sail so water runs off rather than pooling, since standing water adds weight and can rip the fabric or pull out hardware. Breathable shade cloth lets gusts pass through and is the most wind-forgiving choice if rain protection is not a priority.
Maintenance Tips
Brush off debris and leaves regularly so they do not stain the fabric or hold moisture. Hose down the canopy occasionally and spot-clean with mild soap and water. Check hardware and tension at the start of each season and retighten turnbuckles as needed. Removing or retracting the canopy over winter, especially in snowy climates, dramatically extends its life.
Budget-Friendly Canopy Ideas
You do not need an expensive system to get good shade. Several inexpensive approaches deliver real results for a weekend and modest spend. Outdoor curtain panels hung from a tension wire give a soft, billowing look and can be drawn open or closed by hand. A simple drop cloth or canvas tarp with grommets, laced to the frame, works as a starter canopy while you decide what you want long term. Inexpensive shade-cloth by the roll is cheap, breathable, and easy to cut to size, making it ideal for covering a large pergola for very little money. Bamboo or reed roll-up blinds laid across the top add a natural, textured look and partial shade.
Common Mistakes That Shorten Canopy Life
- Using indoor fabric outdoors: non-UV-rated material fades and rots within a season.
- Leaving the canopy loose: slack fabric flaps in wind, wears at attachment points, and tears.
- Flat installation with no slope: water pools, adding weight that can rip fabric or pull out hardware.
- Cheap hardware: non-stainless fasteners rust and stain the fabric and frame.
- Ignoring wind ratings: in storm-prone areas, a non-removable canopy is asking for damage.
Avoiding these missteps costs little and can double how long your canopy lasts.
The Bottom Line
A DIY pergola canopy is one of the highest-impact upgrades you can make to an outdoor space, and it is well within reach for a weekend project. Match the style to your needs (fixed for simplicity, retractable for flexibility, sail for wind resistance and looks), pick a UV-rated outdoor fabric, and attach it with quality stainless hardware under proper tension. Build it to handle wind and shed water, and you will gain a shaded retreat that holds up season after season.