Nothing sells the illusion of a finished miniature room quite like a convincing tile floor — and nothing breaks it faster than a wonky grout line or a sheet of obviously printed paper. Dollhouse tile flooring is one of the most rewarding craft projects in the hobby, because a careful floor instantly elevates a kitchen, bathroom, or foyer from “toy” to “tiny replica.” Working in 1:12 scale, where one inch equals one foot, you have several methods to choose from, ranging from store-bought sheets to clever recycled-material tricks.
- Understanding 1:12 Scale
- Option 1: Miniature Tile Sheets
- Option 2: Printable and Scrapbook-Paper Floors
- Option 3: Individual Cut Tiles
- Option 4: The Egg-Carton Tile Trick
- Creating Realistic Grout Effects
- Sealing and Finishing
- Tips for a Flawless Miniature Floor
- Choosing Patterns That Suit the Room
- Tools and Materials to Keep on Hand
- The Bottom Line
Understanding 1:12 Scale
Before cutting a single tile, get the scale right. In standard dollhouse scale, one inch represents one real foot. So a real-world 12-inch ceramic tile becomes a 1-inch square in your miniature room, and a 6-inch tile becomes a half-inch square. Subway tiles, hexagons, and penny rounds all scale down the same way. Keeping proportions accurate is what makes a miniature floor read as believable rather than oversized.
Option 1: Miniature Tile Sheets
The easiest route is pre-made miniature tile sheets sold by dollhouse suppliers. These come as thin resin, plaster, or printed adhesive sheets with realistic grout lines already molded or printed in. You simply measure your room, cut the sheet to fit with a craft knife, and glue it down.
- Pros: Fast, consistent, and professional-looking with minimal skill.
- Cons: Costs more than DIY methods, and the pattern choices are limited to what is sold.
- Pro tip: For dimensional resin or plaster sheets, paint and seal them, then add a wash of darker paint into the grout lines for depth.
Option 2: Printable and Scrapbook-Paper Floors
For a budget-friendly approach with endless pattern variety, printed paper is hard to beat. You can download miniature tile patterns sized to 1:12 scale and print them on cardstock, or use patterned scrapbook paper that already mimics tile.
- Measure your room floor and trace the outline onto the back of the paper.
- Cut the paper to fit, trimming around any wall jogs or doorways.
- Glue it down with a thin, even layer of craft glue or spray adhesive to avoid bubbles and wrinkles.
- Seal the surface with several coats of matte or gloss decoupage medium to protect it and add a realistic sheen.
The seal coat is what makes printed paper convincing — a glossy finish reads like glazed ceramic, while matte suits stone or terracotta looks.
Option 3: Individual Cut Tiles
For the most realistic result, cut and lay individual tiles by hand. Thin craft materials work beautifully at this scale:
- Cardstock or chipboard squares, painted and sealed.
- Air-dry clay rolled thin and cut into tiles for genuine dimension.
- Polymer clay tiles, baked and glazed for a hard, ceramic-like surface.
- Ceramic mosaic tiles sold for jewelry and crafts, which are often already close to 1:12 scale.
Lay them one by one onto a glued base, leaving tiny, even gaps for grout. A spacer made from a strip of cardstock helps keep the gaps uniform — uneven gaps are the number-one giveaway of an amateur miniature floor.
Option 4: The Egg-Carton Tile Trick
A beloved miniaturist hack uses the flat panels of a cardboard egg carton to make rustic, slightly irregular tiles — perfect for terracotta, slate, or old farmhouse floors. Cut the flattest sections of the carton into small squares or rectangles, then arrange them on a glued base with small gaps between.
The cardboard’s natural texture mimics stone beautifully once painted. Seal the finished tiles with decoupage medium or a clear acrylic coat to harden them and give a realistic surface sheen. This near-free method produces some of the most charming, organic-looking miniature stone floors in the hobby.
Creating Realistic Grout Effects
Grout is the detail that makes individually laid tiles look real. After your tiles are glued down and dry, you can grout them much like a full-size floor, scaled down:
- Mix a small amount of fine spackle, wall filler, or even white acrylic paint thickened with baking soda.
- Spread it over the tiles and work it into the gaps with a soft brush or your fingertip.
- Wipe the excess off the tile faces with a damp cloth or cotton swab before it fully sets.
- Tint the grout with a touch of gray, tan, or black paint to suit your color scheme.
For printed or molded floors that already show grout lines, you can fake the effect by running a fine-tip marker or a thin paint wash along the lines to deepen the shadows.
Sealing and Finishing
Whatever method you choose, a final seal protects the floor and unifies the sheen. Matte medium suits stone, terracotta, and natural tile; satin or gloss suits glazed ceramic and porcelain looks. Apply two to three thin coats, letting each dry fully. A consistent topcoat also hides the difference between mixed materials, blending paper, clay, and cardboard into one cohesive surface.
Tips for a Flawless Miniature Floor
- Dry-fit everything before gluing — measure twice, cut once, just like the real thing.
- Keep gaps consistent with a homemade spacer for hand-laid tiles.
- Mind the scale so tile size and grout width stay proportional to 1:12.
- Weather it with a thin wash of brown or gray paint in corners and along edges for an aged, lived-in look.
- Install before the walls when possible, so tiles tuck neatly under baseboards.
Choosing Patterns That Suit the Room
Pattern choice anchors a miniature room in a time period and style, so match the tile to the scene you’re building. A few classic pairings work beautifully at 1:12 scale:
- Black-and-white checkerboard: Perfect for vintage kitchens, diners, and entryways.
- Hexagons or penny rounds: Ideal for early-1900s bathrooms with their tiny white tiles.
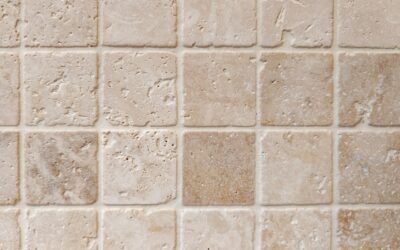
- Terracotta squares: Suit Mediterranean, farmhouse, and rustic kitchens, especially with the egg-carton method.
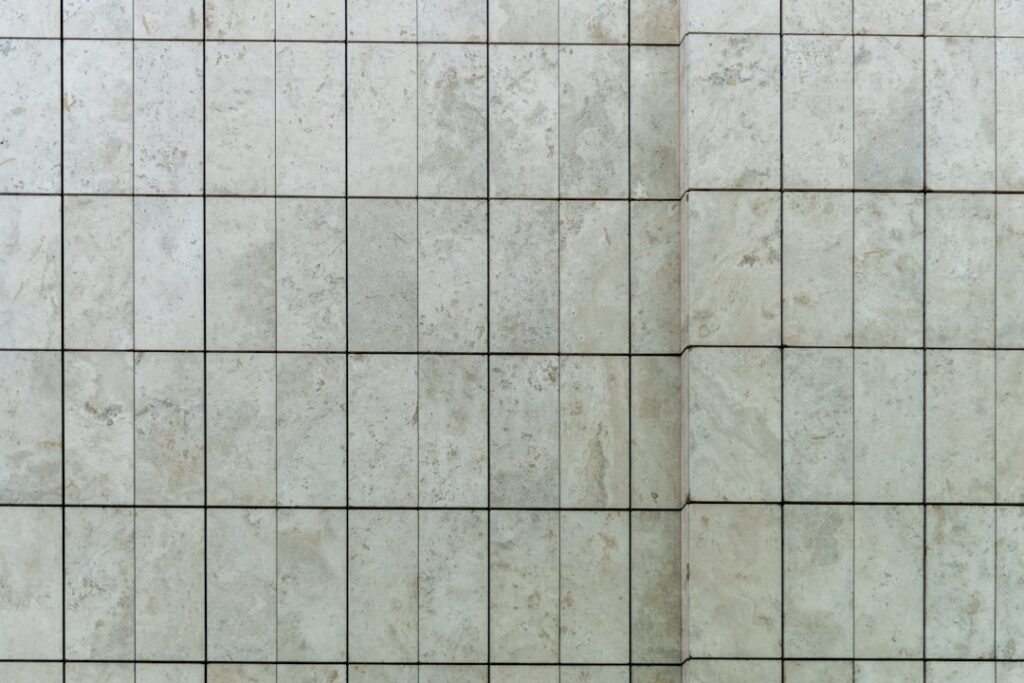
- Marble or slate looks: Lend a grand, formal feel to a foyer or upscale bath.
Scale the tile size to the room’s purpose, too — smaller mosaic tiles read as a bathroom, while larger squares suit a kitchen or hall, just as in a full-size home.
Tools and Materials to Keep on Hand
A small, well-chosen kit makes every miniature flooring project smoother. Stock a sharp craft knife with spare blades, a metal ruler and cutting mat, fine-grit sandpaper, craft glue and decoupage medium, a set of small acrylic paints, and a few soft brushes. For grout work, fine spackle or wall filler and cotton swabs do the job. A self-healing cutting mat with a printed grid is especially handy for keeping tile rows square and gaps even.
The Bottom Line
Dollhouse tile flooring rewards patience with charm. Whether you reach for ready-made miniature tile sheets, printable paper, hand-cut clay, or the classic egg-carton trick, the secrets to realism are accurate 1:12 scale, even grout gaps, and a thoughtful seal coat. Start with a simple bathroom or kitchen floor, and you will quickly see how much character a well-crafted tiny floor brings to the whole miniature room.
Prefer to explore on your own?
See how new flooring looks in your actual room in seconds — free, no signup.
Try the free Floor Studio →