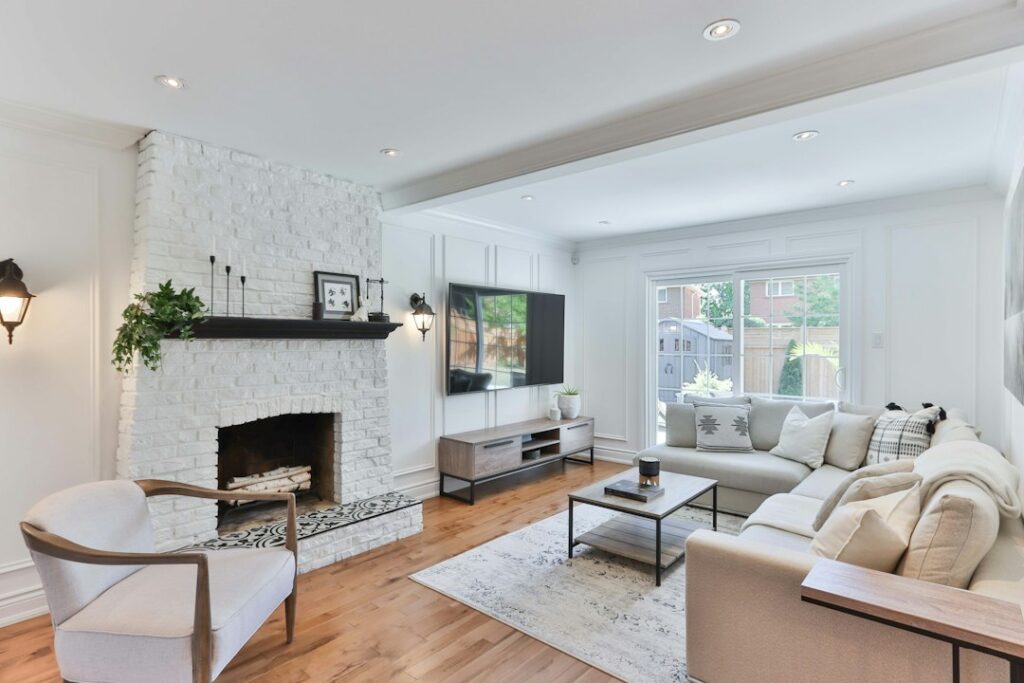
A single container is about 8 ft wide on the outside and closer to 7 ft 8 in inside, which makes a living room feel like a hallway. A double wide shipping container layout fixes that by setting two boxes side by side and opening the shared walls, giving you a floor plan roughly 16 ft wide. That width is what turns a novelty into a home where a sofa, a dining table and a walkway can all fit in the same room.
The catch is structural. A container’s strength comes from its corner posts, top and bottom rails, and the corrugated side walls acting together. Cut out a long side wall and the box loses much of its stiffness. That is why every side-by-side build needs new header beams, posts and reinforcement sized by a structural engineer, not guessed from a forum post.
- How a Double Wide Shipping Container Layout Works
- Why an Engineer Must Size the Reinforcement
- Tools and Materials
- Step-by-Step: Joining Two Containers Side by Side
- Cutting and Welding Fire Safety
- Electrical, Plumbing and Comfort Systems
- Troubleshooting Common Problems
- General Cost Ranges
- When to Call a Licensed Professional
- Frequently Asked Questions
We walk through how the joining process works, the cutting and welding hazards, how to seal the roof and floor seam, and where licensed trades fit in. Stacking containers for a second story is a different project with different loads, so we stick to the side-by-side layout here.
How a Double Wide Shipping Container Layout Works
The basic idea is simple. Two containers of the same length (usually two 40 ft high cube units, or two 20 ft units for a smaller cabin) are placed parallel on a foundation with their long sides touching. Sections of the touching walls are removed to create one wide interior space. The outer walls stay intact and carry their share of the load, while new steel framing replaces what was cut away along the center line.
Most designs do not remove the entire shared wall. A common approach leaves short wall sections near each end and sometimes in the middle, creating two or three large openings. Leaving some corrugation in place helps the structure and gives natural spots for interior partitions, bathrooms or closets.
- Two 20 ft boxes: about 320 sq ft gross, good for a studio cabin or guest house.
- Two 40 ft boxes: about 640 sq ft gross, enough for one or two bedrooms, a full bath and an open kitchen and living area.
- High cube units: add about a foot of height, which leaves room for insulation and a finished ceiling while still clearing 7 ft.
Why an Engineer Must Size the Reinforcement
When people talk about shipping container living, they often assume steel boxes are indestructible. They are strong as shipped, but that strength depends on an unbroken shell. Remove a 20 ft section of side wall and the roof panel above it can sag, the top rail can deflect, and the floor can twist under uneven loads.
A structural engineer will typically specify:
- Header beams above each opening, often steel channel, tube or wide-flange sections welded to the existing top rails.
- Posts at the ends of each opening, transferring roof loads down to the bottom rails and the foundation.
- Foundation supports under those posts, since point loads now land where the original design did not expect them.
- Connections between the two boxes, such as welded plates or bolted clips at the corner castings and along the rails, so the pair behaves as one structure under wind.
Snow load, wind exposure, roof additions, and any rooftop decks change the beam sizes. Local building departments will usually want stamped drawings for a container home, and the engineer’s plan is what gets you through plan review.
Tools and Materials
- Two containers of matching length and height, inspected for rust-through, dents and floor condition
- Engineer-specified steel beams, posts, plates and fasteners
- Plasma cutter or abrasive cutoff tools for removing wall sections
- Welder suited to the steel thickness, with qualified operator
- Fire extinguishers, welding blankets and fire-resistant clothing
- Respirator, welding helmet, leather gloves, hearing and eye protection
- Seam flashing, sealant rated for metal roofing, and closure strips
- Subfloor materials and insulation for the joined floor
A plasma cutter is the go-to tool for this work. It cuts corrugated steel faster and cleaner than a grinder, with less heat spread and fewer sparks thrown across the room, which matters when the box still has its original plywood floor.
Step-by-Step: Joining Two Containers Side by Side
- Get plans and permits. Have the engineer’s drawings approved by your building department before any cutting. Confirm zoning allows container homes on your lot.
- Prepare the foundation. Pier, strip or slab foundations must be level and placed to carry both the corner castings and the new post loads. Call 811 before digging footings.
- Set and level the boxes. A crane places the containers side by side with a small, even gap. Level them carefully; a quarter inch of difference shows up as a ridge in the finished floor.
- Connect the containers. Weld or bolt the corner castings and rails together per the drawings so the boxes cannot shift.
- Install temporary shoring. Before any wall comes out, support the roof with temporary posts on both sides of the planned opening.
- Install headers and posts. Many crews weld the new beams and posts in place before cutting, so the load path exists first.
- Cut the wall sections. Remove the corrugated panels on both containers along the marked lines. Work in manageable pieces and support them so they do not fall on the crew.
- Remove temporary shoring only after welds are complete and inspected.
- Seal the roof seam. Cover the gap between the two roofs with a continuous steel cap or flashing, sealed and fastened so water sheds outward. Some builds add a low-slope roof over the entire pair, which handles drainage better.
- Close the floor seam. Bridge the gap with steel plate or framing, seal it against air and pests, and install a continuous subfloor over both boxes.
- Treat the old floors. Original container plywood is often treated with pesticides. Many builders remove it or encapsulate it under a sealed new subfloor.
Cutting and Welding Fire Safety
Cutting and welding inside steel boxes is hot work, and the original plywood floors, leftover cargo residue and any insulation can catch fire from sparks or slag. Fires during container conversions often start smoldering under the floor and break out after the crew leaves.
- Clear combustibles at least 35 ft from the work, or cover them with welding blankets.
- Keep a charged fire extinguisher within reach for every torch or cutter running.
- Assign a fire watch: a person whose only job is watching for sparks and smoke during the work and for at least 30 minutes afterward, checking under floors and inside wall cavities.
- Ventilate well. Burning paint, primers and galvanizing release harmful fumes; wear a respirator rated for welding fumes.
- Never cut or weld near closed spray foam or foam board; finish all hot work before insulating.
Some local fire codes require a hot work permit, especially on commercial sites. If you are not experienced with structural welding, this is the part of the job to hand to a certified welder.
Electrical, Plumbing and Comfort Systems
Once the shell is joined and sealed, the box needs systems like any house. Running wires through steel walls means grommets and conduit to prevent chafing, and every metal container must be properly bonded and grounded. Hire a licensed electrician for the panel, circuits and grounding. When working on any existing circuit, turn off the breaker and confirm power is off with a non-contact voltage tester. Outlets in the kitchen, bathroom and exterior need GFCI protection.
Plumbing, water heaters and drains belong to a licensed plumber, and heating or cooling equipment such as a ductless mini-split belongs to a licensed HVAC contractor. Steel conducts heat fast, so insulation matters: closed-cell spray foam or rigid foam with thermal breaks helps control condensation on the inside of the walls. Any lighting power supplies should be listed, sized to the load with headroom, and kept away from heat sources.
Troubleshooting Common Problems
- Roof leaks at the center seam: the cap is too narrow or fastened through low spots. Replace with a wider cap or add a full roof over both boxes.
- Uneven floor at the joint: the boxes were set out of level. Shim the foundation or build up the subfloor with tapered sleepers.
- Sagging over an opening: stop and call the engineer. Do not add posts or cut more steel until the cause is diagnosed.
- Condensation and rust: improve the vapor control and insulation, and run a bath fan and kitchen exhaust.
- Drafts along the seam: reseal the floor and wall joints with compatible sealant and backer rod.
General Cost Ranges
Used containers vary widely by condition and region, and delivery with a crane can add a meaningful amount, especially on remote lots. The structural work (engineering, beams, welding) is one of the bigger line items in a double wide shipping container home, often more than first-time builders expect. Finished projects range from modest owner-built cabins to fully custom homes comparable to small site-built houses per square foot. Get firm quotes for engineering, foundation, crane time and welding before buying the boxes.
When to Call a Licensed Professional
This is not a weekend project. A structural engineer must design the openings, beams, posts and foundation, and most jurisdictions will not issue a permit without stamped plans. Certified welders should handle structural connections. A licensed electrician, licensed plumber and licensed HVAC contractor handle the systems, and inspections happen at framing, rough-in and final stages. Talk to the building department and any HOA early, since container homes face extra scrutiny in some areas.
Frequently Asked Questions
How wide is a double wide shipping container home?
Two standard containers side by side measure about 16 ft wide on the outside, giving roughly 15 ft of usable interior width once walls are finished.
Can I remove the entire shared wall between two containers?
Only if an engineer designs beams and posts to replace it. Most designs keep short wall sections at the ends and sometimes in the middle for strength.
What tool is best for cutting container walls?
A plasma cutter is the most common choice because it cuts corrugated steel quickly and cleanly. Use full fire precautions, including a fire watch.
How do you stop the seam between containers from leaking?
Install a continuous steel cap or flashing over the roof gap, fastened and sealed so water sheds outward, or build a separate roof over both boxes.
Do container homes need building permits?
Yes, in most areas. Expect to submit engineered drawings and pass framing, electrical, plumbing and final inspections like any new home.