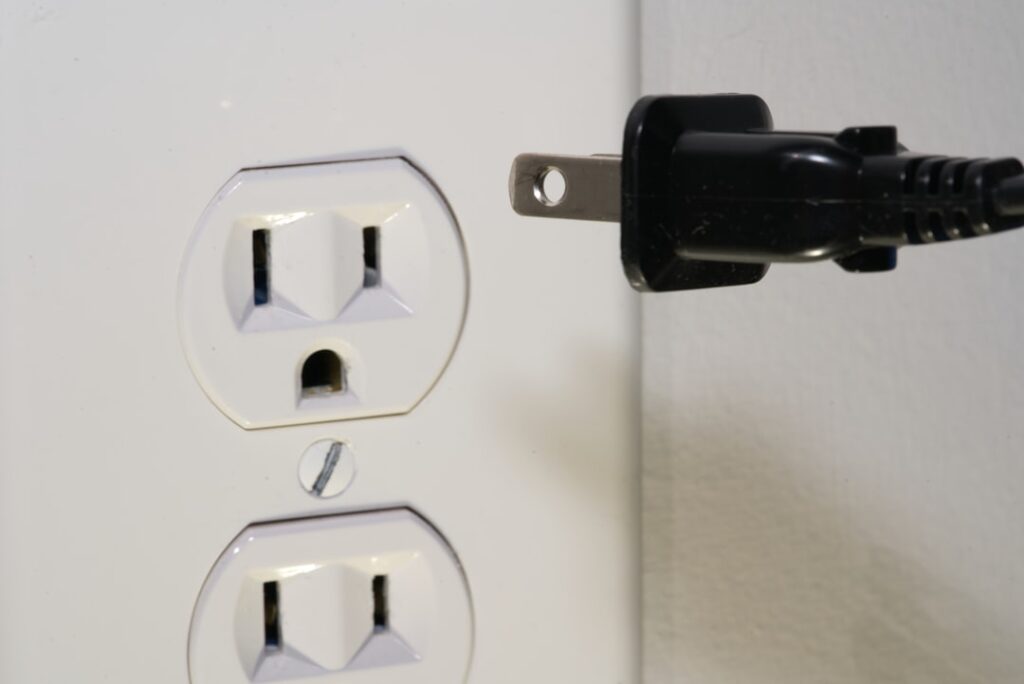
A dryer pulls more amperage than almost any other appliance in your home, which means a sloppy electrical hookup is genuinely dangerous. A proper dryer electrical connection uses a 30-amp double-pole breaker, 10-gauge copper wire (or 8-gauge aluminum), a 4-prong NEMA 14-30 outlet on new installs, and a UL-listed cord matched to the dryer terminal block. Get any link wrong and you risk overheated outlets, tripped breakers under load, or worst case, a panel fire that started behind the wall.
What the NEC Requires
The National Electrical Code (NEC) 250.140 has required four-wire dryer circuits in all new installations since 1996. A 4-wire circuit includes two hot conductors (120V each, providing 240V), one neutral, and one separate ground. Older 3-wire installations used the neutral as both neutral and ground, which is now considered unsafe because a broken neutral could energize the dryer chassis.
Existing 3-wire installations are grandfathered (NEC 250.140 Exception) and can be used with a 3-prong cord, but any new branch circuit or major remodel triggers the 4-wire requirement. Most municipalities require permits and inspection for any new dryer circuit.
Voltage, Amperage, and Breaker Sizing
Standard US residential electric dryers operate on 240-volt circuits at 24 to 30 amps under heating load. The breaker must be sized at 30 amps (double-pole) per NEC 422.10 for a typical 5000-watt heating element. Some compact 120V dryers run on a standard 20-amp outlet, but a full-size electric dryer (Maytag, Whirlpool, GE, LG, Samsung) requires the dedicated 30-amp 240V circuit.
Wire gauge matches breaker size: 10 AWG copper for 30-amp breakers per NEC Table 310.16. Aluminum requires upsizing to 8 AWG. Do not use 12 AWG wire on a 30-amp breaker; it cannot dissipate heat under load and the breaker may not trip before the wire’s insulation melts.
Outlet Types and Plug Differences
- NEMA 14-30R: 4-prong, the current standard. Two hots, one neutral, one ground.
- NEMA 10-30R: 3-prong, legacy. Two hots and a combined neutral/ground.
- NEMA 6-30R: 3-prong 240V without neutral, used for some commercial and pre-1973 dryers. Not for residential 240V dryers needing 120V controls.
The receptacle face is recessed into a 4 inch by 4 inch square box for surface mount or in a flush-mount box for finished walls. Use a Pass and Seymour, Leviton, or Hubbell 30-amp grade receptacle. Skip the cheapest hardware-store brands; the contact spring loses tension under repeated plug cycles.
Choosing the Right Cord
Dryer cords ship separately from the appliance in most cases. You must buy the cord matching your outlet, not the other way around:
- 4-prong cord (NEMA 14-30P): For new installs and any home with a 4-prong outlet
- 3-prong cord (NEMA 10-30P): For grandfathered 3-prong installations only
Quality cord brands include Petra Industries, Smart Choice, and the OEM cords from Whirlpool and GE. Pick a 4-foot or 6-foot length to allow the dryer to pull forward for cleaning. Always use a UL-listed cord; non-UL imports may not handle 30-amp continuous load safely.
Step-by-Step Connection Process
- Turn off the dryer breaker at the main panel and verify with a non-contact voltage tester
- Remove the small access panel on the back of the dryer to expose the terminal block
- Remove the strain relief clamp from the back of the dryer
- Feed the cord through the strain relief opening
- For 4-wire: connect ground (green/bare) to the dryer chassis ground screw; connect neutral (white) to the center post; connect the two hots (black and red) to the outer terminal posts; remove and discard the bonding strap between neutral and ground
- For 3-wire (legacy only): connect both hots to outer terminals, neutral to center, leave the bonding strap in place
- Tighten all terminal screws to 18 to 25 inch-pounds per the appliance manual
- Reinstall the strain relief tightly so the cord cannot pull out
- Replace the access panel
- Plug into the outlet, restore power, and run a test cycle
Common Mistakes That Cause Fires
The most common dangerous error is leaving the neutral-to-ground bonding strap in place on a 4-wire installation. The strap creates a parallel path on the neutral conductor and energizes the equipment ground under load, which defeats the purpose of the separate ground wire. Always remove the strap when installing a 4-wire cord.
Other recurring mistakes: undersizing wire (using 12 AWG for a 30-amp breaker), loose terminal screws that arc and overheat, and using a 3-prong adapter to plug a 4-prong cord into a 3-prong outlet. The adapter approach bypasses the safety ground and creates the exact hazard the code change was meant to prevent.
Gas Dryer Electrical Differences
Gas dryers (Whirlpool WGD, Maytag MGD, Samsung DV) use propane or natural gas for heat but still need 120-volt electricity for the motor, controls, and igniter. They plug into a standard 15-amp NEMA 5-15R receptacle (the ordinary household outlet) on a dedicated 20-amp branch circuit. No 240V circuit, no 30-amp breaker.
Verify the gas line connection separately: 1/2 inch black iron or yellow-coated CSST gas line, a quarter-turn shutoff within 6 feet of the appliance, and a flexible appliance connector rated for the appliance. Soap-test all joints for leaks before first operation.
When to Call a Licensed Electrician
Replacing a damaged cord and reconnecting a working circuit is DIY-friendly. Pulling new wire from the panel, adding a new breaker, or upgrading a 3-prong installation to 4-prong is a job for a licensed electrician unless you have experience with panel work. Permit costs typically run $75 to $200, electrician labor for a new 30-amp dryer circuit is $400 to $900 in most US metros, and the inspection ensures the dryer electrical connection is safe for the next 25 years. The investment is small compared to the cost of an electrical fire.