A ductless system delivers efficient heating and cooling without the expense and disruption of ductwork, but the results depend heavily on how it is put in. Proper ductless mini-split installation means correct placement, clean refrigerant lines, and a precise charge, all of which affect efficiency and longevity. This guide walks through the process, the tools involved, the DIY-versus-professional decision, and the mistakes that cause problems.
- The Main Components
- Planning and Placement
- The Installation Steps
- Why the Vacuum Step Matters
- Refrigerant and EPA Rules
- Tools and Materials Needed
- DIY vs. Professional Installation
- Electrical Requirements
- What It Costs to Install
- Condensate Drainage Done Right
- Permits and Inspections
- Commissioning and Testing
- Preparing the Site Before Installation
- Common Installation Mistakes
The Main Components
Every ductless installation connects these parts:
- An outdoor condenser housing the compressor.
- One or more indoor air handlers mounted in the rooms served.
- A line set of insulated copper refrigerant lines running between them.
- A condensate drain to carry away moisture.
- Control wiring linking the units.
All of these pass through a small wall penetration, typically about 3 inches in diameter, far less invasive than installing ducts.
Planning and Placement
Good installation starts with placement. The indoor unit should be high on a wall with clear airflow across the room, away from furniture and direct sunlight, and where the condensate can drain properly. The outdoor unit needs a stable, level pad or wall bracket, clearance for airflow on all sides, and a location away from bedroom windows for noise. Keeping the line set run short and direct improves efficiency, so mount the two units as close together as practical.
The Installation Steps
A typical professional installation follows this sequence:
- Mount the indoor unit’s backing plate, level and secure to studs.
- Drill the wall penetration at a slight downward angle for drainage.
- Connect the refrigerant lines, drain hose, and control wiring to the indoor unit.
- Feed the bundled lines through the wall and mount the indoor unit on its plate.
- Set the outdoor condenser on a pad or bracket and route the line set to it.
- Flare and connect the refrigerant lines to the condenser fittings.
- Pull a deep vacuum on the lines with a vacuum pump to remove air and moisture.
- Release the refrigerant charge, power up, and commission the system.
Why the Vacuum Step Matters
Evacuating the line set is the single most important step for longevity. Any air or moisture left in the lines forms acids and ice that damage the compressor and degrade performance over time. A proper installation pulls the system down to a deep vacuum (measured in microns) with a micron gauge and confirms it holds before releasing refrigerant. Skipping or rushing this step is the leading cause of premature failure in poorly installed systems.
Refrigerant and EPA Rules
Handling refrigerant is regulated. Under federal law, working with refrigerant requires EPA Section 608 certification, and releasing refrigerant to the atmosphere is illegal. Pre-charged units and DIY kits with quick-connect line sets exist to let homeowners avoid open refrigerant handling, but conventional systems must be evacuated and charged by a certified technician. This is a major reason most ductless installations are done by professionals.
Tools and Materials Needed
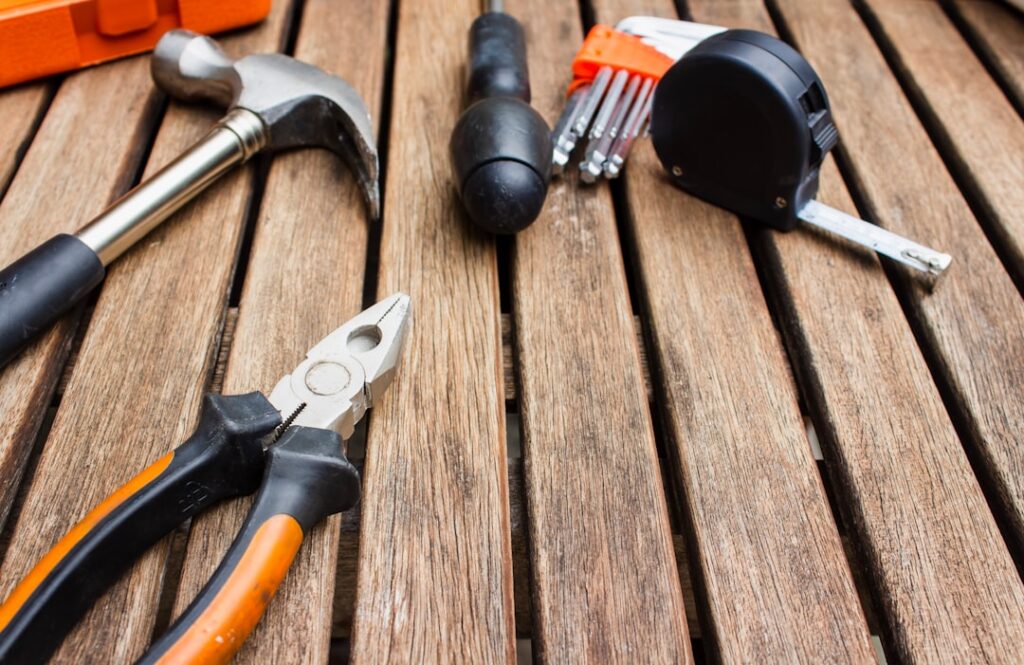
A conventional installation requires specialized tools:
- A vacuum pump and micron gauge.
- A manifold gauge set and refrigerant scale.
- A flaring tool and tubing cutter for the copper lines.
- A core drill or hole saw for the wall penetration.
- A torque wrench to tighten flare fittings correctly.
Owning and knowing how to use these tools is part of why professional installation exists; renting them for a one-time job rarely makes sense.
DIY vs. Professional Installation
DIY mini split kits with pre-charged lines put installation within reach of a confident homeowner and can save thousands in labor. However, they may void the manufacturer’s warranty, are limited to specific models, and still demand careful mounting, leveling, and electrical work. Conventional systems, higher-efficiency equipment, and multi zone setups are best left to licensed pros. If the system is critical for winter heat or you want the full warranty, professional installation is the safer path.
Electrical Requirements
Mini splits need a dedicated circuit, typically 15 to 30 amps at 120 or 240 volts depending on capacity, with a disconnect near the outdoor unit. This work must meet the electrical code and usually requires a permit and, in many jurisdictions, a licensed electrician. Undersized wiring or a missing disconnect is both a code violation and a safety hazard, so do not shortcut the electrical side.
What It Costs to Install
Installation labor and materials vary widely:
- Single-zone professional installation: roughly $1,000 to $2,500 on top of equipment.
- Total installed single zone: commonly $3,000 to $5,000.
- Multi zone systems scale up with each additional head.
DIY kits reduce labor to near zero but add tool and electrician costs, and the savings must be weighed against warranty and reliability considerations.
Condensate Drainage Done Right
In cooling mode the indoor coil produces condensate that must drain away, and improper drainage is a frequent source of callbacks. The drain line runs from the indoor unit, usually by gravity through the wall penetration to the outside. The indoor unit must be mounted dead level or with a very slight tilt toward the drain so water flows out rather than backing up and dripping down your wall. Where gravity drainage is not possible, a condensate pump lifts the water to a suitable drain. Any sag, kink, or clog in the drain line causes water to overflow the pan, so the routing must fall continuously toward the exit.
Permits and Inspections
Most jurisdictions require a permit for a mini split installation because it involves electrical work and, often, mechanical code compliance. Pulling a permit means an inspector verifies the electrical circuit, disconnect, mounting, and clearances meet code, which protects you and preserves resale value. Skipping the permit can create problems when selling the home and may violate the terms of the equipment warranty. Reputable contractors handle permitting as part of the job. For DIY installations, check with your local building department about what is required before you start, since requirements vary widely.
Commissioning and Testing
The final step, commissioning, confirms the system is ready for years of service. After charging, the installer runs the system in both heating and cooling, checks that each mode produces the expected temperature split across the coil, verifies the condensate drains properly, confirms there are no refrigerant leaks at the flare joints using an electronic detector or bubble solution, and tests the controls and remote. Recording the refrigerant charge, line lengths, and pressures gives a baseline for future service. Thorough commissioning catches small issues before they become failures and is the mark of a quality installation.
Preparing the Site Before Installation
A little preparation makes the installation faster and cleaner. Decide on the exact indoor unit locations, ensuring clear airflow across the room and access to an outside wall for the line set. Choose an outdoor spot that is level, drains well, sits away from bedroom windows for noise, and stays clear of where snow or roof runoff collects. Confirm there is capacity in your electrical panel for the new dedicated circuit, and clear furniture and obstructions from the work areas. If mounting the outdoor unit on a bracket or a pad, have the surface ready. Good site prep lets the installer focus on the technical work and reduces the chance of a rushed compromise on placement that you regret later.
Common Installation Mistakes
The problems that plague ductless systems usually trace to installation errors:
- Skipping or rushing the vacuum, leaving moisture in the lines.
- Overtightening or undertightening flare fittings, causing leaks.
- Mounting the indoor unit unlevel so condensate backs up and drips.
- Kinking the refrigerant lines during routing.
- Oversizing the equipment, causing short cycling.
Careful, methodical work at each step prevents nearly all of these.
A successful ductless mini-split installation comes down to smart placement, meticulous refrigerant-line work, a proper deep vacuum, an accurate charge, and code-compliant electrical work. Whether you use a pre-charged DIY kit for a simple single zone or hire a certified professional for a full multi zone system, respecting the vacuum step, the flare connections, and the EPA refrigerant rules is what separates a system that runs efficiently for 15 years from one that fails early. Take the time to do each step right, and a ductless system rewards you with quiet, efficient comfort.