A roof surface in Phoenix can swing 90°F between a July afternoon and the following dawn, and every panel and seam up there stretches and shrinks with it. An elastomeric roof coating is engineered for exactly that abuse: the acrylic film elongates 200 to 400 percent and snaps back, riding out thermal movement that would crack ordinary paint in a season. Applied at the right thickness, it waterproofs seams, blocks the UV that ages roofing, and reflects enough sun to drop surface temperature by 50°F. Here is how the chemistry works, where it belongs, and how to put it down correctly — because application errors cause nearly all field failures.
What Makes a Coating “Elastomeric”
The term covers any coating that stretches elastically, but in practice it almost always means water-based acrylic latex loaded with elastic polymers, titanium dioxide for reflectivity, and mildewcides. Two numbers on the technical data sheet tell you most of what matters: elongation (300 percent or better is good) and tensile strength (200+ psi resists tearing at fastener heads). The third number is solids content — typically 50 to 55 percent by volume for quality acrylics. Since the water evaporates during cure, a coating that goes on at 20 wet mils dries to about 10 to 11 mils, which is why manufacturers specify two coats to reach the 20-mil dry film a real warranty requires. Bargain coatings with 40 percent solids need proportionally more gallons; the per-pail savings is usually an illusion.
Where Acrylic Elastomerics Work — and Where They Fail
Acrylic elastomeric is the right tool on metal roofs, sloped modified bitumen and built-up roofs, spray foam, and previously coated surfaces in decent condition. It is the most forgiving chemistry to apply, cleans up with water, recoats easily every 10 to 15 years, and costs the least of the performance coatings. Its one hard limit: standing water. Acrylics are water-based and re-soften under ponding that lasts more than about 48 hours, leading to blistering and wash-off. If your flat roof holds birdbaths a day after rain, use silicone instead — the trade-offs are covered in our silicone roof coating guide — or fix the drainage first. For a comparison of all four coating chemistries and the coat-versus-reroof decision itself, start with our roof coating overview.
Coverage, Cost, and Buying the Right Amount
Plan on 1.5 gallons per 100 square feet per coat on smooth surfaces, two coats — roughly 3 gallons per square total. Rough or granulated surfaces drink 20 to 30 percent more. At 2026 prices, quality acrylics such as GacoFlex A48, Henry 587 Dura-Brite, or Kool Seal Premium run $90 to $180 per 5-gallon pail, which puts material for a 1,500-square-foot roof at $850 to $1,600 including primer, seam tape, and mastic. Professional application lands at $2.00 to $3.50 per square foot all-in. That makes a modest flat or metal roof a legitimate weekend DIY at a third of the pro price — one of the few roofing jobs where that is true.
Surface Prep: Where the Job Is Won
Coatings fail by peeling, and peeling is a prep failure. Power wash the entire roof at 2,000+ psi with a cleaner such as TSP substitute, killing algae and removing chalk — rub a dark cloth on the cleaned surface; if it comes up white, wash again. Let the roof dry completely, typically 24 hours. Then repair before you coat: wire-brush and spot-prime rust on metal with a rust-inhibitive primer, tighten or replace backed-out fasteners, and embed polyester reinforcing fabric in brush-grade mastic over every seam, crack, and penetration. Check the adhesion spec — EPDM and some TPO membranes need a dedicated primer or a different product entirely, since acrylics bond poorly to weathered rubber without one. A 6-inch test patch, cured 72 hours and then picked at with a knife, settles any doubt for $5. Ponding-prone low spots deserve one more prep decision: either correct them with a self-leveling filler or plan silicone for those zones, because no amount of acrylic thickness compensates for standing water.
Applying the Coating, Step by Step
- Watch the weather. You need 50 to 90°F, humidity under 85 percent, no rain for 24 hours (ideally 48), and no dew before the film sets. Acrylics wash off if rained on before cure — this is the classic failure.
- Detail first. Brush coating around penetrations, curbs, drains, and fastener heads before rolling the field.
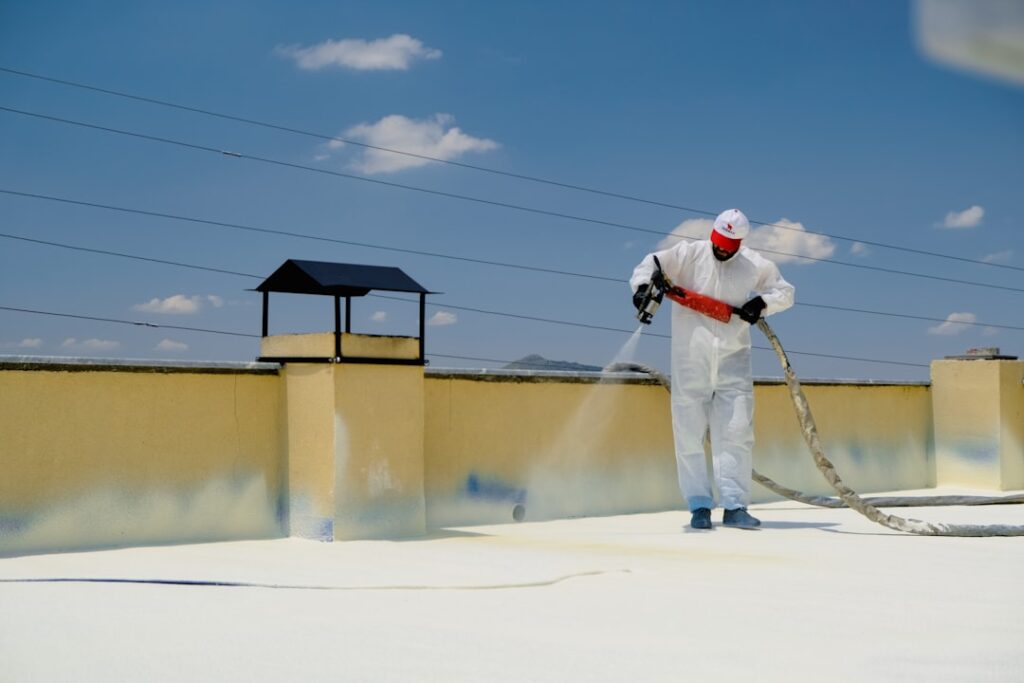
- First coat. Roll with a ¾-inch nap roller or spray with an airless rig (a 3,000-psi unit with a .027 – .031 tip), working in one direction at about 1.5 gallons per square. Do not overspread — thin coats are the second classic failure.
- Cure, then cross-coat. Wait 12 to 24 hours, then apply the second coat perpendicular to the first to eliminate holidays (missed spots).
- Verify thickness. Pros use a wet-film gauge — a $10 notched card — during application. DIYers can simply audit gallons used against square footage.
Lifespan and Maintenance
A properly applied two-coat acrylic system lasts 10 to 15 years before recoating, and here is the quiet advantage of the chemistry: recoating is trivial. Wash the roof, touch up damage, and roll one refresher coat at half the original material cost — the new acrylic fuses to the old. Do that every decade and the coating system effectively never expires, which is how coated metal roofs from the 1990s are still in service. Inspect annually, clearing debris from drains and rechecking seams; pair that walk with the checklist in our roof maintenance guide.
Common Failures and How to Avoid Them
Field failures of acrylic systems trace to a short, predictable list. Rain before cure tops it — a washed-off coat looks like white streaks down the walls and a mottled, thin film on the roof, and the fix is unfortunately a rewash and recoat. Peeling in sheets means the substrate was chalky, dirty, or unprimed; adhesion was never established, and no topcoat repairs a bond that never existed. Blistering usually means moisture below — either coating applied over a damp substrate or, worse, over saturated insulation the coating then trapped. Mud-cracking (a dried-lakebed texture) comes from applying one heroic thick coat instead of two specified passes; the surface skins over before the depth cures. Every one of these is a process error, not a product defect, which is both the bad news and the good: the same $500 of material applied patiently succeeds where a rushed weekend fails.
DIY or Hire It Out?
The honest split: a single-story flat or shallow-pitch roof under about 1,500 square feet, with good access and simple penetrations, is a genuine DIY project — two people, two days, roller-applied, saving 50 to 65 percent versus a contractor. Hire it out when the roof is high, steep, or cut up with equipment; when the substrate is weathered single-ply needing primers and adhesion testing; or when you want a manufacturer-backed warranty, which requires a certified applicator and measured millage. Get the mid-ground option on the table too: some contractors will do the wash, repairs, and detail work, then let you roll the field coats — the skilled 20 percent of the job at a fraction of full price. Whoever applies it, keep the empty pails until the job passes its first hard rain; gallons-used is your proof of coverage if a warranty question ever arises.
Bottom Line
Elastomeric acrylic is the best value in roof restoration for sloped and well-drained roofs: cheap enough to DIY, forgiving to apply, indefinitely renewable, and genuinely effective at cutting heat and sealing weathered surfaces. Respect its two enemies — ponding water and rain during cure — hit the specified millage, and a weekend with a roller buys your roof another decade or more.