
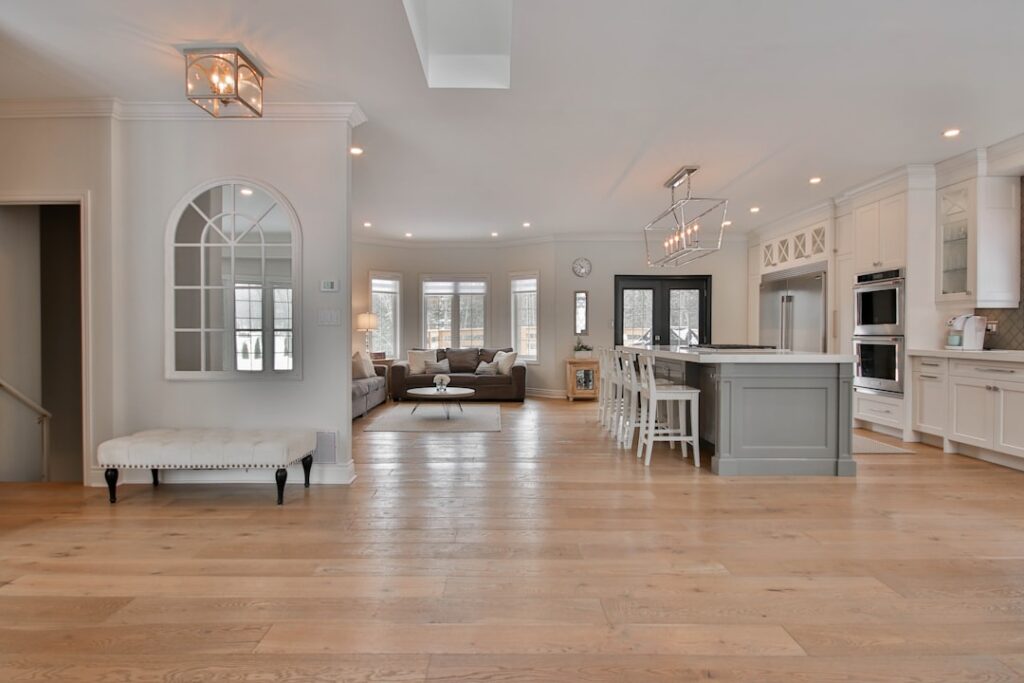
Engineered hardwood flooring installation offers something solid wood cannot: three legitimate ways to put it down, including over concrete slabs where solid hardwood would fail. That flexibility, combined with the dimensional stability of a cross-laminated core, is why engineered wood has become the most installed real-wood floor in new US homes. But each method has rules, and the most common failures trace back to skipped acclimation or an untested slab. At D and G Flooring we guide readers through doing it right. This guide covers the installation methods, prep, pros and cons, and costs.
Why Engineered Wood Installs Differently
Engineered hardwood is built from a real hardwood veneer over a cross-laminated plywood or fiberboard core. The opposing grain layers resist the swelling and shrinking that make solid wood risky over concrete and in humid climates. That stability unlocks installation options solid wood lacks: you can float it, glue it, or nail it depending on the product and subfloor. It also makes engineered wood compatible with concrete slabs and, in many cases, radiant heat, expanding where real wood floors can go.
The Three Installation Methods
- Floating: Planks lock or glue at the joints and rest over an underlayment without fastening to the subfloor. It is the fastest and most DIY-friendly method, forgiving of minor imperfections, and ideal over concrete with a moisture barrier. The trade-off is that a floating floor can feel slightly less solid and may sound hollow over an uneven subfloor.
- Glue-down: Planks are bonded directly to the subfloor with flooring adhesive. This gives the most solid, premium feel and is common over concrete slabs. It demands careful adhesive selection, a flat clean slab, and moisture testing, and it is messier and slower.
- Nail-down (or staple-down): Used over a wood subfloor, fasteners are driven at an angle through the tongue and hidden by the next board. It produces a firm, traditional feel but requires a flooring nailer and a suitable wood subfloor, and it is not an option over concrete without a plywood overlay.
The right method depends on the specific product, your subfloor, and whether you are above or below grade. Always follow the manufacturer’s approved methods to preserve the warranty.
Pros of Engineered Hardwood Installation
- Versatile methods: Float, glue, or nail to suit your subfloor and skill level.
- Works over concrete: With a moisture barrier, it goes where solid wood cannot.
- DIY-friendly options: Floating click systems are within reach of confident homeowners.
- Faster than solid wood: Many systems install quickly with fewer fasteners.
- Radiant heat compatible: Many products work over hydronic heating when the maker approves.
- Stable result: The core resists seasonal gapping and cupping better than solid wood.
Cons and Challenges
- Subfloor must be flat: Out-of-level subfloors cause hollow spots and squeaks; prep is non-negotiable.
- Moisture testing required over concrete: Slab moisture is the top cause of failure and must be measured.
- Glue and nail methods need skill and tools: Adhesive selection or a flooring nailer raises the difficulty.
- Acclimation takes time: The wood must adjust to the home, adding days before you can install.
- Limited resands: A thin veneer restricts future refinishing, so installation damage is harder to undo.
- Cost: Real wood plus proper installation exceeds vinyl and laminate.
Subfloor Preparation
Preparation determines the outcome. The subfloor must be clean, structurally sound, dry, and flat, typically within about 3/16 inch over 10 feet, though you should follow the product’s exact tolerance. Grind down high spots and use a self-leveling compound for low areas. Over concrete, conduct a moisture test, such as a calcium chloride or relative humidity test, and compare it to the flooring maker’s limits before proceeding; a barrier or moisture-mitigation system is often required. Over a wood subfloor, secure any loose areas and fix squeaks before laying the new floor. Rushing prep is the most common and most costly mistake.
Acclimation: Do Not Skip It
Real wood expands and contracts with the moisture in the air, so it must reach equilibrium with your home before installation. Bring the boxes into the actual rooms where the floor will go, leave them flat for the time the manufacturer specifies, often two to several days, and keep the home at normal living temperature and humidity during this period. Installing wood that has not acclimated is a leading cause of gapping, buckling, and cupping after the fact. Patience here pays off in a flat, stable floor.
Installation Steps Overview
- Acclimate the flooring in the rooms for the specified time.
- Prep and test the subfloor for flatness, cleanliness, soundness, and, over concrete, moisture.
- Plan the layout, snapping working lines and balancing the first and last rows so neither ends in a thin sliver.
- Install underlayment or apply adhesive as the method requires, including any moisture barrier over concrete.
- Lay the planks with staggered end joints, maintaining the recommended expansion gap at every wall and fixture.
- Fasten, glue, or lock the boards per the method, keeping seams tight and rows straight.
- Install transitions and trim, covering expansion gaps with baseboard and shoe molding, and add doorway transitions.
Throughout, stagger joints randomly, mix planks from several boxes for natural color variation, and keep expansion gaps consistent so the floor can move.
Tools and Materials
The tools depend on the method. Floating installs need basic items like a tapping block, pull bar, spacers, and a saw. Glue-down adds the correct notched trowel and a floor roller. Nail-down requires a flooring nailer or stapler and a compressor. In all cases you will want a moisture meter for the subfloor, a chalk line, and a quality saw for clean cuts. Buy about 10 percent extra flooring for cuts, defects, and future repairs, and keep spares since styles change over time.
Cost Expectations
Engineered hardwood material commonly runs roughly $4 to $12 per square foot, with premium wide-plank European oak higher. Installation labor varies by method: floating is the least expensive to have done, while glue-down and nail-down cost more because of the added prep, adhesive or fasteners, and skill. Subfloor prep such as self-leveling compound or moisture mitigation can add meaningfully over an uneven or damp slab, so assess the subfloor early. While the total exceeds vinyl, the authentic wood and refinishability deliver lasting value and resale appeal.
The Bottom Line
Engineered hardwood installation is flexible and even DIY-friendly, with floating, glue-down, and nail-down methods to suit your subfloor and skill. The keys to success are the unglamorous fundamentals: acclimate the wood, prep the subfloor flat and clean, moisture-test concrete, respect expansion gaps, and follow the manufacturer’s approved method. Get those right and you will have a stable, authentic wood floor that performs for decades, even over a concrete slab. The team at D and G Flooring can help you pick the best installation method for your home and walk you through the prep.
Prefer to explore on your own?
See how new flooring looks in your actual room in seconds — free, no signup.
Try the free Floor Studio →

