
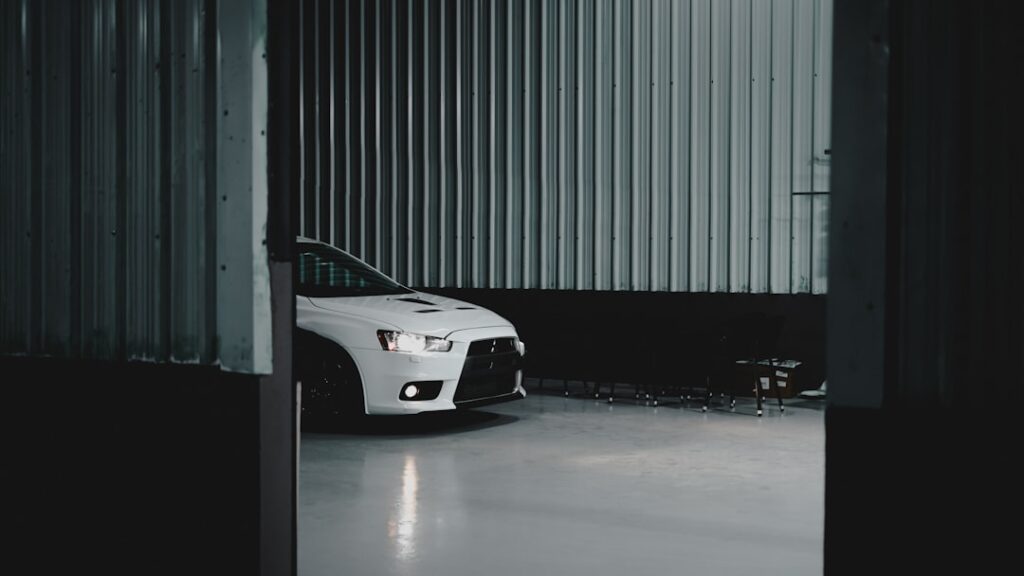
Two garages can get the same bucket of epoxy and end up worlds apart, one glossy and bulletproof a decade later, the other flaking within months, and the difference is almost always the finish system and the prep beneath it, not the brand. A proper epoxy floor finish on concrete is not a single coat of paint but a layered system: prepped substrate, epoxy build coat, and a protective topcoat that determines how the floor looks and lasts. Getting each layer right is what separates a showroom floor from a peeling mess.
Part of our Epoxy, Concrete & Garage Floors guide — explore the full guide →
- What "Finish" Means on an Epoxy Floor
- Types of Epoxy Finishes
- Gloss Level: Choosing Your Sheen
- Surface Prep: The Foundation of the Finish
- Application Step by Step
- Why the Topcoat Matters So Much
- What It Costs
- Maintenance and Longevity
- Common Problems to Avoid
- Adding Slip Resistance to the Finish
- How Long the Finish Takes to Complete
- Frequently Asked Questions
What “Finish” Means on an Epoxy Floor
People use “epoxy floor finish” to mean two related things: the final look and sheen of the floor, and the topcoat that protects the epoxy underneath. Both matter. The epoxy layer provides the color, the build thickness, and the bond to the concrete. The finish coat on top, often a clear polyurethane or polyaspartic, controls the gloss level, the abrasion resistance, and the UV stability. Skipping that clear topcoat is a common mistake that leaves the epoxy exposed to wear and yellowing.
Types of Epoxy Finishes
The finish you choose sets the entire aesthetic of the floor.
Solid Color
A single opaque color, gray, tan, or beige, gives a clean, uniform, industrial look. It is the simplest and most economical finish and hides nothing, so the concrete must be smooth.
Color Flake (Broadcast) Finish
Vinyl color chips are broadcast into the wet epoxy, then sealed under clear coat. The flakes add texture, hide minor imperfections, provide subtle slip resistance, and are the most popular residential garage finish.
Metallic Finish
Metallic pigments create swirling, three-dimensional depth, marble-like, water-like, or dramatic effects. It is the highest-end look and the hardest to apply well.
Quartz Finish
Colored quartz sand is broadcast for a heavy-duty, highly slip-resistant surface, common in commercial kitchens and wet areas.
Gloss Level: Choosing Your Sheen
The clear topcoat sets how shiny the floor reads, and it is a practical decision as much as an aesthetic one. A high-gloss finish looks striking and reflects light, brightening a garage, but it also shows dust, scratches, and tire marks more readily and can be slick when wet. A satin or matte finish hides wear and dust better and offers more traction underfoot, which many homeowners prefer for a working garage. You can also add an anti-slip aggregate to any topcoat for safety in areas that get wet.
Surface Prep: The Foundation of the Finish
No finish survives on poorly prepped concrete. Epoxy bonds mechanically, so the slab must be clean, profiled, and dry:
- Degrease and clean every oil stain; epoxy will not adhere to contamination.
- Profile the surface by diamond grinding, the reliable method, or acid etching for a lighter profile.
- Test for moisture with a taped-down plastic sheet overnight; hidden moisture pushes coatings off the slab.
- Repair cracks and spalls with an epoxy patch and let them cure before coating.
Grinding is worth the rental cost because it opens dense, troweled concrete that etching barely touches, giving the finish something to grip.
Application Step by Step
Once the slab is prepped and dry, the finish system goes down in layers. A typical residential process:
- Prime with a thin penetrating epoxy or primer coat to seal the concrete and boost adhesion.
- Apply the epoxy build coat, rolling the pigmented epoxy in overlapping sections. Broadcast flakes or quartz into it now if using them.
- Scrape and vacuum any excess flake once cured, so the surface is smooth for topcoating.
- Apply the clear topcoat, polyurethane or polyaspartic, for gloss, UV stability, and abrasion resistance.
- Cure fully before foot traffic, usually 24 hours, and before vehicle traffic, typically several days.
Work between 60 and 85 degrees Fahrenheit and mind the pot life, epoxy sets on its own schedule once mixed, and heat shortens your working window fast.
Why the Topcoat Matters So Much
The clear finish coat is what you actually walk and drive on, and it does the heavy lifting for longevity. Polyaspartic and polyurethane topcoats resist abrasion far better than bare epoxy, add chemical and stain resistance, and, crucially, protect against UV yellowing, since bare epoxy ambers and chalks in sunlight. A floor finished with a quality clear topcoat stays glossy and clear for years; one left as raw epoxy dulls, scratches, and discolors much faster. If you cut one corner, do not let it be the topcoat.
What It Costs
Pricing depends on the finish type and who applies it:
- DIY solid-color kit: $1.50-$3 per square foot in materials.
- DIY flake system with topcoat: $3-$5 per square foot.
- Professional flake floor: $5-$10 per square foot installed.
- Metallic or quartz finish: $8-$15 per square foot installed.
A professionally installed two-car garage commonly runs $2,000 to $5,000. The pro premium buys diamond grinding and a full-solids system that outlasts most DIY kits.
Maintenance and Longevity
A finished epoxy floor is easy to live with. Dust mop to keep grit from scratching the topcoat, damp mop for spills, and place mats under vehicle tires to limit hot-tire marks and abrasion. Avoid harsh solvents and abrasive scrubbers that dull the clear coat. Properly installed with good prep and a quality topcoat, an epoxy floor finish on concrete lasts 10 to 20 years in a residential garage. When the topcoat eventually dulls, you can often refresh just that clear layer rather than redoing the whole system.
Common Problems to Avoid
Most failures trace to a few causes. Peeling comes from skipped prep or trapped moisture from below. Bubbles, or outgassing, happen when you coat a warming slab, so apply during stable or falling temperatures. A tacky, uncured surface almost always means the resin and hardener were not mixed at the correct ratio. And a floor that yellows in sunlight was finished without a UV-stable topcoat. Respect the prep, control the temperature, mix precisely, and always topcoat, and you sidestep nearly every common failure.
Adding Slip Resistance to the Finish
A glossy epoxy finish looks great but can be slick when wet, which matters in a garage that sees rain-soaked tires or a basement near a water source. The fix is to broadcast a fine anti-slip aggregate into the clear topcoat, most commonly aluminum oxide or a polymer grit, which adds traction without significantly changing the look. Flake and quartz finishes already provide some texture, but a smooth solid-color or metallic finish benefits most from added grit. You control the aggressiveness by the grit size and how heavily you broadcast it, so a garage entry can get more traction than a low-traffic display area. Deciding on slip resistance before the final coat is far easier than trying to add it later.
How Long the Finish Takes to Complete
Timing surprises many first-time DIYers, because the finish is built in stages with cure time between each. A typical residential job spans two to four days: prep and repairs on day one, the primer and epoxy build coat on day two, and the clear topcoat on day three after the epoxy has cured. Each coat needs its recoat window respected, usually 12 to 24 hours, and rushing it traps solvents or causes poor adhesion between layers. After the final coat, plan on 24 hours before walking on the floor and several days before parking a vehicle. Polyaspartic topcoats speed this up considerably, sometimes allowing a one-day turnaround, which is one reason pros favor them.
Frequently Asked Questions
Can I apply a new finish over an old epoxy floor?
Yes, if the existing epoxy is sound and well-bonded. Scuff-sand or lightly grind the surface to give the new coat something to grip, clean it thoroughly, and apply a fresh topcoat or a new epoxy layer. If the old floor is peeling, it must be removed first.
Why did my epoxy finish turn yellow?
Yellowing, or ambering, happens when bare epoxy is exposed to UV light. Epoxy is not UV-stable on its own. Applying a UV-stable clear topcoat such as polyaspartic or polyurethane prevents it, which is why the topcoat is essential on any floor that sees sunlight.
A great epoxy floor finish on concrete is a system, not a single coat: a ground, clean slab, a well-mixed epoxy build coat, the finish look you want, and a tough clear topcoat protecting it all. Match the finish type to your traffic and taste, invest in prep and the topcoat, and you will have a floor that stays sharp and functional for the long haul.


