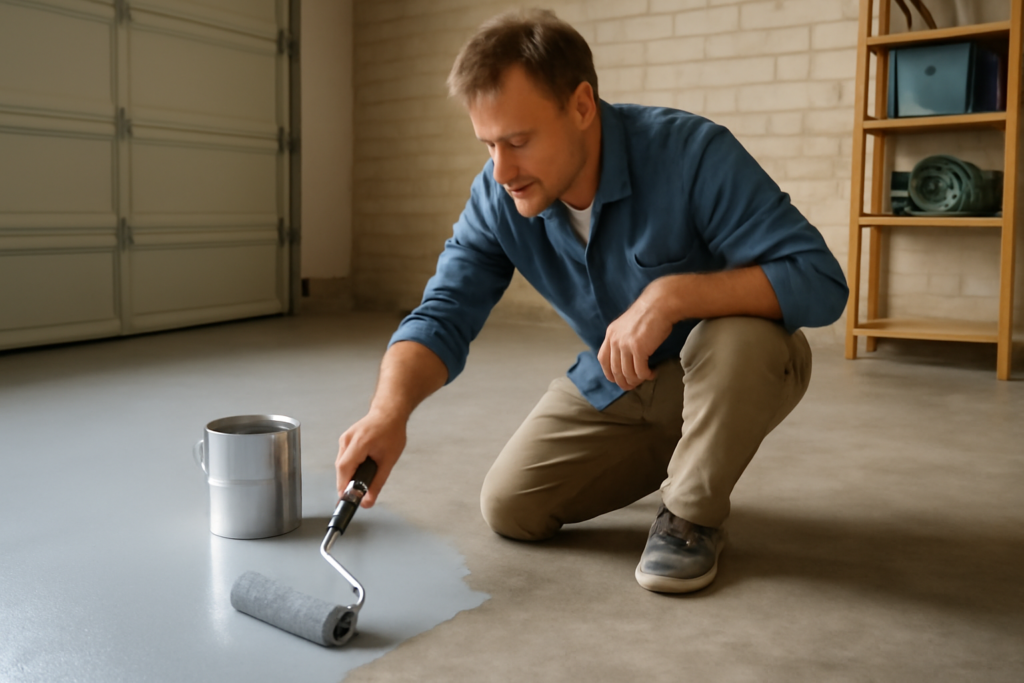
Epoxy floor paint for concrete transforms a dusty, stained slab into a hard, glossy, easy-to-clean surface that shrugs off oil, chemicals, and traffic, which is why it’s the default upgrade for garages, basements, and workshops. Unlike regular floor paint, true epoxy is a two-part chemical coating that bonds into the concrete and cures rock-hard, giving you a floor that can last years when it’s installed correctly.
The catch is that the results live and die by preparation. I’ve seen more epoxy jobs fail from bad prep than from any other cause. Here’s how to do it right.
Epoxy Paint Versus True Epoxy
First, clear up a common confusion. Products marketed as “epoxy paint” range from single-part latex paints with a little epoxy in them to genuine two-part epoxy systems. They are not the same.
Single-part epoxy paints are cheaper and easier but far less durable, wearing and peeling in high-traffic areas within a year or two. Two-part systems, where you mix a resin and a hardener before application, cure into a genuinely tough coating. For a garage that sees cars and tools, invest in a two-part product.
Why Prep Is Everything
Epoxy bonds mechanically to the concrete’s pores, so the surface must be clean, degreased, and profiled to accept it. Coating over a sealed, glossy, or oily slab guarantees peeling.
- The concrete must be fully cured, typically at least 28 days for new slabs
- All oil, grease, and old coatings must be removed completely
- The surface needs profiling by etching or grinding so it feels like fine sandpaper
- The slab must pass a moisture test, since vapor pushing up will delaminate epoxy
The Moisture Test You Can’t Skip
This is the step homeowners skip most and regret most. Concrete slabs, especially basements and slabs on grade, wick moisture from the ground. That vapor pushes up under the epoxy and breaks the bond, causing bubbling and peeling months later.
Tape a 2 by 2 foot square of plastic sheeting to the floor, seal all edges, and leave it 24 to 48 hours. If moisture collects underneath, you have a vapor problem and need a moisture-tolerant primer or a different flooring approach. Don’t proceed until the slab tests dry.
Prepping the Surface
With moisture ruled out, profile the concrete. You have two options: acid etching or mechanical grinding. Etching with a phosphoric or citric acid solution opens the pores and is the common DIY route; grinding with a rented concrete grinder gives a more reliable profile and is worth the rental on a large or previously coated floor.
- Clean the slab and remove all oil stains with a concrete degreaser.
- Etch or grind the surface until it feels like 120-grit sandpaper.
- Rinse etched floors thoroughly and let them dry completely.
- Vacuum up all dust so nothing contaminates the bond.
Mixing and Applying
Two-part epoxy has a limited pot life once mixed, often 30 to 60 minutes, so work efficiently and mix only what you can apply. Follow the manufacturer’s ratio and mixing time exactly; under-mixing leaves soft, uncured spots.
Cut in the edges with a brush, then roll the field with a 3/8-inch nap roller in manageable sections. If your kit includes decorative color flakes, broadcast them into the wet coat. Many systems specify a primer coat, a color coat, and a clear topcoat, each with its own recoat window. Respect those windows, because coating too early or too late ruins adhesion.
Safety and Ventilation
Epoxy fumes are strong, and the chemicals demand respect. Work with the garage door open and fans running for cross-ventilation. Wear chemical-resistant gloves, safety glasses, and a properly rated respirator, not just a dust mask, especially with solvent-based products.
Keep the space above the minimum application temperature on the label, usually 50°F to 60°F, or the epoxy won’t cure. Never apply in cold or when rain and high humidity are forecast during the cure. Consult the product’s safety data sheet before you start.
Cure Time, Cost, and Results
Patience at the end protects all your work. Most epoxy is walkable in about 24 hours, ready for foot traffic in a couple of days, and fully cured for vehicle traffic in 5 to 7 days. Driving on it or dragging tools too soon leaves tire marks and gouges.
For materials, a DIY kit covering a two-car garage runs $150 to $600 depending on quality and whether it’s water-based or solvent-based. Professional installation of a high-build system runs $3 to $12 per sq ft or more. Done properly, epoxy floor paint for concrete gives you a durable, chemical-resistant, easy-to-clean floor that looks sharp and holds up for years. Skip the prep, though, and you’ll be scraping it up next season.
Single-Part vs. Two-Part Systems
Not all products labeled epoxy are the same, and the difference decides how long your floor lasts. True two-part epoxy comes as a resin and a hardener you mix on site, triggering a chemical cure into a thick, bonded film that stands up to vehicle traffic and chemicals. One-part epoxy paint is really a latex paint with a little epoxy added; it goes on easily but wears far faster and is better suited to light-duty basement or utility floors than a garage.
For a floor that sees cars, tools, and spills, invest in a genuine two-part system and follow the mix ratio exactly.
Getting a Lasting Bond
Adhesion lives and dies on prep. The slab must be clean, free of oil and old sealer, and profiled by etching or grinding so the epoxy can grip. Test for moisture first, because a slab that passes water vapor will push the coating loose from below no matter how well you cleaned the top. Apply within the temperature range on the label, keep the room ventilated for the fumes, and respect the full cure time before returning traffic. Many homeowners broadcast decorative flakes into the wet coat, which both looks good and adds slip resistance. Rushed prep is the single most common reason an epoxy floor peels within a year.
Prefer to explore on your own?
See how new flooring looks in your actual room in seconds — free, no signup.
Try the free Floor Studio →