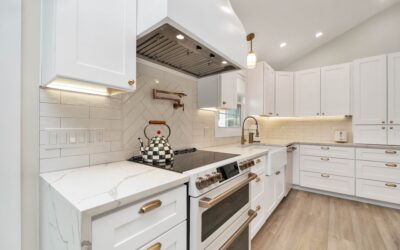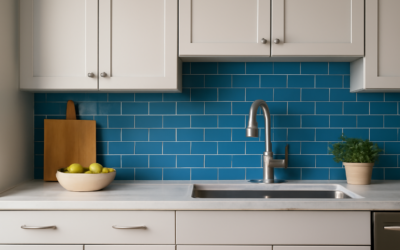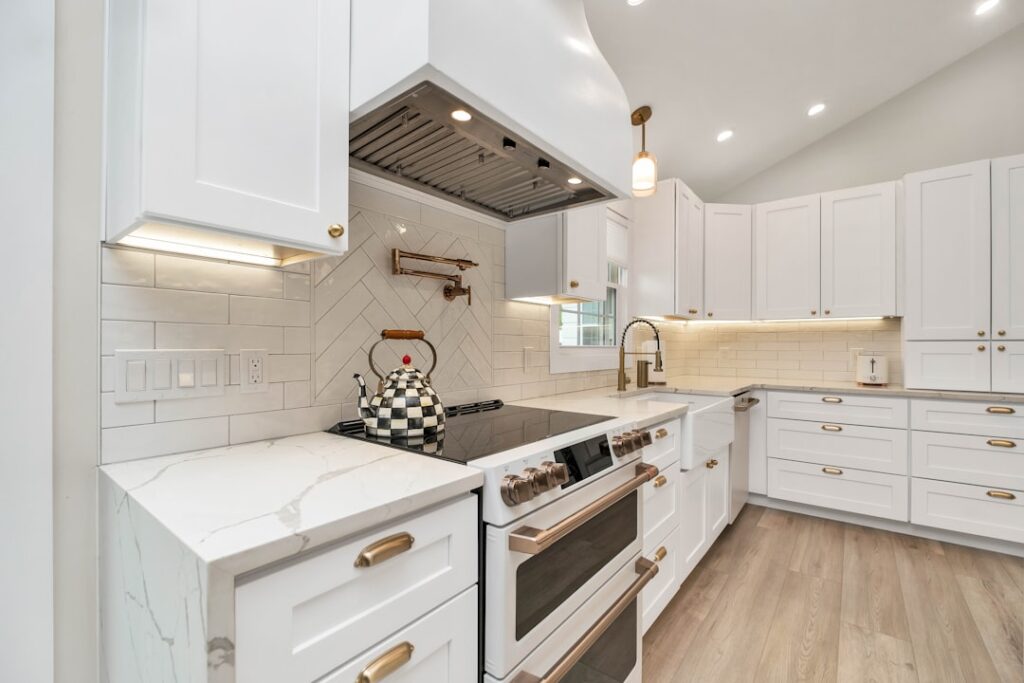
A fake backsplash is any wall treatment that mimics the look of real tile, stone, or brick without the mortar, grout, and labor of the genuine article. Homeowners reach for a fake backsplash when they want the finished look on a tight budget, a short timeline, or a rental where permanent tile is off the table. This guide breaks down every faux option, what it costs, how to install it, and how to keep it looking convincing for years.
What “Fake” Really Means Here
Do not let the word scare you. In the trade, “faux” simply describes a product engineered to reproduce a premium material at a lower cost and weight. A printed panel that reads as marble mosaic, a foam board molded to look like brick, or a peel-and-stick sheet that mimics glass tile all qualify. The best modern versions are convincing from a few feet away, which is exactly the distance most people ever see a backsplash from.
The trade-off is honesty about durability and depth: faux products are thinner, lighter, and shorter-lived than the real thing. Understand that going in and you will pick the right product for the right spot.
Types of Faux Backsplash
The category is broad, and each material nails a different look. Here are the main players.
- Peel-and-stick sheets: Vinyl or gel printed as mosaic, subway, or marble. Cheapest and fastest.
- PVC and thermoplastic panels: Rigid 4-by-8 sheets molded with tile or tin patterns, great for full walls.
- Faux brick and stone panels: Lightweight polyurethane or foam boards with realistic texture and depth.
- Laminate and acrylic sheets: Seamless glossy panels that fake a solid slab with no grout lines at all.
- Backsplash wallpaper: Washable, tile-print wallpaper for the very lowest-cost, lowest-commitment refresh.
Foam brick and stone panels are my pick when you want real dimension; peel-and-stick wins on pure speed and budget.
Design Considerations
The goal with any faux product is to avoid the two dead giveaways: an obvious repeating pattern and a flat, printed look under raking light. Buy a single sheet or panel first and tape it to the wall to judge the repeat and how the print reads in your kitchen’s actual lighting before you commit to the full order.
Coordinate the faux tone with your countertop, since the two surfaces share a sightline. Matte finishes hide the printed quality better than high gloss under direct light, while dimensional foam panels sidestep the flatness problem entirely because they cast real shadows. Keep patterns subtle in a small kitchen so the repeat is harder to spot.
Buying Considerations
Measure your run in square feet using the standard 18-inch counter-to-cabinet height, and add 10 to 15 percent for trim cuts. Before you buy, check these specs.
- Heat rating: Many faux products, especially foam and vinyl, cannot sit directly behind a burner. Confirm the spec.
- Water resistance: Near a sink you want a fully waterproof face and sealed seams.
- Panel size: Large rigid panels mean fewer seams but harder handling and cutting.
- Texture depth: More dimension equals more realism; flat prints betray themselves fastest.
How to Install a Fake Backsplash
Installation depends on the format, but the prep and layout are universal. Budget two to three hours for an average kitchen.
- Clean the wall. Degrease and wipe with rubbing alcohol so adhesive or panel glue bonds properly.
- Mark a level line. Snap a level reference above the counter rather than trusting the countertop edge.
- Dry-fit. Arrange sheets or panels to balance the pattern and plan outlet cutouts before committing.
- Cut. A utility knife handles vinyl and foam; a fine-tooth saw or jigsaw suits rigid PVC panels. Kill the breaker before cutting around outlets.
- Attach. Peel and press for adhesive-backed products, or run beads of construction adhesive for rigid and foam panels.
- Finish the edges. Caulk the top and bottom seams and add trim molding at exposed panel ends for a built-in look.
Reinstall outlet covers with slightly longer screws to reach through the added wall thickness.
How to Make Faux Look Real
The difference between a faux wall that fools guests and one that screams “sticker” comes down to a handful of finishing details. Dimension is the single biggest tell, so favor products that carry actual texture, molded grout lines, and slight surface relief over flat printed sheets. When a light source rakes across the wall and the shadows fall where real grout joints would be, the eye accepts it.
Edges are the second giveaway. A raw cut panel end reveals the material’s true thickness and construction instantly, so wrap exposed ends in a color-matched trim molding or metal edge strip. Caulk the top and bottom seams in a shade that matches the panel, not stark white, so the transitions disappear. And avoid a high-gloss face in a brightly lit kitchen, since gloss exaggerates the flatness of a print; a matte or satin finish hides it.
One more contractor trick: break up long repeats. If your product tiles an obvious pattern every foot, mix in a second complementary panel or add a shelf, rail, or window that interrupts the field. The eye stops hunting for the repeat when there is something else to look at, and a well-placed shelf or rail also reads as a deliberate design choice rather than a cover-up.
Care and Maintenance
Easy cleanup is one of the biggest reasons homeowners choose faux. Wipe the surface with a damp cloth and mild dish soap; avoid abrasive pads and harsh solvents that dull printed faces and can lift edges. Dry any water that pools along the bottom seam near the sink, since standing moisture is the top cause of peeling and warping.
Re-caulk seams if you notice gaps, and press down any lifting corners with a dab of clear adhesive. Kept dry and cleaned gently, most faux products hold their look for five to ten years.
Pros and Cons
Faux is a smart choice in the right situation and a compromise in others. Weigh both sides.
- Pros: Much cheaper than tile, fast install, no grout, lightweight, renter-friendly options, and a huge range of looks.
- Cons: Shorter lifespan, can look flat under harsh light, may not tolerate high heat, and adds little recognized resale value.
What It Costs
The savings are dramatic against real tile, which runs $15 to $40 per square foot installed. Faux breaks down by material.
- Backsplash wallpaper: $2 to $5 per square foot.
- Peel-and-stick sheets: $4 to $8 per square foot.
- PVC and thermoplastic panels: $6 to $12 per square foot.
- Faux brick and stone panels: $8 to $15 per square foot.
A typical 15-square-foot kitchen run costs $60 to $225 in materials, finished in an afternoon with no labor bill.
Frequently Asked Questions
Does a fake backsplash look cheap?
Not if you choose a dimensional product and matte finish. Foam brick and textured panels read convincingly; flat glossy prints under harsh light are the ones that give themselves away.
Can it go behind a stove?
Only heat-rated products belong directly behind burners. Keep foam and vinyl a safe distance from open flame, or choose a rated panel.
Will it damage my walls?
Peel-and-stick usually removes cleanly from sound paint with gentle heat. Panels set in construction adhesive are semi-permanent and require patching.
How long does it last?
Expect five to ten years indoors, longer in low-moisture areas away from the sink and cooktop.