
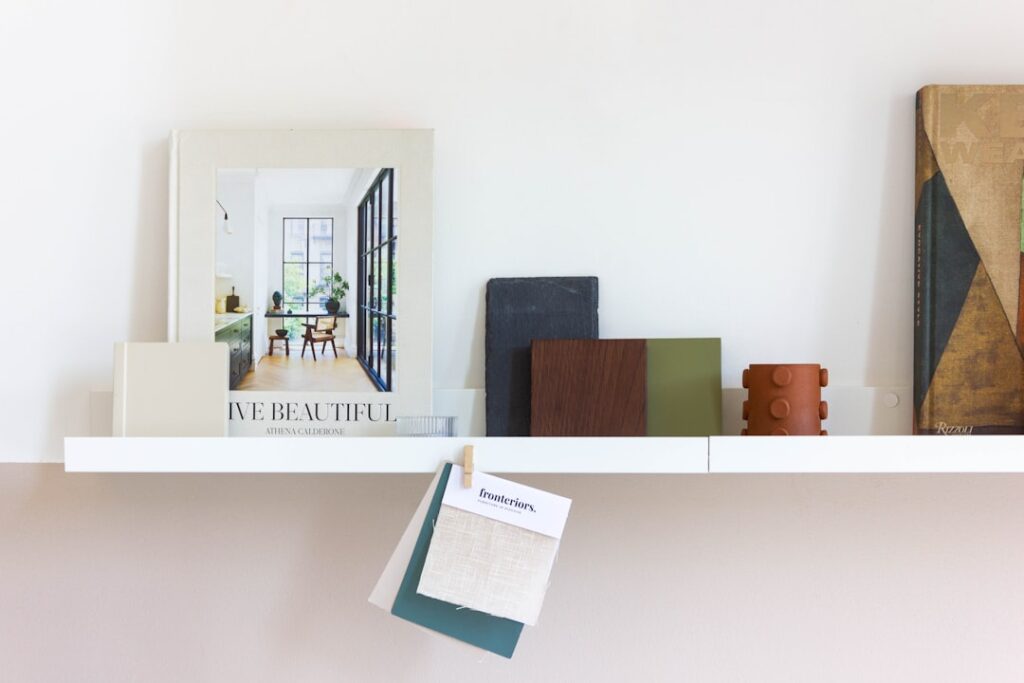
Picking a backsplash from a tiny photo on a website or a single tile on a showroom wall is a recipe for regret. That is why smart homeowners order backsplash samples before committing to hundreds of dollars of tile and a full weekend of installation. A sample lets you see how a tile really behaves in your kitchen, under your lighting, next to your countertops and cabinets, before it becomes a permanent fixture. This guide explains why samples matter, where to get them, how to test them properly, and how to compare your finalists so you end up with a backsplash you love for years, not one you tolerate.
Part of our Kitchen Remodeling guide — explore the full guide →
- Why Ordering Samples Is Worth the Effort
- Where to Get Backsplash Samples
- How Many Samples Should You Order
- Testing Samples in Your Real Space
- What Samples Typically Cost
- Comparing Your Finalists Smartly
- Common Mistakes to Avoid
- Turning Your Choice Into an Order
- What to Look for When You Handle a Sample
- Coordinating Samples With Other Finishes
- Final Thoughts on Using Backsplash Samples
Why Ordering Samples Is Worth the Effort
Tile looks completely different in your home than it does in a showroom or on a screen. Store lighting is bright and neutral; your kitchen may have warm bulbs, north-facing windows, or shadows from upper cabinets. Screen colors are unreliable, and a photo cannot show texture, sheen, or how the tile reads against your specific granite or quartz. Backsplash samples remove that guesswork. Holding the real material against your actual surfaces reveals undertones and finishes that no catalog can convey, and it is far cheaper to discover a mismatch with a $2 sample than after the whole wall is grouted.
Where to Get Backsplash Samples
You have more options than ever for getting tile in hand:
- Online tile retailers: most ship single-tile or chip samples for a small fee, often credited toward your order.
- Home improvement stores: many stock loose samples or let you buy a single tile to take home.
- Local tile showrooms: staff can often provide sample pieces, and you can see full displays in person.
- Manufacturer websites: some brands mail samples directly, including full-size tiles.
- Peel-and-stick and mosaic sheets: often sold as single sheets so you can test a real section.
Order several finalists at once so you can compare them side by side rather than judging each in isolation.
How Many Samples Should You Order
Resist the urge to order dozens; it becomes overwhelming. A better approach:
- Narrow your online browsing to a shortlist of three to six tiles you genuinely like.
- Order those as samples so you can compare real materials, not endless options.
- Include at least one safe, neutral choice and one bolder option to test your range.
Three to five well-chosen samples usually give you enough to make a confident decision without decision fatigue.
Testing Samples in Your Real Space
Getting the tile home is only half the job. Test it deliberately:
- Hold it against the counter and cabinets. Place the sample flat against your countertop and up against the cabinet face to see all three surfaces together.
- Check it in different light. Look at each sample in morning daylight, midday, and under your evening kitchen lights. Colors and undertones shift dramatically.
- Tape it to the wall. Attach samples to the actual backsplash area and live with them for a few days so you can react to them in normal use.
- Assess texture and sheen. Note whether the finish is glossy, matte, or textured, and how it catches light and hides or shows smudges.
- Consider grout. Ask for or imagine the grout color, since it changes the whole look; a white tile with dark grout reads very differently than with matching grout.
What Samples Typically Cost
Sampling is inexpensive insurance:
- Online chip or single-tile samples: often free to about $5 each, sometimes with a small shipping charge.
- Full mosaic sheets: the price of one sheet, typically $8 to $25.
- Sample credit: many retailers refund sample costs when you place a full order.
Compared with the cost of tearing out a backsplash you dislike, a few dollars per sample is trivial and easily the best money you will spend on the project.
Comparing Your Finalists Smartly
Once your samples are taped to the wall, evaluate them with a consistent checklist rather than gut reaction alone:
- Coordination: Does it complement, not exactly match, your countertop and cabinets?
- Undertone harmony: Warm tiles with warm counters, cool with cool, unless you want deliberate contrast.
- Maintenance: Will a textured or high-gloss surface show grease and water spots near the range?
- Timelessness: Is it a trend you will tire of, or a look you will still like in ten years?
- Scale: Does the tile size suit your wall area, small mosaics on a big wall, large tiles in a compact kitchen?
Common Mistakes to Avoid
- Judging by screen alone. Never buy a full order based on website photos; monitors distort color.
- Testing in only one light. A tile that looks perfect at noon can turn muddy under evening bulbs.
- Ignoring the grout. Grout color can make or break the final look, so factor it in early.
- Ordering too late. Samples take days to arrive; order early so they do not delay your project.
- Matching too perfectly. An exact color match to the counter often looks flat; slight contrast adds depth.
Turning Your Choice Into an Order
Once a winner emerges, measure your backsplash area carefully and add roughly 10 percent for cuts and breakage. Confirm the sample’s exact product name, color, and lot number so your full order matches, tile can vary between production batches. Order all your tile at once from the same lot to avoid subtle color shifts across the wall. Keep the sample until installation is complete so you can verify the delivered tile matches what you approved.
What to Look for When You Handle a Sample
A sample tells you far more than color if you know what to inspect. When you have the tile in hand, evaluate these often-overlooked details:
- Thickness and edge: thicker tiles and finished edges affect how the backsplash meets the counter and outlets.
- Surface texture: run your fingers across it; a heavily textured or crackled glaze traps grease and is harder to wipe near a stove.
- Consistency: for handmade or natural tiles, expect variation; decide whether you find it charming or distracting.
- Reflectivity: glossy tiles bounce light and show smudges, while matte tiles read softer and hide fingerprints.
- Backing and mounting: for mosaics, check how the sheets are joined so you can picture the grout lines.
Turning the sample over, tilting it toward the light, and even lightly wiping it with a damp cloth all reveal how the tile will behave once it is on your wall, insights no photo can provide.
Coordinating Samples With Other Finishes
Do not evaluate a backsplash sample in isolation. Bring it together with your other finish samples, cabinet door, countertop chip, paint swatch, and flooring, and view them as a group. A backsplash that looks lovely on its own can clash once the whole palette is assembled. Lay everything out on the counter under your kitchen lighting and step back. The goal is a cohesive story where each element complements the others, and gathering the samples side by side is the only reliable way to confirm that harmony before you buy.
Final Thoughts on Using Backsplash Samples
Ordering backsplash samples is the single most reliable way to avoid an expensive mistake in your kitchen or bath. For just a few dollars and a few days of patience, you get to see real tile against your real counters, in your real light, and live with it before you commit. Narrow your options to a handful of finalists, test them in different lighting, factor in the grout, and compare them with a clear checklist rather than a fleeting first impression. Do that, and the backsplash you install will be one you chose with confidence, and one you will still be happy with long after the trends have moved on.


