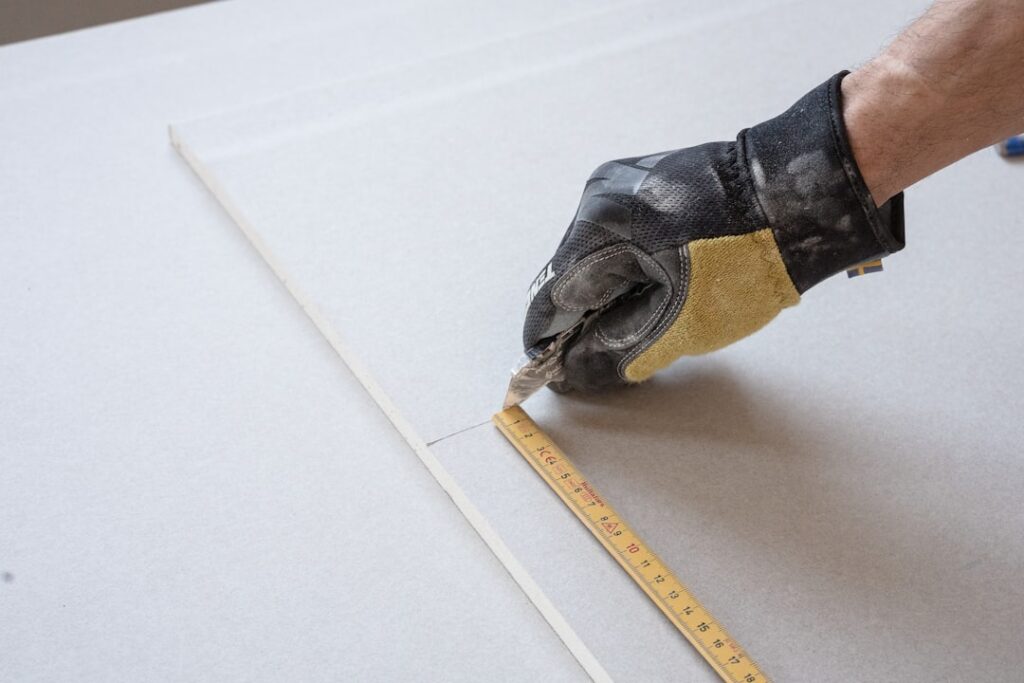
Fitting laminate flooring is one of the most popular DIY home improvement projects — and for good reason. Modern click-lock laminate systems require no glue, no nails, and no special skills. With the right tools and a methodical approach, most homeowners can complete an average-sized room in a single weekend.
- Tools and Materials You Need
- Subfloor Preparation
- Acclimating the Laminate
- Planning Your Layout
- Installing Underlay
- Laying the First Row
- Fitting the Main Field
- Cutting Around Door Frames
- Fitting Around Pipes
- Expansion Gaps Explained
- Transition Strips and Thresholds
- Tips for Tight Spaces
- Finishing Touches
- Common Mistakes to Avoid
- Frequently Asked Questions
This guide covers every stage of the process, from preparing the subfloor and planning the layout to cutting around door frames, pipes, and transitions. Whether you are laying your first floor or looking for tricks to handle tricky spots, every step is here.
Tools and Materials You Need
Before you start fitting laminate flooring, gather everything in one place. Running out mid-project wastes time and risks leaving an unfinished row overnight.
Essential Tools
- Tape measure — for measuring room dimensions and plank cuts
- Pencil — mark cut lines on the back of each plank
- Speed square or combination square — for straight cross-cuts
- Circular saw, jigsaw, or miter saw — a miter saw gives the cleanest cuts, but a jigsaw handles curves and pipe cutouts
- Pull bar — hooks over the end of a plank and lets you tap the last row tight against the wall
- Tapping block — protects the click-lock edge when you tap planks together
- Rubber mallet — for tapping the block without damaging the laminate
- Spacers — 8-10 mm spacers maintain the expansion gap along walls
- Utility knife — for cutting underlay and trimming packaging
- Oscillating multi-tool — invaluable for undercutting door frames
- Knee pads — you will be on your knees for hours
Materials
- Laminate flooring (order 10% extra for cuts and waste)
- Underlay (foam or combination foam-and-vapor-barrier)
- Vapor barrier (6-mil poly sheeting if installing over concrete and underlay does not include one)
- Transition strips (T-molding, reducer, or end cap as needed)
- Scotia or quarter-round beading for covering expansion gaps
- Painter’s tape for securing underlay seams
For a deeper look at laminate products, grades, and what to expect, see our complete laminate flooring guide.
Subfloor Preparation
The single most important step in fitting laminate flooring is making sure the subfloor is flat, clean, and dry. A bad subfloor causes hollow spots, clicking noises, and premature wear on the locking system.
Flatness Check
Lay a long straightedge or 6-foot level across the subfloor in multiple directions. Most laminate manufacturers require the floor to be flat within 3 mm over a 1-meter span (or 3/16 inch over 10 feet). High spots can be sanded down, and low spots can be filled with floor leveling compound.
Concrete Subfloors
Test moisture levels using a calcium chloride test or a pin moisture meter. Concrete slabs on or below grade are especially prone to moisture. If relative humidity is above 75%, install a separate 6-mil polyethylene vapor barrier before the underlay. Overlap sheets by 200 mm and tape seams.
Wooden Subfloors
Screw down any loose or squeaky boards. Remove protruding nails. If the existing floor is old vinyl or linoleum in good condition and firmly adhered, you can often lay laminate directly over it — but check your manufacturer’s instructions first.
Cleaning
Vacuum or sweep thoroughly. Any debris trapped under the laminate will telegraph through as bumps or cause annoying crunching sounds underfoot.
Acclimating the Laminate
Bring the unopened laminate boxes into the room where they will be installed at least 48 hours before fitting. This lets the planks adjust to the room’s temperature and humidity, reducing the risk of expansion or contraction after installation.
Keep the room between 18-24 degrees Celsius (65-75 degrees Fahrenheit) with relative humidity between 35% and 65%. Do not store boxes in a garage, shed, or against an exterior wall.
Planning Your Layout
Good planning prevents awkward thin strips along walls and ensures the floor looks intentional rather than random.
Direction
Run planks parallel to the longest wall or toward the main light source. In hallways, always run planks lengthwise. Perpendicular installation across a narrow hallway creates a choppy look and wastes material.
Calculating the Last Row Width
Measure the room width and divide by the plank width. If the last row would be less than 50 mm (2 inches) wide, rip the first row narrower so both the first and last rows are a reasonable width. This small calculation avoids a frustrating problem at the end of the project.
Stagger Joints
End joints between planks in adjacent rows should be staggered by at least 300 mm (12 inches). Many manufacturers specify a minimum. Random staggering looks best — avoid creating a repeating step pattern.
Installing Underlay
Underlay serves three purposes: it smooths minor subfloor imperfections, dampens sound, and provides a moisture barrier on concrete.
Roll out underlay sheets in the same direction you will lay the laminate. Butt edges together without overlapping — overlaps create a raised ridge that will show through. Tape seams with painter’s tape or the adhesive strip included on some underlays.
Only lay one or two rows of underlay at a time. Laying the entire room at once means you will be walking on slippery foam while trying to install planks, which is both annoying and unsafe.
Laying the First Row
The first row sets the alignment for the entire floor. Take your time here.
- Place spacers (8-10 mm) against the starting wall.
- Lay the first plank with the tongue side facing the wall. Some installers cut off the tongue on the wall side for a cleaner fit, but this is optional.
- Click the second plank into the end of the first plank at a slight angle and press down until it snaps flat.
- Continue across the row. At the end, measure the remaining space minus the expansion gap, mark the plank, and cut.
- Use the offcut to start the second row — as long as it is at least 300 mm long. This automatically creates the stagger.
Check that the first row is perfectly straight using a long straightedge. If the starting wall is not straight, scribe and cut the first row to follow the wall contour so that subsequent rows are true.
Fitting the Main Field
Once the first row is locked in, the rest of the floor goes quickly.
- Angle the long side of the new plank into the previous row at roughly 20-30 degrees.
- Lower the plank down until the joint clicks shut.
- If the end joint needs closing, use the tapping block and rubber mallet to gently tap the plank lengthwise until the end joint snaps together.
- Never hit the laminate directly — always use the tapping block to protect the locking profile.
- Continue row by row, checking that joints are tight and there are no gaps.
Work from left to right if you are right-handed. Keep the cut end toward the wall where it will be hidden by beading.
Cutting Around Door Frames
Door frames are the trickiest part of fitting laminate flooring, but the technique is straightforward once you know it.
Undercutting the Architrave
Place a scrap piece of laminate (with underlay beneath it) flat on the floor next to the door frame. Rest an oscillating multi-tool or flush-cut saw on top of the laminate scrap and cut horizontally into the architrave and door stop. This removes just enough material for the laminate to slide underneath, giving a clean, professional finish with no need for silicone or caulk.
Fitting the Plank
Measure and cut the plank to the shape of the door frame area. You may need to slide the plank in from the front rather than angling it down, since the wall prevents the normal click-lock motion. In this case, some installers apply a thin bead of PVA glue to the locking edge for extra security, though most modern systems lock without glue even when slid in horizontally.
Fitting Around Pipes
Radiator pipes and plumbing penetrations require a neat cutout.
- Mark the pipe center on the plank by measuring from the wall and from the adjacent plank.
- Drill a hole 10 mm larger than the pipe diameter using a spade bit or hole saw. The extra space accounts for the expansion gap.
- Cut a straight line from the hole to the nearest plank edge (usually the back edge toward the wall).
- Fit the plank around the pipe, then glue the cut piece back in behind the pipe.
- Cover the gap with a pipe rosette (pipe collar) that snaps around the pipe for a clean finish.
Expansion Gaps Explained
Laminate flooring is a floating floor — it is not fixed to the subfloor. It expands and contracts with temperature and humidity changes. Without expansion gaps, the floor will buckle.
How Much Gap?
Most manufacturers specify 8-10 mm around the entire perimeter, including along walls, around fixed objects like kitchen islands, and at doorways. For rooms longer than 8 meters or wider than 8 meters, an additional expansion joint may be needed in the middle of the floor — check your product’s installation guide.
What Causes Buckling?
- Expansion gaps that are too small or missing entirely
- Furniture or heavy appliances pinning the floor and preventing movement
- Beading nailed through the laminate into the subfloor (beading should only be fixed to the wall or skirting, never to the floor)
- Transition strips screwed through the laminate
Transition Strips and Thresholds
Transitions create a clean break between rooms or between different flooring types.
T-Molding
Used when two floating floors of similar height meet, such as laminate in one room meeting laminate in another. A metal track is screwed to the subfloor in the doorway, and the T-molding snaps into it. Both floors float freely with an expansion gap under the strip.
Reducer Strip
Used when laminate meets a lower floor surface, such as vinyl or thin tile. One side sits flush on the laminate and the other ramps down to the lower floor.
End Cap
Used at the edge of a room where the laminate meets a sliding door track, fireplace hearth, or other fixed surface.
Always leave the required expansion gap under the transition strip. The strip hides the gap while allowing movement.
Tips for Tight Spaces
Closets, under-stair areas, and narrow hallways present challenges when fitting laminate flooring.
- Use a pull bar for the last row. When there is no room to swing a mallet, the pull bar hooks over the plank edge and lets you tap inward from the wall side.
- Remove baseboards before installing. This gives you more room to work and lets the laminate extend under the baseboard for a cleaner look than adding quarter-round.
- Pre-assemble short rows. In a closet, you can sometimes click an entire row together on the floor in the main room and then slide the assembled row into the closet and angle it into the previous row.
- Use a multi-tool for undercutting. In tight spots where a full-size saw cannot reach, an oscillating multi-tool can make plunge cuts and undercuts that nothing else can.
- Work from two directions. In an L-shaped room, it may be easier to start from the corner and work outward in two directions rather than trying to run continuous rows through the bend.
Finishing Touches
Skirting and Beading
If you removed the skirting boards before installation, refit them now. They should sit on top of the laminate with a small gap so the floor can still move underneath. If you did not remove skirting, install scotia beading or quarter-round along the bottom of the skirting to cover the expansion gap. Fix beading to the skirting, never to the floor.
Door Trimming
If any doors now scrape against the higher floor level, remove the door and trim the bottom with a circular saw using a straight guide. Sand the cut edge and rehang.
Final Clean
Vacuum the new floor thoroughly. Wipe with a lightly damp microfiber mop. Avoid wet mopping or steam cleaning laminate — excess water can seep into joints and cause swelling.
For guidance on caring for your new floor, check out our laminate flooring maintenance tips.
Common Mistakes to Avoid
- Skipping acclimation. Planks that are too cold or too dry will expand after installation and buckle.
- Not checking subfloor flatness. A lumpy subfloor causes hollow spots, clicking, and premature locking system failure.
- Forgetting expansion gaps. Every wall, pipe, and fixed object needs a gap. No exceptions.
- Hammering without a tapping block. Direct strikes crush the locking tongue and prevent a tight joint.
- Forcing warped planks. If a plank is bowed or the tongue is damaged, discard it. Forcing it in will cause problems in surrounding planks.
- Not staggering end joints. Short staggers (under 300 mm) weaken the floor and look cheap.
- Nailing or gluing to the subfloor. Laminate must float. Fixing it down causes buckling.
Frequently Asked Questions
Can I fit laminate flooring over underfloor heating?
Yes, most laminate products are compatible with underfloor heating as long as the surface temperature does not exceed 27 degrees Celsius. Use a thin, high-density underlay designed for underfloor heating to avoid insulating the heat. Always check the manufacturer’s specific guidelines.
Do I need to remove old flooring before fitting laminate?
Not always. Laminate can go over existing vinyl, linoleum, or tile if the surface is flat, dry, and firmly adhered. However, carpet must always be removed. Old laminate should also be removed so you are not stacking two floating floors.
How long does it take to fit laminate in a room?
An experienced DIYer can fit a 15-square-meter room in 4 to 6 hours, including underlay. First-timers should budget a full day. Subfloor preparation and door frame undercutting add time, especially in older homes.
Which direction should laminate run in a hallway?
Always run laminate lengthwise down a hallway. Cross-laying creates too many short rows, wastes material, and looks disjointed.
Can I fit laminate in a bathroom?
Standard laminate is not suitable for bathrooms because the HDF core swells when exposed to standing water. If you want a similar look in a wet area, consider waterproof flooring such as SPC or WPC vinyl plank, which offers the same click-lock installation without the moisture risk.
What is the best underlay for laminate?
A 3 mm combination foam underlay with a built-in vapor barrier works for most situations. Over concrete, ensure the vapor barrier is included. Over plywood or timber subfloors where moisture is not a concern, a standard foam underlay is sufficient.
Prefer to explore on your own?
See how new flooring looks in your actual room in seconds — free, no signup.
Try the free Floor Studio →