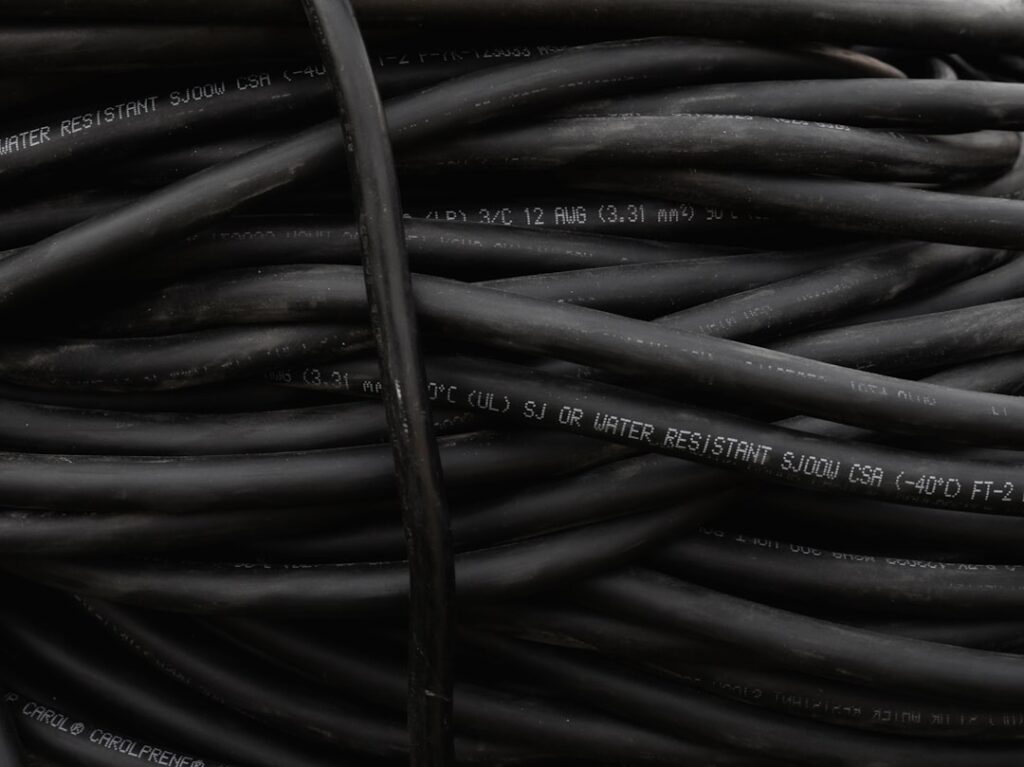
Floor heating cable is the loose-wire version of electric radiant heat, and it is what pros reach for when a room has an odd shape that pre-spaced heating mats cannot cover efficiently. Instead of a fixed grid, you get a single resistance wire on a spool that you snake back and forth across the subfloor at whatever spacing the room demands. Done right, it turns a cold tile bathroom into the warmest floor in the house for roughly the price of a nice fixture. This guide covers spacing, wattage math, the install sequence, and what it actually costs to run.
Cable vs. Mat: When Loose Cable Wins
Electric radiant heat comes in two main forms. Pre-built mats have the cable already woven into a mesh at a fixed spacing, so you just roll them out — fast and foolproof in a simple rectangular room. Loose cable, by contrast, comes as bare wire that you secure with plastic strips, a fixing membrane like Ditra-Heat, or hot-glue clips. The extra labor buys you flexibility: you can tighten the spacing under a cold exterior wall, steer around the toilet flange and vanity, and fill in the narrow slivers of floor that mat sheets waste. For bathrooms with curved walls, angled entries, or lots of fixtures, loose floor heating cable delivers even warmth where a mat would leave cold gaps.
Sizing the System and Reading Wattage
Every radiant install starts with an accurate heated-area measurement. Measure only the open floor you can actually walk on — subtract the vanity footprint, the tub, the shower base, and the toilet, since you never run cable under permanent fixtures where heat cannot escape. That net square footage drives everything.
Most residential floor heating cable is rated around 12 watts per square foot, which is enough to make tile comfortably warm and, in a well-insulated room, to serve as the primary heat source. The cable comes in fixed lengths tied to a target coverage area, so you pick the spool that matches your net footage. Do not buy a longer cable “to be safe” and bunch it up — resistance wire is engineered to dissipate a set wattage per foot, and crowding it causes overheating. If you fall between two spool sizes, buy the smaller one and simply widen the spacing slightly. As a rule, running the wire on 3-inch centers gives you dense, luxurious warmth, while 4-inch centers stretch the same cable over more area with slightly gentler heat.
What You Need Before Wiring
- A dedicated circuit sized to the system’s amperage — most small bathrooms run fine on a 15- or 20-amp circuit, but confirm the load with the cable spec sheet.
- A GFCI-protected thermostat with a floor sensor probe; code requires ground-fault protection for wet-area radiant heat.
- A digital ohmmeter (multimeter) to test the cable’s resistance before, during, and after installation.
- An uncoupling or heat membrane, thinset mortar, and a notched trowel for embedding the wire.
The single most important habit is testing resistance at three points: when you unbox the cable, after it is fixed to the floor, and again after the thinset goes down but before it cures. Record the ohm reading against the label’s stated range each time. If the number changes, you nicked the wire and can still find the fault while the mortar is soft — a five-minute check that saves you from jackhammering out a finished floor.
Step-by-Step Installation
Start with a clean, structurally sound subfloor. Vacuum thoroughly, because a single stray screw or sharp chip of grout can pierce the cable jacket. Dry-fit your layout on paper first, marking where the wire turns and where the cold-lead connection and floor sensor will sit. Mount the thermostat’s electrical box and run the conduit for the two cold leads and the sensor probe back to it before any wire hits the floor.
Next, secure the cable to the subfloor following your spacing plan, keeping consistent gaps and never letting one run cross or touch another. If you are using an uncoupling membrane, press the wire into the studded channels; if you are using fixing strips, clip the cable at each turn. Thread the floor sensor probe in a smooth loop centered between two cable runs so it reads the floor temperature, not the wire itself. Take your resistance reading, then embed everything in thinset and set your tile directly on top, or pour a thin self-leveling underlayment first if you prefer a flat bed. Let the mortar cure fully — usually a couple of days — before you power on. Rushing the first heat cycle can trap moisture and crack fresh grout.
Running Cost and Energy Use
Because electric radiant is efficient at the point of use, running costs are modest for the comfort you get. A 12-watt-per-square-foot system heating a 40-square-foot bathroom draws about 480 watts at full output. If your electricity runs 16 cents per kilowatt-hour and the thermostat calls for heat roughly three hours a day thanks to the cable’s own thermal mass, you are looking at only a couple of dollars per week. A programmable thermostat that warms the floor before you wake and idles while you are at work keeps the bill sensible. For large open areas used as primary heat, run the numbers carefully, but for the classic use case — a warm bathroom or entry floor — the operating cost is genuinely small.
Common Mistakes to Avoid
Homeowners get into trouble in a handful of predictable ways. Never cut a floor heating cable to length — the total resistance is fixed by the manufacturer, and shortening it changes the wattage and voids the warranty. Never overlap runs or let the wire bunch in a corner, since concentrated heat cooks the jacket and creates a hot spot. Do not skip the floor sensor and rely on an air thermostat alone; the sensor is what protects the floor from overheating. And always verify with your local code whether the system needs to be on its own circuit and how the GFCI must be configured. Get those fundamentals right and a floor heating cable system will deliver quiet, even warmth for well over 20 years with essentially no maintenance.
Which Floors Work Best Over Radiant Cable
The floor covering on top has a big effect on how well the system performs. Tile and natural stone are the ideal partners because they conduct heat efficiently and store it, so the floor stays warm between thermostat cycles and radiates evenly into the room. Porcelain, ceramic, slate, and marble all excel here. Engineered wood and many rigid-core luxury vinyl planks are also compatible, but you must confirm the manufacturer rates the product for radiant heat and respect its maximum surface temperature, usually around 80 to 85°F, to avoid gapping or delamination. Thick solid hardwood and heavy carpet with dense padding act as insulators and fight the system, forcing it to run longer for less warmth. If you love the feel of wood but want the best radiant performance, a thin engineered plank rated for heated floors is the practical compromise. Matching the finish floor to the cable is the last decision that determines whether the whole investment feels genuinely warm underfoot or merely takes the chill off.
Prefer to explore on your own?
See how new flooring looks in your actual room in seconds — free, no signup.
Try the free Floor Studio →