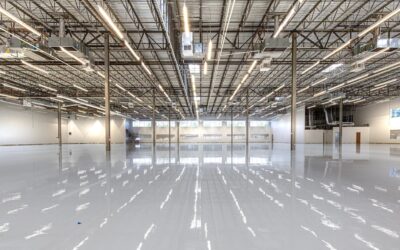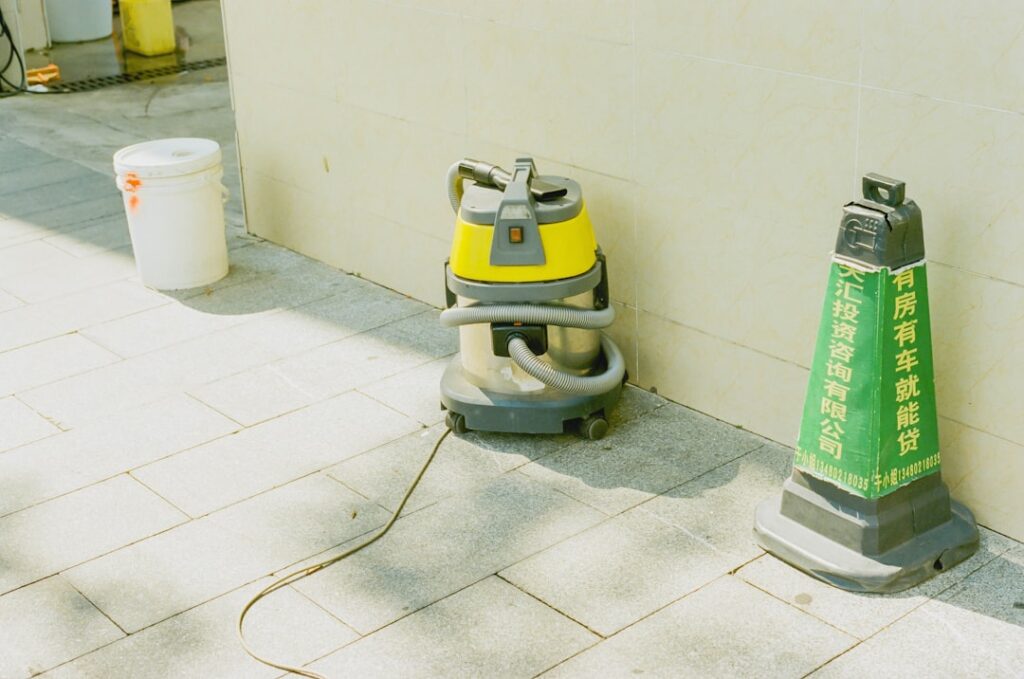
Dull, scuffed floors are rarely worn out, they are just neglected, and the fix is mechanical, not chemical. A floor polisher machine spins a pad or brush fast enough to buff out haze, smooth scratches, and bring back the deep shine that mopping can never produce. Whether you have tile that has gone flat, hardwood that lost its luster, or stone that needs restoring, the right machine and pad combination can make floors look professionally maintained. This guide explains the types available, what to look for, and how to use one correctly on each floor surface.
What a Floor Polisher Actually Does
Polishing is about friction and finish. A spinning pad generates controlled heat and abrasion that levels micro-scratches and burnishes the surface to a uniform sheen. On a finished floor it works the existing coating to a high gloss; on stone, finer pads progressively smooth and reflect the surface. The result is a clarity and shine that hand-buffing cannot match across a whole room.
It is worth separating polishing from cleaning. A scrubber removes dirt; a polisher refines the finish. Many machines do both depending on the pad attached, which is why a single floor machine is such a versatile tool for a homeowner who wants floors that look maintained rather than merely clean.
Types of Floor Polisher Machines
Several formats exist, scaled to different jobs and floor sizes:
- Rotary (single-disc) polisher: The classic floor buffer, spinning one large pad at 175 to 320 RPM. Versatile for tile, vinyl, and stone; the most common rental and purchase.
- Orbital polisher: Vibrates in small circles, which is gentler and easier to control, making it forgiving for first-timers and good on delicate finishes.
- High-speed burnisher: Spins at 1,000 RPM or more to produce a glassy, wet-look shine. Best for hard, durable finishes.
- Compact home polishers: Lightweight dual-head units sized for residential use, easy to store and maneuver around furniture.
For most homeowners, a rotary or compact dual-head polisher hits the sweet spot of capability, price, and ease of use.
What to Look For When Buying
A few specs separate a machine you will love from one you will fight. Pad or disc size determines coverage and maneuverability; a 13- to 17-inch head suits home floors, balancing speed with the ability to work around cabinets and toilets. Motor power, measured in amps or horsepower, affects how well the machine holds speed under pressure on tougher floors.
Weight is a double-edged factor. A heavier machine applies more polishing pressure but is harder to lift and steer. Look for an adjustable handle for comfort, a long power cord to reduce outlet swapping, and easy pad changes. If you want one machine for everything, choose a model that accepts both brushes and a range of polishing pads.
Choosing Pads by Floor Type
The pad does the real work, and matching it to your floor prevents damage. Use the wrong pad and you can scratch or burn a finish in seconds. General guidance:
- Tile and grout: A scrub brush or medium pad to clean, then a soft white or pink pad to polish.
- Hardwood: A soft, non-abrasive pad designed for wood finishes; never an aggressive pad that cuts through the coating.
- Vinyl and laminate: A soft polishing pad with light pressure to avoid scuffing the wear layer.
- Marble and natural stone: Progressive polishing pads, often diamond-impregnated, working from coarse to fine for a true restored shine.
- Concrete: Diamond pads for honing and polishing sealed or bare slabs.
Color codes vary by brand, so check the pad chart that comes with your pads. When unsure, start with the least aggressive pad and step up only if needed.
How to Use a Floor Polisher
Good results come from preparation and steady technique. Work through these steps:
- Clear the room and sweep or vacuum thoroughly. Any grit under the pad will scratch the floor.
- Attach the correct pad and, if polishing finished floors, apply any recommended polishing compound or finish per the product directions.
- Tip the machine slightly to seat the pad, start it flat on the floor, and let it settle before guiding it.
- Control direction by gently raising the handle (pulls one way) or lowering it (pulls the other). Move in slow, overlapping passes.
- Work in sections, keep the machine moving so it does not dwell and burn one spot, and finish by buffing to an even shine.
Practice handle control in an open area first. The machine’s tendency to drift left or right surprises every first-time user until you get the feel for balancing it.
Safety and Common Mistakes
These machines are powerful and a polished floor is slippery, so take precautions. Wear non-slip shoes, keep the cord behind you and never run over it, and unplug the unit before changing pads. Keep the pad flat; tilting it concentrates pressure and can gouge or burn a finish.
The most common mistakes are using too aggressive a pad, letting the machine sit in one place, and skipping the pre-clean so grit scratches the floor. Another is over-applying polish, which leaves a cloudy, sticky film. Less product and more buffing almost always produces a clearer shine.
Maintaining Your Floor Polisher
A polisher rewards a little care between jobs. After each use, remove the pad and rinse or replace it, since a dirty pad redistributes grime and dulls your next polish. Wipe down the housing and check that the pad driver and clutch plate are free of debris and old polish buildup, which can cause uneven contact and vibration.
Inspect the power cord for nicks before every use and store the machine in a dry place. For belt-driven models, listen for unusual noise that can signal a worn belt or bearing. Keeping pads sorted and clean by type also matters: a stray aggressive pad mixed in with your soft polishing pads can scratch a finished floor before you realize it is the wrong one.
How Often to Polish Your Floors
Polishing frequency depends on the floor and the traffic. As a rough guide:
- High-traffic tile and stone: A polish every few months keeps the shine consistent.
- Hardwood: A light buff a couple of times a year maintains the finish; full refinishing is a separate, less frequent job.
- Vinyl and laminate: Occasional buffing as needed, more about cleaning than restoring deep shine.
- Marble: Periodic professional-style polishing maintains the reflective surface; high-traffic marble dulls faster.
Over-polishing is a real thing, especially on softer finishes, so let the floor’s appearance guide you rather than polishing on a rigid schedule. When the shine fades or scuffs accumulate, it is time; until then, regular cleaning does most of the work.
Buy or Rent?
If you will polish floors a few times a year, owning a compact home polisher pays off and lets you maintain floors on your own schedule. For a one-time restoration of a large area, renting a commercial rotary machine for a day is cheaper and gives you more power than a homeowner unit.
A floor polisher machine turns dull, tired floors back into the bright, reflective surfaces that make a whole room look cared for. Match the machine and pad to your floor, prep carefully, and use slow, overlapping passes. With a little practice, you can achieve a professional-looking shine and keep it that way for years.
Prefer to explore on your own?
See how new flooring looks in your actual room in seconds — free, no signup.
Try the free Floor Studio →