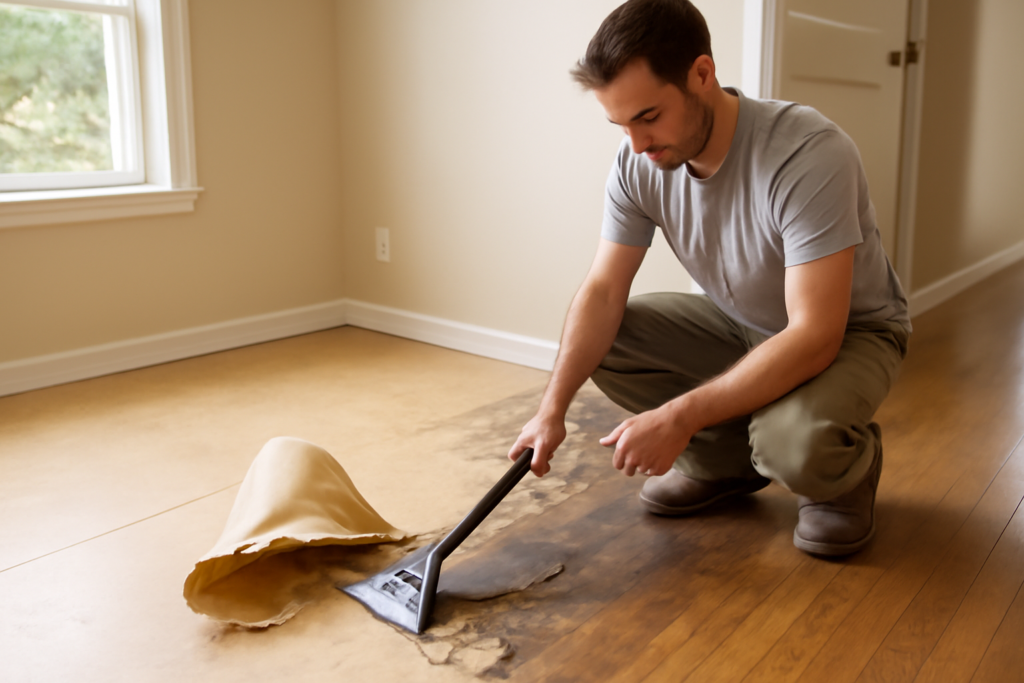
If you have ever tried to pry up old vinyl tile with a putty knife, you already understand why a dedicated tool exists for the job. A floor scrapper is built to lift glued-down flooring, stubborn adhesive, paint, and thinset mortar from concrete and wood subfloors without wearing out your wrists in the first ten minutes. Whether you spell it scrapper or scraper, the tool does the same essential work, and choosing the right one is the difference between a weekend project and a miserable week.
This guide walks you through the two main families of floor scrapers, how to match the tool to your flooring type, the technique that actually works, and the safety steps that keep a demolition job from turning into an injury. By the end, you will know whether to grab a long-handled hand tool or rent a powered machine.
What a Floor Scraper Actually Does
A floor scraper concentrates force at a sharp steel edge so it can slide underneath a bonded material and break the bond between the flooring and the subfloor. The handle gives you leverage, and the blade angle determines how aggressively the edge bites in. Manual versions rely entirely on your body weight and arm strength, while power and ride-on machines use a motor and added mass to do the same thing across a much larger area.
The materials a scraper handles include sheet vinyl, vinyl composition tile, ceramic and porcelain tile, carpet and the foam pad glued beneath it, hardwood, leftover thinset, mastic, and dried paint or drywall mud. The harder the bond and the larger the room, the stronger the argument for a powered tool.
Manual Floor Scrapers
The most common hand tool is a long-handled floor scraper, often four to five feet long, with a wide replaceable blade at the bottom. You stand upright, plant the blade just under the edge of the flooring, and push forward with your legs and body weight. The upright stance saves your back compared with crouching over a putty knife, and the wide blade clears a useful path with each pass.
Shorter hand scrapers and stiff putty knives still earn a place for tight corners, around toilets and cabinets, and along baseboards where the big tool cannot reach. For most homeowners working in a single small room, a quality long-handled manual scraper costs roughly $25 to $60 and handles vinyl, carpet adhesive, and lighter jobs well. Blades are replaceable and inexpensive, so swap a dull edge rather than fighting through with it.
Power and Ride-On Floor Scrapers
When you face ceramic tile set in thinset, hardwood nailed and glued, or several hundred square feet at once, a powered machine pays for itself quickly. Walk-behind electric scrapers vibrate or oscillate a blade at the floor surface and let you stand and steer. Ride-on scrapers, used on large commercial jobs, carry an operator and a heavy machine that shears flooring loose in long strips.
Most homeowners rent rather than buy these. Expect daily rental rates in the range of roughly $75 to $200 for a walk-behind unit and considerably more for ride-on equipment, depending on your area and the rental provider. Before you commit, measure your space honestly. A machine is overkill for a small bathroom but a lifesaver for a whole main floor of tile. Powered units demand respect: read the operating manual, keep both hands on the controls, and never let the blade run unattended.
Choosing the Right Blade
The blade matters as much as the tool body. Matching the edge to the material makes the work faster and reduces the chance of gouging your subfloor.
- Standard flat blades: general purpose for vinyl, carpet pad, and light adhesive.
- Heavy-duty tile blades: thicker steel for breaking the bond under ceramic and porcelain set in thinset.
- Narrow blades: for stripping in tight spots and following along walls.
- Self-scoring or notched blades: for stubborn mastic and dried compound.
Keep edges sharp. A dull blade slides over adhesive instead of cutting under it, which doubles your effort. Replacement blades are cheap, so change them the moment cutting slows.
Technique That Works
Start at a loose seam, a doorway, or a spot where the flooring has already begun to lift. Drive the blade in at a low angle, almost parallel to the floor, so it travels beneath the material rather than chopping straight down into the subfloor. Once a section breaks free, keep steady forward pressure and let the tool ride along the bond line. Short, controlled strokes give you more control than long lunging pushes.
Heat helps with stubborn vinyl and mastic. A heat gun or even hot water softens many adhesives so the blade glides under them. Work in manageable sections and clear debris as you go, because loose scraps under your feet are a slip hazard. If a powered machine starts skipping across the surface, lower the blade angle or change the blade before forcing it.
Safety First
A floor scraper is a sharp tool moving with real force, so treat it like one. Wear impact-rated safety glasses, because chips of tile and hardened adhesive fly unpredictably. Use cut-resistant gloves to protect your hands from both the blade and the jagged edges of broken tile. Sturdy closed-toe boots and knee pads round out the basic kit.
Dust is the hidden danger. Grinding and scraping mortar, tile, and old flooring can release crystalline silica, a respirable dust linked to serious lung disease. Wet the surface to suppress dust where you can, run a vacuum with a fine filter, open windows, and wear a properly fitted respirator rated for fine particles. Some older flooring and adhesives, especially in homes built before the 1980s, may contain asbestos; if you have any doubt, stop and have the material tested by a professional rather than scraping it yet. With powered units, keep hands and feet clear of the blade, never bypass guards, and unplug or disable the machine before changing a blade.
Cleanup and Subfloor Prep
Removing the old flooring is only half the job. The subfloor underneath usually needs to be clean, flat, and bare before new material goes down. Scrape off remaining adhesive ridges, sweep and vacuum thoroughly, and check for high spots or gouges. Concrete may need patching compound to level low areas, while a wood subfloor should be checked for popped fasteners and soft spots.
Bag debris as you work rather than letting it pile up, since broken tile is heavy and sharp. A clean, sound subfloor is what lets your new tile, vinyl, or hardwood sit flat and bond properly, so resist the urge to rush this step after the satisfying part is done.
Rent or Buy: Making the Call
For a one-time small room with vinyl or carpet, buy an inexpensive manual long-handled scraper and a pack of blades. For a single large tile removal job, rent a walk-behind power scraper for a day or two and save your shoulders. If you flip houses or tackle flooring regularly, owning a quality manual tool plus renting power units as needed is the most economical path. Match the tool to the material and the square footage, respect the blade and the dust, and a job that looks daunting becomes genuinely manageable.
Prefer to explore on your own?
See how new flooring looks in your actual room in seconds — free, no signup.
Try the free Floor Studio →