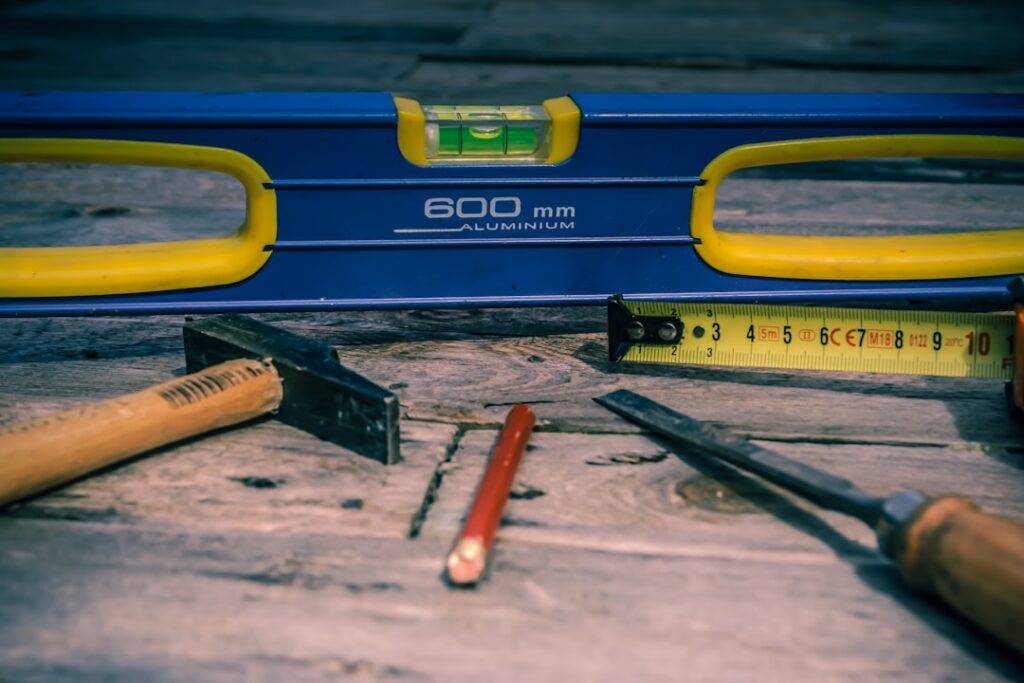
Most DIY floor failures trace back to one decision: skipping the right tools to save $40. A proper flooring installation kit packs the spacers, tapping block, pull bar, and mallet you need to lay laminate, vinyl plank, or engineered wood without chipped edges or uneven seams. Buy the wrong kit and you will spend the difference fixing mistakes the first weekend.
- What Comes in a Standard Kit
- Why You Need One Even for Click-Lock Floors
- Best Kits by Budget
- Tools the Kits Skip
- How to Use the Kit Correctly
- Pros of Buying a Kit Versus Buying Tools Separately
- Common Mistakes That Kits Will Not Fix
- Pro Tips for First-Time Installers
- Is a Flooring Installation Kit Worth It?
What Comes in a Standard Kit
Entry-level kits in the $25 to $45 range typically include 30 spacers, a tapping block, a pull bar, and a rubber mallet. Mid-tier kits ($55 to $90) add a knee pad, a heavy-duty steel pull bar with cushioned handle, and sometimes a utility knife. Pro kits above $100 throw in a flush-cut hand saw, a metal-reinforced tapping block, and oversized 16-ounce mallets.
Watch the materials carefully. Cheap plastic blocks crack on the third or fourth course. A reinforced polymer or rubber-faced block lasts through several rooms. The mallet should be at least 12 ounces — anything lighter forces you to swing harder, which dents the tongue.
Why You Need One Even for Click-Lock Floors
Click-lock laminate and luxury vinyl plank advertise tool-free installation, but reality differs. Boards near walls, around door jambs, and at the final row almost always need a pull bar to seat them tight. Without a tapping block, the rubber from a bare mallet smears across the surface and dents the locking edge.
A solid flooring installation kit also enforces the 1/4-inch expansion gap. Skip the spacers and your floor will buckle the first humid summer — a fix that costs $300 to $800 in replacement planks plus weekend labor.
Best Kits by Budget
- Roberts 10-49 ($30): 30 spacers, plastic tapping block, pull bar, mallet. Fine for one room of laminate.
- Bora 540020 ($55): Heavy-duty steel pull bar, dense rubber tapping block, 12-oz mallet, 30 spacers, knee pad. Sweet spot for most homeowners.
- QEP 10-26 ($75): Steel-reinforced block, 16-oz mallet, oversized pull bar that fits 1/2-inch boards, 40 spacers.
- Bullet Tools Pro Kit ($120+): Includes a flush-cut undercut saw and full-grip pull bar — worth it if you have multiple door casings to trim.
Tools the Kits Skip
Even a $120 kit leaves out the items you will need most. Plan to buy a $25 laminate cutter or borrow a miter saw for cross-cuts. A jigsaw handles notches around toilets, vents, and corners. A stud finder helps locate joists before nailing transition strips.
You also want a tape measure with a metal hook and a carpenter’s square — corners are rarely true 90 degrees, and trusting the wall will leave a wedge-shaped gap at the opposite side of the room.
How to Use the Kit Correctly
Always strike the tapping block, never the plank. Place the block flush against the long edge of the plank you are seating, then tap with the mallet. Two or three medium taps beat one hard hit. For the last row, hook the pull bar over the plank end and tap the bend — pulling toward the wall closes the seam without crushing the locking lip.
Set spacers every 18 to 24 inches around the perimeter and at every door jamb. Pull them out only after the last quarter round goes on. Skipping spacers in a closet or under a radiator is the #1 cause of mid-floor buckling six months later.
Pros of Buying a Kit Versus Buying Tools Separately
A bundled kit costs 30 to 50 percent less than buying each piece individually at a big-box store. The pieces also nest into a carry case, which matters if you are moving between rooms or storing them after a one-time job.
The downside: bundled mallets are often lighter than what pros prefer, and the spacers tend to be thin. Many DIYers upgrade just the mallet ($18 for a Stanley 14-oz rubber mallet) and keep everything else.
Common Mistakes That Kits Will Not Fix
- Skipping the moisture barrier on concrete — the tools cannot save a slab that hits 4 lbs/1,000 sq ft of moisture vapor emissions.
- Acclimating planks for less than 48 hours. Cold or hot planks installed too soon will gap or buckle.
- Reusing a cracked tapping block. A split block transfers force unevenly and chips the locking edge.
- Ignoring the manufacturer’s expansion gap spec — some products require 3/8 inch, not 1/4 inch.
Pro Tips for First-Time Installers
Test-fit the entire first row before tapping anything tight. Lay the planks loosely along the longest wall to confirm the layout looks balanced — if the last plank in the row falls under 6 inches wide, slice the first plank narrower so the visible end pieces match in width. Most rookies skip this step and end up with a 2-inch sliver against the wall under their bedroom window.
Stagger end joints by at least 12 to 18 inches between rows. Manufacturers spec this for a reason: aligned joints create weak spots where the floor flexes under traffic. Plan three or four staggers across the room before opening the second box.
Is a Flooring Installation Kit Worth It?
For a single room of click-lock laminate or LVP, a $50 kit pays for itself by saving one ruined plank. For larger jobs covering 800 sq ft or more, step up to a Bora or QEP kit and add a dedicated laminate cutter. Renting a pro-grade flooring kit from a local rental yard runs $25 to $40 per day, which only makes sense if you finish in a single weekend.
The bottom line: even confident DIYers should not start a click-lock install without spacers, a tapping block, and a pull bar. The right kit turns a frustrating job into a clean two-day project — and protects the $1,500 to $4,000 you spent on the flooring itself.
Prefer to explore on your own?
See how new flooring looks in your actual room in seconds — free, no signup.
Try the free Floor Studio →