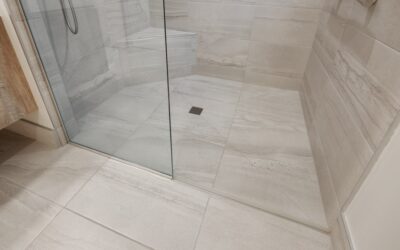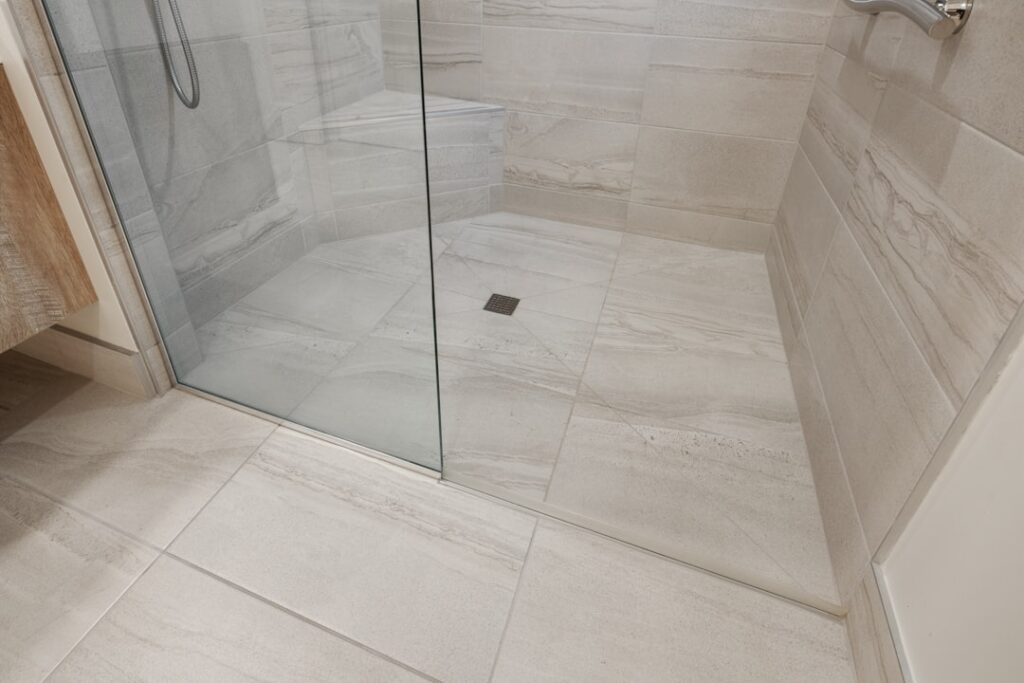
A shower floor fails at the base, not the walls, which is why the pan is the part you cannot afford to improvise. A tile shower pan kit takes the hardest, most leak-prone step of a custom shower and turns it into a bolt-together system: a pre-sloped foam or mortar base, a bonded waterproofing layer, and a drain that ties them together. Instead of hand-packing a mud bed and hoping your slope hits the drain, you get a factory-engineered 1/4-inch-per-foot pitch out of the box. For most DIYers, it is the difference between a shower that lasts 30 years and one that rots the subfloor in five.
Part of our Bathroom Remodeling & Flooring guide — explore the full guide →
What Comes in a Kit
Kits vary by brand, but the good ones bundle everything the pan needs so you are not chasing parts mid-install. Expect these core components:
- Pre-sloped base: Usually extruded polystyrene (EPS) foam, molded with the correct pitch to the drain.
- Bonded drain assembly: A clamping or bonding-flange drain sized for the base opening.
- Waterproofing membrane: A sheet membrane or liquid to seal the base and transition up the walls.
- Seam tape and corners: Preformed inside and outside corners plus banding for the curb and joints.
Some premium kits, like the Schluter-KERDI-SHOWER-KIT or the Wedi Fundo system, add curb pieces and a shower niche. Budget kits may include only the base and drain, leaving you to buy membrane separately, so read the parts list before you compare prices.
Types of Tile Shower Pan Kits
Not all kits use the same technology, and the choice affects both cost and how tile-ready the base is.
Foam Bonded Systems
These lightweight EPS bases bond directly to the subfloor with thin-set and accept tile right over the integrated membrane. They are the fastest to install, shave hundreds of pounds off the floor load, and eliminate the traditional mortar bed. Expect to pay more up front for the engineering.
PVC or Vinyl Liner Kits
The older, budget approach uses a flexible vinyl liner under a mortar bed. It works and costs less, but it demands a pre-slope beneath the liner and a mortar top layer, which adds skill, weight, and drying time. Get the pre-slope wrong and water pools under the tile.
Sheet Membrane Kits
These pair a foam or mortar base with a fabric-backed sheet membrane you thin-set into place. They deliver a fully bonded, tile-over-membrane assembly favored by pros for its reliability.
Sizing the Pan Correctly
Kits come in standard footprints, so measure your rough opening before ordering. Common sizes include 32 x 32, 36 x 36, 38 x 38, 48 x 48, and rectangular 36 x 60 and 42 x 60 inches. Drain placement matters too: center-drain bases suit square showers, while offset or linear-drain kits work better for long rectangular layouts and curbless designs.
Many foam bases can be trimmed a few inches with a utility knife to fit odd framing, but you cannot make a base larger than its molded size. If your opening falls between standard sizes, buy the next size up and cut it down rather than trying to stretch a smaller pan.
What a Tile Shower Pan Kit Costs
Pricing spans a wide range depending on technology and brand. Here is what to budget:
- Vinyl liner kits: $60 to $150 for the liner, drain, and pre-slope materials.
- Foam bonded kits: $150 to $450 for a base, bonded drain, and membrane package.
- Premium branded systems: $400 to $800 for a complete kit with curb, niche, and corners.
Add thin-set (roughly $20 to $40 per bag), the tile itself, and grout. A DIYer installing a 36 x 36 inch foam kit typically spends $250 to $600 on materials before tile. Hiring a pro to build and tile the pan usually adds $1,000 to $2,500 in labor, since waterproofing is the step nobody wants to redo.
How to Install a Foam Kit, Step by Step
The exact sequence follows the manufacturer’s manual, but a bonded foam install generally goes like this:
- Dry-fit the base in the framed opening and mark the drain location on the subfloor.
- Install the drain to the waste pipe, setting the flange flush with the subfloor per the kit’s height spec.
- Trowel thin-set across the subfloor with a 1/4-inch notch and press the foam base firmly into it, seating it level side to side while the slope pitches to the drain.
- Bond the drain grate assembly and apply membrane or seam tape over all joints, corners, and the curb.
- Flood test the pan for 24 hours by plugging the drain and filling it an inch deep; check for any drop or leaks below before you tile.
- Tile the floor with a mosaic (2 x 2 inch tiles conform to the slope), then grout and seal the joints.
Never skip the flood test. Twenty-four hours of water in the pan before tile goes down is the single best insurance against a callback and a torn-out floor.
Curbed vs. Curbless and Drain Placement
The pan you choose also dictates the shower’s whole geometry. A traditional curbed kit includes a foam or mortar curb about 4 to 6 inches high that contains the water and is the easiest, most reliable option for a standard framed shower. A curbless or barrier-free design drops the pan flush with the bathroom floor for a wheelchair-friendly, high-end look, but it requires recessing the floor joists or building up the surrounding floor, which is a bigger structural job best planned before framing.
Drain style follows the same logic. A center point drain paired with a four-way slope is the classic square-shower setup. A linear drain sits along one wall and lets the entire floor pitch in a single direction, which allows larger floor tiles instead of small mosaics and pairs naturally with curbless entries. Match the kit’s drain type to the look you want before you order, because switching later means tearing out the base.
How Long a Kit Lasts
A properly installed bonded foam pan should outlast the tile above it, easily 30 years or more, because the waterproofing is a continuous membrane with no seams to fail. The weak points in any shower are almost always workmanship, not the kit: a drain set at the wrong height, a corner that was not sealed, or a flood test that got skipped. Vinyl liner systems have a shorter reliable life, roughly 20 years, since the liner can crack and the mortar bed above it can hold moisture. Spend the extra money on a bonded system and follow the manual, and the pan becomes the part of the shower you never think about again.
Pro Tips and Common Mistakes
Use only unmodified thin-set where the manufacturer specifies it; sheet membranes trap moisture and modified mortar can stay soft underneath. Keep the drain height dead-on, because a flange set too high or too low throws off the whole slope. And do not tile a curbless or linear-drain design without confirming your framing can be recessed, or you will fight the transition to the bathroom floor.
The Bottom Line
For a leak-proof custom shower, a quality tile shower pan kit removes the guesswork from the most failure-prone part of the job. A foam bonded system costs more than a vinyl liner but rewards you with a lighter, faster, tile-ready base and decades of dry subfloor. Measure your opening, match the drain style to your layout, and never tile until the pan passes a 24-hour flood test. Get the base right and the rest of the shower is just tile.
Prefer to explore on your own?
See how new flooring looks in your actual room in seconds — free, no signup.
Try the free Floor Studio →