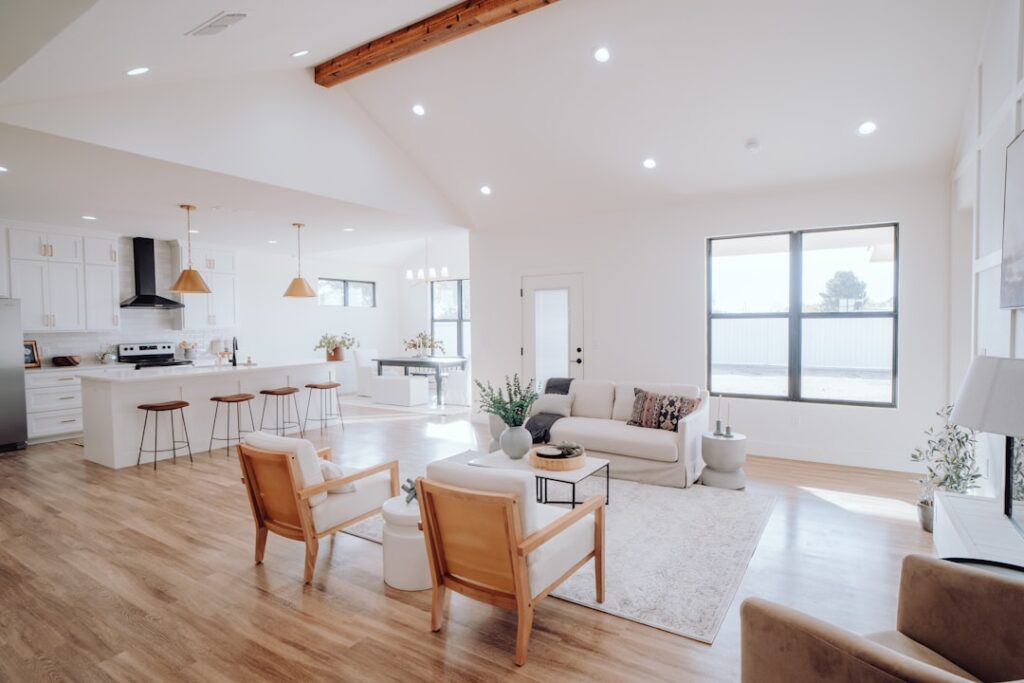
Walk into any home where the planks line up in neat little stair-steps and you can usually spot the amateur job within ten seconds. A proper flooring stagger pattern is the difference between a floor that looks custom-installed and one that screams weekend warrior. The pattern dictates plank stability, visual rhythm, and even how the floor handles seasonal expansion. Get it wrong and you’ll see H-joints, popped seams, and a repeating ladder effect that draws the eye to every flaw.
What a Stagger Pattern Actually Does
Staggering means offsetting the end joints of adjacent rows so they don’t line up. On floating click-lock floors like Pergo Outlast+ or COREtec Plus, this distributes lateral stress across multiple planks instead of concentrating it at one weak point. On glue-down engineered hardwood, the stagger keeps the substrate adhesion uniform.
Industry guidance from NWFA recommends a minimum 6-inch offset for any wood or wood-look product. Most manufacturers, including Shaw and Mohawk RevWood, specify 8 to 12 inches on planks 48 inches or longer. Anything shorter than 6 inches creates a structural weak zone and almost always voids the warranty.
The Random Stagger Method
Random staggering is the gold standard for residential installs. You cut starter planks to three different lengths, rotate through them as you start each row, and end up with a pattern that never repeats. A typical sequence might run full plank, then a 32-inch starter, then a 22-inch, then a 14-inch, then back to full.
The trick is keeping at least 8 inches between any two end joints in adjacent rows, and avoiding more than three rows where the joints fall in a diagonal line. Pull boards from three or four open boxes simultaneously to mix shade variation and grain pattern at the same time.
H-Joints and Why They Ruin a Floor
An H-joint forms when two end seams sit directly across each other, separated by only one plank. The visual result is a thick capital H standing out across the floor. Beyond looks, H-joints concentrate stress at a single tongue-and-groove connection, and on laminate with 8mm cores it’s where most click failures originate.
The fix is simple but requires discipline. Before you click each new plank into place, look at both neighboring rows. If a joint sits within 4 inches of where your cut would land, trim differently or grab a different starter length.
Common Stagger Patterns Compared
- Random (recommended): Offsets vary between 8 and 32 inches. Most natural look, best for wide-plank LVP and engineered oak.
- One-third stagger: Each row offset by exactly one-third the plank length. Clean look but creates a subtle diagonal repeat every three rows.
- Half stagger (brick pattern): Centered offsets like subway tile. Acceptable on planks under 36 inches but looks dated on long luxury vinyl.
- Step stagger: Avoid this. Each row offset by a consistent 6 to 8 inches creates an obvious staircase line.
Step-by-Step Layout Process
Start by measuring the room and dry-laying the first three rows without clicking. This planning step takes 20 minutes and saves hours of demolition later. Mark your starter wall, check for square with the 3-4-5 triangle method, and snap a chalk line if the wall is out by more than a quarter inch over 10 feet.
Cut your first three starter planks to roughly 48, 32, and 18 inches. Reserve the offcuts as ending pieces for rows on the opposite wall. Lay row one full length, row two starting with the 32-inch piece, row three starting with the 18-inch piece, and row four with the next offcut. Repeat the rotation throughout the room, pulling planks from multiple boxes to blend color lots.
Plank Length and Stagger Math
The longer your planks, the more aggressive the stagger needs to be. Standard 48-inch laminate from brands like Quick-Step demands at least a 10-inch offset. Wide-plank engineered oak at 72 to 86 inches, common in Bruce and Mannington Hand-Crafted lines, needs 12 to 16 inches.
For luxury vinyl plank running 48 to 60 inches with 12 mil or 20 mil wear layers, a 12-inch minimum keeps the floating system stable. SPC rigid core products with locking systems like Unilin or Valinge tolerate shorter offsets but still look best with 10 inches or more.
Costs and Waste Factor
Random staggering increases material waste compared to a uniform pattern. Budget 10 percent overage for straight rooms and 15 percent for rooms with diagonals, transitions, or many cuts. On a 400 sq ft installation of mid-range LVP at $3.50 per sq ft, that extra 5 percent translates to roughly $70 in additional material.
Professional installers typically charge $2 to $4 per sq ft for floating floor installation, with random stagger included. DIY installation saves the labor but expect to lose a Saturday afternoon to layout planning if it’s your first floor.
Pro Tips That Save Headaches
- Open at least three boxes at once and rotate planks to blend natural variation in stains and grain.
- Mark joint locations with a pencil dot on the subfloor when planning to visualize the pattern.
- Maintain a 3/8-inch expansion gap at all walls, doorways, and vertical obstructions per NWFA installation guidelines.
- Acclimate planks for 48 to 72 hours in the install room at 60 to 80 degrees F before starting.
- Save oversized offcuts of 8 inches or more for starter pieces on subsequent rows.
A well-executed flooring stagger pattern transforms ordinary planks into a finished floor that looks designed rather than assembled. The extra fifteen minutes of layout planning pays back every single day you live with the result. Pro installers often photograph the dry-lay before fastening anything down, which gives them a reference for the rest of the room and catches awkward joint clusters before they become permanent. The same discipline serves DIY installers well, especially on the first wide-plank floor of their lives.
Prefer to explore on your own?
See how new flooring looks in your actual room in seconds — free, no signup.
Try the free Floor Studio →