Most home gyms fail for a boring reason: the room is miserable to train in. A garage to gym conversion that skips the floor, the climate control, and the lighting ends up as an expensive storage area for a squat rack nobody uses after February. Get the shell of the room right first, and the equipment becomes the easy part. Here is how to plan the project the way a contractor would, from the slab up.
- Planning a Garage to Gym Conversion: Start With the Space
- Prep the Concrete Slab Before Anything Else
- Choosing Gym Flooring for a Garage
- Insulation, Heating, Cooling, and Ventilation
- Electrical and Lighting Upgrades
- Layout, Equipment, and Storage
- What a Garage Gym Conversion Costs
- Finishing Touches That Make You Train More
- Frequently Asked Questions
Planning a Garage to Gym Conversion: Start With the Space
Measure before you shop. A standard one-car garage runs about 12 by 20 feet (240 sq ft), a two-car about 20 by 20 feet (400 sq ft), and ceiling height typically lands between 8 and 9 feet. That ceiling number matters more than most people expect. A standing overhead press for a 6-foot lifter needs roughly 8 feet of clearance at lockout, and a full-height power rack is usually 90 to 93 inches tall. Pull-ups on the rack need another 8 to 12 inches above your head.
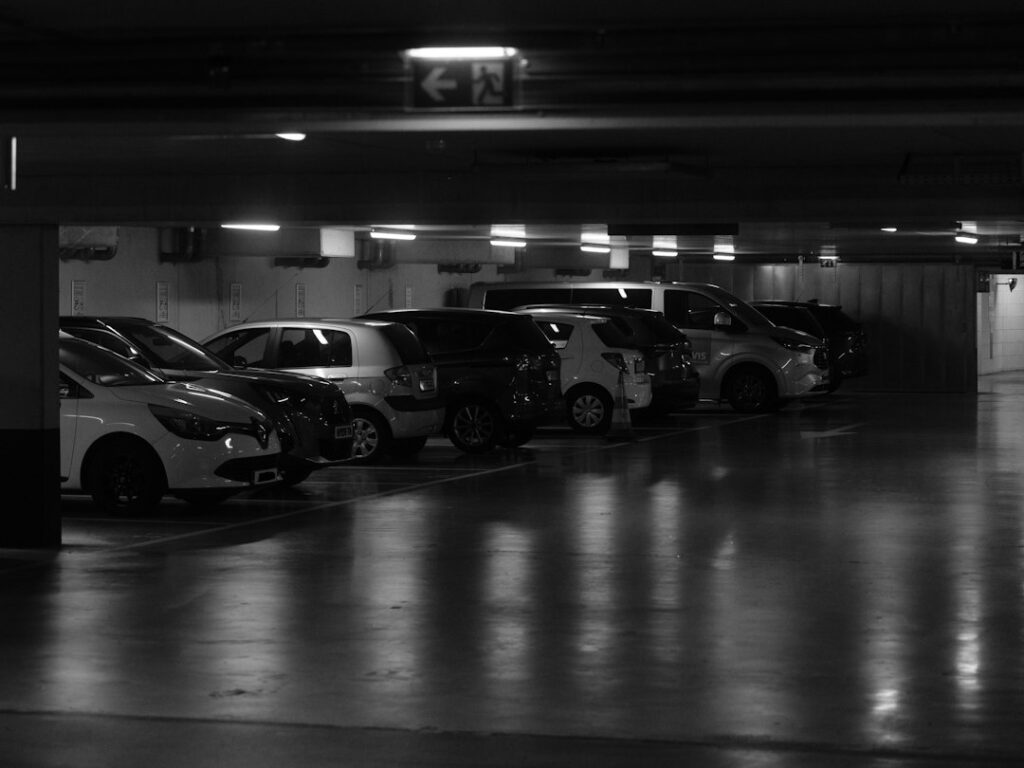
Next, decide whether the garage stays a garage. Plenty of homeowners keep one bay for a car and carve out the other for training. That works fine, but it changes your choices: rubber flooring must handle tire traffic and road salt, and you will need to leave clear walkway space so nobody clips a barbell with a side mirror. If the car moves out permanently, check local zoning and your HOA rules. Some jurisdictions treat a fully enclosed garage (framed-in door, permanent HVAC) as habitable space, which can trigger permits and property tax reassessment.
Finally, sketch a rough zone plan on graph paper. Most home gyms divide cleanly into three areas: a lifting zone around the rack, a cardio zone for a bike, rower, or treadmill, and an open floor zone for mobility work, kettlebells, and stretching. Put the rack against the strongest wall with the highest ceiling, and keep cardio machines near an outlet.
Prep the Concrete Slab Before Anything Else
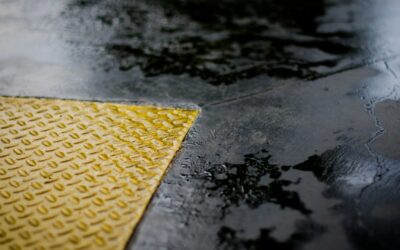
Your garage slab is the foundation of the entire gym, and it is rarely in perfect shape. Look for three problems: cracks, moisture, and slope. Hairline shrinkage cracks under 1/8 inch are cosmetic and can be filled with a polyurethane crack sealant for about $15 a tube. Wider cracks, or cracks where one side sits higher than the other, can point to settlement and should be evaluated before you load 500 pounds of rack and plates on top.
Moisture is the quiet killer. Tape an 18-by-18-inch square of clear plastic sheeting to the slab and leave it for 48 hours. If condensation forms underneath or the concrete darkens, you have vapor coming through. Rubber mats trap that moisture and can grow mildew underneath, so a damp slab needs a penetrating sealer or a moisture-mitigating epoxy primer before flooring goes down.
Slope is normal. Most garage floors fall about 1/8 inch per foot toward the door for drainage. That is fine for mats, but it can make a treadmill or a lifting platform rock. Shim equipment rather than trying to level the whole slab, which is a costly self-leveling job that rarely pays off in a gym.
Choosing Gym Flooring for a Garage
Flooring is where a garage gym either protects your slab or quietly destroys it. Dropped dumbbells chip concrete, and bare concrete is hard on knees during jump work. Here are the practical options:
- 3/4-inch rubber stall mats (4 x 6 feet): The classic budget choice at roughly $50 to $65 per mat from farm supply stores, which works out to about $2.10 to $2.70 per sq ft. Heavy (around 100 pounds each), dense, and nearly indestructible. They smell strongly of rubber for a few weeks, so air them out in the driveway first.
- 8 mm rolled rubber: Fewer seams and a cleaner look at $1.50 to $3.00 per sq ft. Good for cardio and general training, but too thin on its own for heavy deadlift drops.
- Interlocking rubber tiles (3/8 to 1 inch): Easy DIY, easy to replace a damaged square, $3 to $6 per sq ft. Seams can separate under lateral sled pushes.
- EVA foam puzzle tiles: Cheap and soft, but they dent permanently under racks and tear under barbells. Only suitable for yoga and stretching corners.
- Epoxy or polyaspartic coating: Great-looking and easy to clean at $4 to $9 per sq ft installed, but it offers zero impact protection. Pair it with a lifting platform or mats in the lifting zone.
A smart hybrid is to coat the whole slab with polyaspartic for looks and moisture resistance, then lay stall mats in the lifting and cardio zones. For Olympic lifting or heavy deadlifts, build a platform: two layers of 3/4-inch plywood glued and screwed at 90 degrees to each other, a hardwood or plywood center strip, and 3/4-inch rubber on each side where the plates land. Figure $200 to $300 in materials for an 8-by-8-foot platform.
Insulation, Heating, Cooling, and Ventilation
An uninsulated garage can hit 100°F in a Texas summer and drop to 20°F in a Minnesota winter. Neither is safe for hard training. Start with the garage door, which is usually the biggest heat leak. A foam-panel door insulation kit runs $80 to $150 for a single door and adds roughly R-4 to R-8. Replace worn bottom seals and add side weatherstripping while you are at it. If the walls are open studs, R-13 batts in 2×4 walls cost around $0.60 to $1.00 per sq ft; finish them with plywood or OSB rather than drywall so you can mount storage anywhere and survive the occasional errant bar.
For climate control, a ductless mini-split is the go-to answer. A 12,000 BTU unit handles most one- and two-car garages and runs $1,500 to $4,500 installed, with both heating and cooling. Window or through-wall AC units are cheaper but noisy. Portable propane heaters are a bad idea in a closed room where you are breathing hard, because of carbon monoxide and moisture output.
Ventilation matters even with a mini-split. A 16- to 20-inch high-velocity fan moves air across the lifting area, and an exhaust fan rated around 100 to 200 CFM keeps humidity and chalk dust down. Aim to keep relative humidity between 40 and 60 percent to protect bare steel bars and plates from surface rust.
Electrical and Lighting Upgrades
Most garages have one or two 15-amp circuits and a single bare bulb. A commercial treadmill alone can draw 15 to 20 amps and often requires its own dedicated 20-amp circuit. A mini-split typically needs a separate 240-volt circuit. Add a TV, speakers, a fan, and a space heater, and you will trip breakers constantly on the original wiring.
For lighting, swap the bulb for LED shop fixtures. Four-foot linkable LED shop lights put out 4,000 to 5,000 lumens each at a daylight color temperature around 5,000K, and cost $25 to $40 apiece. A 400 sq ft garage feels right with six to eight fixtures. Mount them away from the rack so you are not staring into a light during bench press, and keep them high enough that a barbell overhead cannot hit them. Cage-style guards are a cheap insurance policy.
When to call a licensed professional: adding new circuits, a 240-volt line for a mini-split, or a subpanel is work for a licensed electrician in almost every jurisdiction, and it usually requires a permit. GFCI protection is required on garage receptacles under current electrical code. If your panel is full, rusted, or an older brand with known recall issues, have an electrician inspect it before you add load. Expect $250 to $800 per new circuit, more if the panel needs an upgrade.
Layout, Equipment, and Storage
Build around the rack. A power rack or squat stand with a 7-foot Olympic bar needs a footprint of roughly 4 by 4 feet for the rack itself, plus about 2 to 3 feet of clearance on each end of the bar and 3 to 4 feet in front for walkouts and bench work. In practice, reserve a zone about 10 feet wide by 8 feet deep. Wall-mounted folding racks save space in a shared garage and fold to just 4 to 5 inches deep when the car pulls in. Mount them into studs with lag bolts, and confirm the wall framing is sound.
Vertical storage keeps the floor clear. Plate trees, wall-mounted bar holders, and a pegboard or slatwall section for bands, collars, and jump ropes can reclaim 20 to 30 sq ft of floor. Keep heavy plates low on the wall to limit strain when loading.
A realistic starter kit looks like this:
- Power rack or squat stand with safety arms ($400 to $1,200)
- Olympic barbell ($200 to $400)
- 300 lb of iron or bumper plates ($400 to $900)
- Adjustable bench ($150 to $450)
- Adjustable dumbbells or a small set of fixed pairs ($300 to $700)
- One cardio machine, such as an air bike or rower ($400 to $1,000)
What a Garage Gym Conversion Costs
Budgets vary widely, but most projects fall into three tiers. The ranges below cover the room itself plus basic equipment for a two-car garage.
| Tier | What It Includes | Typical Cost |
|---|---|---|
| Budget | Stall mats, LED lights, fan, used equipment | $1,500 to $3,500 |
| Mid-range | Door insulation, polyaspartic coating, mats, mini-split, new rack | $6,000 to $12,000 |
| Full build-out | Insulated finished walls, new circuits, mirrors, premium flooring and gear | $15,000 to $30,000+ |
Compare that to a gym membership at $40 to $80 a month for two adults and a mid-range build pays for itself in six to ten years, before counting commute time. Buying used equipment on local marketplaces can cut the equipment line in half, since plates and dumbbells rarely wear out.
Finishing Touches That Make You Train More
Small details change how often you use the space. Frameless gym mirrors on 1/4-inch tempered glass, mounted about 12 to 18 inches off the floor, help with form checks and make a narrow garage feel larger. A wall-mounted TV or a speaker on a shelf out of the bar path keeps sessions from dragging. Paint the walls a light, warm color with a scrubbable satin or semi-gloss finish so scuffs wipe off.
Keep a door mat and a boot tray at the house entry so chalk and rubber crumbs stay out of the kitchen. If the gym shares space with a car, a ceiling-mounted retractable cord reel and a rolling cart for small gear make it easy to reset the room in under five minutes. Finally, invest in a simple dehumidifier (a 35-pint unit runs about $200) if you live somewhere humid. Rust on a good barbell is avoidable, and a dry room simply feels better to walk into at 6 a.m.
Frequently Asked Questions
Do I need a permit to turn my garage into a gym?
For flooring, mats, and equipment, usually not. New electrical circuits, mini-split installation, and permanently closing in the garage door almost always require permits. Call your local building department before you start.
What is the best floor for a garage gym on a budget?
Horse stall mats, 3/4 inch thick and 4 by 6 feet, give the most protection per dollar at around $2 to $3 per sq ft. Seal the slab first if it shows any moisture.
Can I still park a car in a garage gym?
Yes, if you plan for it. Use a wall-mounted folding rack, vertical plate storage, and durable rubber flooring that tolerates tires, and keep a clear walkway around the vehicle.
How do I keep a garage gym cool in summer?
Insulate the garage door first, then add a ductless mini-split or through-wall unit plus a high-velocity fan. Training early in the morning also helps a lot in hot climates.