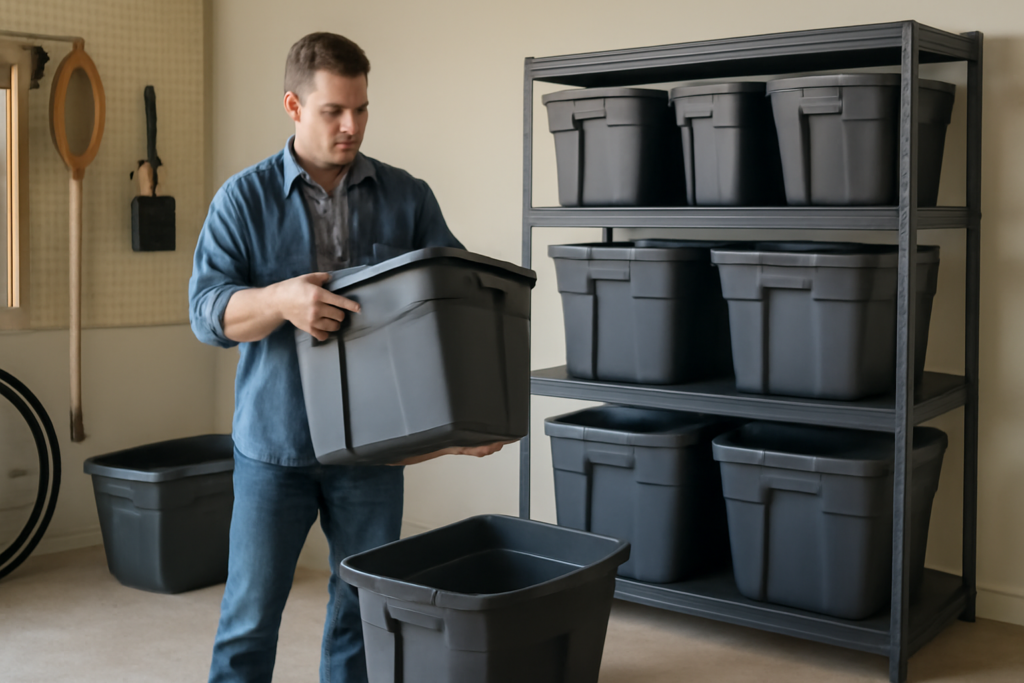
Every garage collects the same drift — holiday decorations, camping gear, kids’ outgrown clothes — and it all ends up in a leaning pile of mismatched bins by spring. Good garage tote storage turns that chaos into a system you can actually find things in, gets the totes off the damp concrete, and stops the annual avalanche when you reach for the one on the bottom.
- Plan the Zones Before You Buy Bins
- Start With the Right Totes
- Match the Tote to the Load
- Stackable HDPE Totes: How High Is Safe
- Put the Totes on Shelving
- What the Good Totes Actually Cost
- Clear vs. Opaque Bins and Labeling
- What Belongs in a Tote and What Doesn’t
- Climate Concerns in an Unconditioned Garage
- A Seasonal Rotation That Keeps It Working
Here’s how to choose the right totes, stack them safely, and keep the contents dry in a garage that swings from freezing to sweltering.
Plan the Zones Before You Buy Bins
Good tote storage starts with a plan, not a shopping cart. Walk the garage and group your stuff into categories — holiday, camping, automotive, kids’ keepsakes, off-season clothing — then estimate how many bins each needs. Assign each category a zone on your shelving so like items live together and you’re not hunting across the garage. This five-minute exercise tells you exactly how many totes and how much shelf length to buy, and it keeps you from the classic mistake of grabbing 20 random bins and still having no system. As a rough gauge, a two-car garage’s worth of seasonal storage usually lands between 12 and 25 totes.
Start With the Right Totes
Not all bins are equal, and cheap ones cost you later. Look for these traits:
- HDPE construction: High-density polyethylene resists cracking in cold and won’t get brittle like the flimsy budget bins. It’s the standard for a reason.
- Interlocking lids: Lids that snap or recess into the base above let you stack securely. Domed or loose lids make a wobbly, unstable stack.
- True stackability: Totes designed to nest their base into the lid below stay put; straight-wall bins slide.
- Size consistency: Buy one or two sizes and stick with them. Matched footprints stack flat and use shelf space efficiently. Mixed sizes waste space and tip.
Common capacities run 27, 40, and 55 gallons. The 27-gallon size (roughly 20 x 15 x 12 inches) is the sweet spot — big enough to be useful, light enough to lift when full.
Match the Tote to the Load
A tote packed with books weighs very differently from one full of sleeping bags. Keep heavy items in smaller bins so a full tote stays under 40 to 50 lbs — the point where lifting it overhead onto a shelf gets dangerous. Reserve the big 55-gallon totes for bulky, light things like comforters, pillows, and seasonal coats. Overloading a large bin cracks the handles and makes the whole stack unstable.
Stackable HDPE Totes: How High Is Safe
Stacking is where garages either work or collapse. A few field rules:
- Heaviest on the bottom: Always. A heavy bin up top makes the stack top-heavy and crushes the lighter ones below.
- Cap free-standing stacks at 3 to 4 high: Beyond that, the bottom lids bow under the weight and the stack leans. Frequent-access bins should never be more than two high.
- Watch lid load: HDPE lids handle stacking weight, but 200 lbs of totes pressing on a bottom lid over years will deform it. Shelving solves this.
Put the Totes on Shelving
The single best upgrade is getting totes onto steel shelving instead of stacking them on the floor. Shelves let you pull any bin without unstacking the pile, and they keep everything off the concrete.
- Wire or steel garage shelving: Boltless steel units rated 350 to 800 lbs per shelf handle loaded totes easily. Size the shelf depth to your tote footprint — an 18-inch-deep shelf fits most 27-gallon bins.
- Wall-mounted vs. freestanding: Freestanding units are simplest; anchor tall ones to the wall so they can’t tip. Mount at least one shelf low for heavy bins and reserve the top shelf for light, rarely used items.
- Overhead racks: Ceiling-mounted platforms rated 250 to 600 lbs are perfect for the once-a-year totes, clearing floor and wall space entirely.
What the Good Totes Actually Cost
Price tracks quality here, and the cheap bins are a false economy. Budget totes run $6 to $10 but crack in cold weather and their lids warp within a couple of seasons. Mid-grade HDPE totes like the Sterilite or IRIS lines cost $10 to $18 for 27 to 40 gallons and hold up for years. Heavy-duty rugged totes — the thick-wall, tight-latch kind rated for a person to stand on — run $18 to $35 for 27 to 55 gallons and are worth it for anything heavy or valuable. Buy the mid-grade or better; the difference of a few dollars per bin pays for itself the first time you don’t have to replace a shattered lid.
Clear vs. Opaque Bins and Labeling
Clear totes let you see the contents at a glance, which saves opening five bins to find the extension cords. The tradeoff is that sunlight through clear plastic fades fabrics and photos over time, and clear bins look cluttered. Opaque bins hide the mess and block light, but you’re relying entirely on labels.
Either way, label ruthlessly. Put a label on two sides and the end of each tote so you can read it however it’s stacked. A cheap label maker or wide painter’s tape and a marker both work. For bins you reshuffle often, a numbered index taped inside a cabinet — “Bin 7: camping” — beats relabeling every season.
What Belongs in a Tote and What Doesn’t
Totes are perfect for some things and a bad idea for others. They earn their keep with holiday decorations, off-season clothing and linens, camping and sports gear, kids’ keepsakes, and craft or hobby supplies — anything bulky, non-perishable, and used seasonally. What should never go in a garage tote: food or pet food (metal cans only, or the mice win), important documents and photos that can’t take temperature swings, paint and other liquids that freeze and crack, batteries, candles, and electronics. A tote hides its contents so well that people forget the garage’s heat and cold are still working on whatever’s inside. Match the container to the environment, not just the empty space you’re trying to fill.
Climate Concerns in an Unconditioned Garage
An unheated, unsealed garage is a rough environment, and it’s where cheap storage fails. Plan for it:
- Moisture: Concrete wicks humidity, and totes on the floor sweat and grow mildew underneath. Keep everything on shelves or 2×4 sleepers, and toss a desiccant pack into bins holding fabric or paper.
- Temperature swings: Heat warps records, candles, and electronics; freezing cracks liquids and batteries. Store anything temperature-sensitive indoors, not in the garage.
- Pests: Snap lids deter mice better than loose ones, but a determined rodent chews through thin plastic. Keep food, birdseed, and pet food in metal cans, not totes.
- Water intrusion: If your garage floods even slightly, that bottom row of floor-stacked totes is the first casualty. Shelving is your flood insurance.
A Seasonal Rotation That Keeps It Working
A system only stays organized if you maintain it, and totes make that easy. Set your shelving up so the current season’s gear sits at eye level and the off-season bins go up high or in the overhead rack. Twice a year, when you swap summer and winter gear, take ten minutes to purge — the outgrown clothes, the broken decorations, the camping gear you never use. Totes tempt you to keep everything because it disappears into a labeled box, so the twice-yearly purge is what stops the garage from silently filling with junk you’ll never touch again. Keep two empty bins on hand for the stuff that’s mid-transition, and the system runs itself.
Get the bins right, keep them off the concrete, and label every side, and your garage tote storage will hold up for years instead of collapsing into a pile by fall. Buy matched HDPE totes, put them on rated steel shelving, and reserve the garage for the stuff that can actually take the temperature swings.