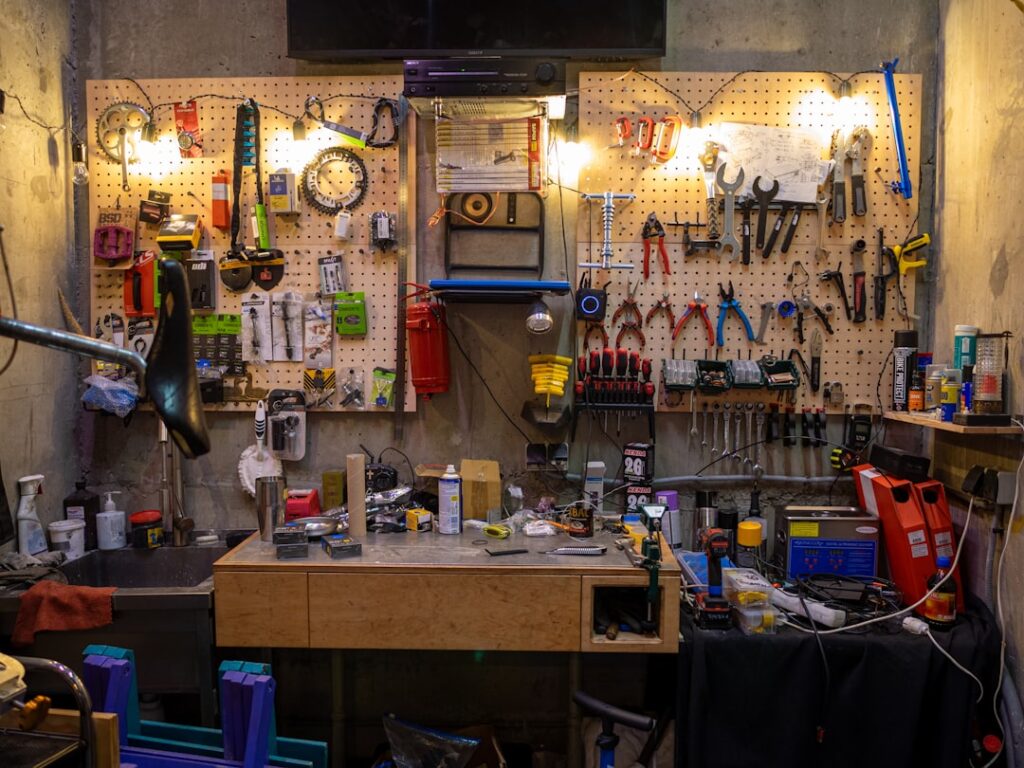
Every square foot of garage wall you leave bare is storage you’re paying for and not using. Smart garage wall organization gets rakes, extension cords, and power tools off the floor and up where you can see them — which is exactly where a flood-prone slab wants them anyway. Here’s how a contractor plans a wall that holds weight and still looks sharp.
Why Walls Beat Floors and Shelves
A floor-standing shelf eats 2 feet of depth you could park a car in. A wall system eats 2 inches. There’s a fourth payoff people underrate: visibility. When every tool hangs in plain sight, you stop buying a third caulk gun because you couldn’t find the first two, and a well-organized wall quietly pays for itself in the duplicates you never buy again. Get your gear vertical and you reclaim the footprint, you can hose the floor without moving anything, and in a garage that takes water every spring, nothing valuable is sitting in the puddle. The three workhorse systems are slatwall, French cleat, and pegboard — each suits a different budget and load.
Slatwall: The Flexible All-Rounder
Slatwall is horizontal grooved paneling that accepts hooks, baskets, shelves, and cabinets anywhere along the grooves — infinitely rearrangeable without new holes. PVC slatwall from Proslat, Flow Wall, or Gladiator resists moisture and won’t rot, unlike MDF slatwall meant for retail interiors.
Expect $3–$6 per square foot for PVC panels. Load ratings run 50–75 lb per linear foot when panels are screwed into studs at 16″ on center — meaning a single hook might carry 50 lb but you shouldn’t hang your whole tool collection off one spot. Panels typically ship in 4′-wide sections that stack to your desired height; an 8-foot wall two panels high covers most of a bay.
Mount tips:
- Screw through every stud the panel crosses — 2.5″ screws into framing, not drywall anchors.
- Start level; the first panel sets the line for everything above it. A single degree of slope compounds badly over 8 feet.
- Leave the bottom panel 3″–4″ off the floor in wet garages so a mop or a flood never soaks the panel edge.
French Cleat: The Heavy-Duty Custom Choice
A French cleat is a strip of plywood or metal ripped at a 45-degree angle and screwed to the wall, with a matching cleat on the back of each tool holder that hooks over it. Gravity does the locking. It’s the strongest system for the money because the load transfers straight into the wall through the full length of the cleat.
Build your own from 3/4″ plywood — rip a 45-degree bevel on a table saw, lag the wall strip into studs, and hang shop-made holders for drills, clamps, and hand tools. Metal French cleat systems like Rubbermaid FastTrack sell a rail that mounts to studs and carries accessory hooks. A single FastTrack rail holds up to 1,750 lb of evenly distributed gear across its length, with individual hooks rated 25–50 lb each.
French cleat shines when you want dense, custom-fit holders for oddly shaped tools — a chop saw, a nail gun, a coil of rope. The downside is labor: you’re building the holders yourself. Budget a weekend and a sheet or two of 3/4″ plywood, which runs $45–$70 each. The payoff is a wall where every tool has a molded home and nothing rattles loose — and when you buy a new tool next year, you cut one more holder and hang it wherever there’s space, no re-drilling the wall.
Pegboard: Cheap, Fast, and Fine for Light Loads
Pegboard is the budget classic and still earns its keep for hand tools, spray cans, and small parts. Steel pegboard beats the old 1/4″ hardboard — hardboard sags and the hooks pop out under 5 lb of pull. Steel or polypropylene panels from Wall Control or Triton hold 20–50 lb per square foot and won’t crumble.
The key install detail: pegboard needs a 1/2″–3/4″ air gap behind it so hooks can seat. Mount it on furring strips or 1×2 spacers screwed into studs, then screw the board to the strips. Skip the spacers and no hook will sit right. A trick that saves aggravation: secure your hooks with locking clips or a dab of hot glue on the peg foot. Standard hooks lift out every time you grab the tool hanging on them, and a floor littered with dropped hooks is the fastest way to abandon a pegboard entirely.
Mounting Into Studs vs. Drywall
This is the whole game. Garage studs sit 16″ on center in most homes, sometimes 24″ in detached or older builds. Find them with a magnetic or electronic stud finder and mark the centers before any panel goes up. Every wall system’s rated capacity assumes the fasteners land in framing.
Drive 2.5″–3″ wood or structural screws into studs — one at every stud crossing, top and bottom of each panel. When a mounting hole falls between studs, use a heavy toggle bolt (good for 50–100 lb in 1/2″ drywall) only as a supplement, never as the sole anchor for a loaded holder. For maximum flexibility, lag a horizontal 2×4 ledger across three or four studs and mount panels to the ledger; now you can place hooks anywhere without chasing studs.
Zoning the Wall: A Layout That Works
A wall of hooks with no plan becomes a wall of clutter. Zone it the way a contractor zones a job site:
- Waist-to-shoulder height — daily-use hand tools and cordless drills, right where your hands land.
- Above shoulder — bulky light items: extension cords, hoses, folding chairs.
- Floor to knee — long-handled tools (rakes, shovels, brooms) on spring grips or single hooks, tips up, off the slab.
- Bins and baskets — screws, tape, gloves in labeled polypropylene bins clipped to slatwall.
Group by task, not by size. Everything for the lawn together, everything for the workbench together. You’ll find things in the dark. Trace the outline of each tool onto the panel with a marker or use printed labels, and you’ll notice instantly when a wrench walks off — the empty silhouette nags at you until it’s back. That shadow-board habit is why professional shops never lose tools, and it works just as well on a garage wall.
Wet and Flood-Prone Garages
If your garage takes standing water, wall organization isn’t just tidy — it’s protection. Keep the entire system above the historic high-water line, use PVC or steel panels (never MDF or hardboard), and store anything that rusts or molds up high. Hooks and baskets let air circulate around damp gear so it dries instead of festering. A ceiling-mount rack lagged into joists handles the seasonal overflow that doesn’t belong on the wall at all.
Budget and Rollout
You don’t have to do the whole wall at once. Start with one system and expand:
- $50–$150 — a steel pegboard panel and a hook assortment for the bench wall.
- $200–$500 — an 8-foot slatwall run with 20–30 mixed hooks and baskets.
- $150–$400 — a French cleat rail system or a DIY plywood cleat wall with shop-made holders.
A smart sequence is to hang one 4-foot slatwall section over the workbench, live with it for a month, and note what you reach for and what stays untouched. That real-world data tells you exactly where to put the next panel and which hooks to buy — far better than guessing at a checklist in the store. Expand the wall to match how you actually work, not how a catalog photo looks.
Whichever you choose, anchor it into studs and start level. Done right, good garage wall organization pays you back every single time you reach for a tool and it’s exactly where you left it — off the floor, in plain sight, and ready to work.