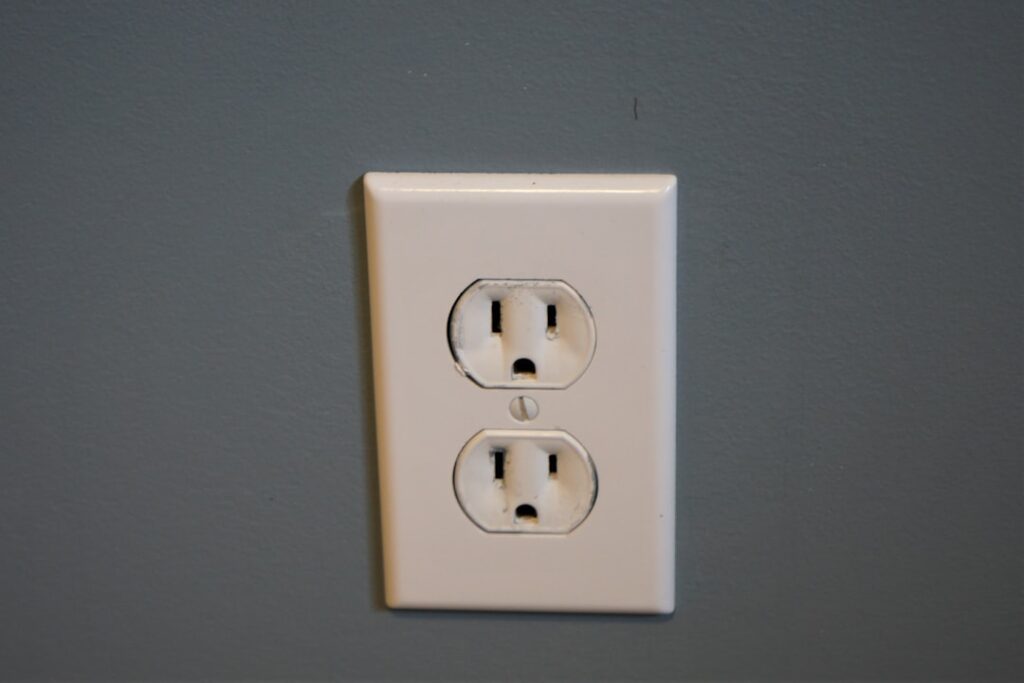
The single most common wiring mistake I see homeowners make is reversing the line and load wires on a GFCI receptacle — a swap that leaves the outlet dead, or worse, unprotected while looking like it works. A correct gfci outlet wiring diagram hinges on understanding those two terminal pairs and which one your incoming power connects to. Get that straight and wiring a GFCI is genuinely straightforward. Get it wrong and you either trip constantly or lose the ground-fault protection that’s there to keep you from being electrocuted.
- What a GFCI Actually Does
- The Two Terminal Pairs: Line vs. Load
- Diagram 1: Single GFCI, Self-Protection Only
- Diagram 2: GFCI Protecting Downstream Outlets
- Step-by-Step Installation
- Common Mistakes and How to Avoid Them
- When to Hand It to a Pro
- GFCI Outlet vs. GFCI Breaker
- Testing and Maintenance
- Final Word
What a GFCI Actually Does
A ground-fault circuit interrupter monitors the current going out on the hot conductor and the current returning on the neutral. In a healthy circuit those match. If as little as 4 to 6 milliamps leaks to ground — through a frayed cord, a wet appliance, or your body — the GFCI senses the imbalance and cuts power in a fraction of a second. That’s why code requires them anywhere water and electricity meet.
Under NEC 210.8, GFCI protection is required for receptacles in bathrooms, kitchens, garages, unfinished basements, laundry areas, outdoors, and within 6 feet of any sink. If you’re replacing an outlet in any of those spots, code expects a GFCI (or GFCI-protected circuit) to go back in.
The Two Terminal Pairs: Line vs. Load
Flip a GFCI receptacle over and you’ll see four brass and silver screws plus a green ground screw, split into two labeled sections:
- LINE — where the incoming power from the panel connects. This is the pair the factory tape usually covers. Hot (black) goes to the brass LINE screw, neutral (white) to the silver LINE screw.
- LOAD — where you connect wires that continue downstream to other outlets you want the GFCI to protect. Leave these capped and untouched if the GFCI only protects itself.
The whole system depends on power entering through LINE. The GFCI’s protection flows out through LOAD to everything downstream. Feed power into the LOAD terminals by mistake and the reset button won’t hold — the device is designed to fail safe when miswired.
Diagram 1: Single GFCI, Self-Protection Only
The simplest wiring. Only one cable enters the box (two if you count the two ends, but electrically one supply):
- Connect the incoming black hot wire to the LINE brass screw.
- Connect the incoming white neutral to the LINE silver screw.
- Connect the bare/green ground to the green screw.
- Leave the LOAD terminals covered with the factory tape.
This protects only the receptacle itself. Perfect for a single outdoor outlet or a lone bathroom receptacle on its own home run.
Diagram 2: GFCI Protecting Downstream Outlets
When you want one GFCI to protect several standard outlets down the line — a common, money-saving approach since you buy one $18 GFCI instead of five — you’ll have two cables in the box:
- Identify which cable is the incoming power from the panel using a voltage tester (power off first). That’s your LINE.
- Incoming hot to LINE brass; incoming neutral to LINE silver.
- The outgoing cable that continues to the other outlets: black to LOAD brass, white to LOAD silver.
- Pigtail all the ground wires together to the green screw.
Now every standard outlet downstream is protected by this one GFCI. Label those downstream outlets with the “GFCI Protected” stickers that come in the box — a future homeowner or inspector will thank you, and it explains why a bathroom outlet trips when the garage GFCI does.
Step-by-Step Installation
- Kill the circuit. Switch off the breaker feeding the outlet and verify dead at the receptacle with a non-contact tester. Never trust the label alone.
- Remove the old outlet and note how many cables enter the box. Before disconnecting, if there are two cables, identify the live one with the breaker back on briefly, then kill it again and mark that cable LINE.
- Strip and shape. Strip about 3/4 inch of insulation; make a clean hook or use the back-wire clamp if the GFCI has one (torque the screw to spec — usually around 20 in-lb).
- Land the wires per the correct diagram above. Double-check LINE vs LOAD.
- Tuck and mount. Fold the wires neatly, screw the device into the box, add the cover plate.
- Test. Restore power, press RESET, then press TEST — the button should trip and cut power. Reset it, and confirm with a plug-in tester that wiring is correct.
Common Mistakes and How to Avoid Them
- Line/load reversed — the outlet reads dead or won’t reset. Swap the cables to the correct terminals.
- No ground in old wiring — a GFCI can legally replace an ungrounded two-prong outlet (NEC allows it) but you must apply the “No Equipment Ground” label included in the box. The GFCI still protects people; it just can’t protect equipment expecting a ground.
- Shared neutral / multi-wire circuits — GFCIs misbehave on multi-wire branch circuits unless wired specifically for them. If you find two hots sharing one neutral, get advice before proceeding.
- Nuisance tripping — often a downstream appliance with minor leakage (older freezers, some LED drivers). Isolate by unplugging loads one at a time.
When to Hand It to a Pro
Replacing an existing GFCI in an accessible box is a reasonable DIY task if you’re comfortable and your area allows homeowner electrical work. Call a licensed electrician if you find aluminum branch wiring, multi-wire circuits, backstabbed connections that keep failing, scorching in the box, or if you simply can’t confidently identify the LINE cable. And any time you’re running new cable or adding a circuit rather than swapping a device, a permit and inspection usually apply.
GFCI Outlet vs. GFCI Breaker
You have two ways to deliver ground-fault protection, and the wiring diagram differs for each. A GFCI receptacle installs at the outlet and protects itself plus anything wired to its LOAD terminals, as described above. A GFCI breaker installs in your panel and protects the entire circuit from the panel outward — every outlet, light, and device on that circuit.
Which to choose? A GFCI breaker is cleaner when you want a whole circuit protected and don’t want a bulky GFCI receptacle in the box, but it costs more ($40 to $60 versus $18) and requires working in the panel. A GFCI receptacle is cheaper and keeps the work out at the outlet, and its TEST/RESET buttons are conveniently at hand. Many homeowners use a single first-in-line GFCI receptacle to protect a string of downstream outlets — the most economical approach. Just don’t double up: putting a GFCI receptacle on a circuit already protected by a GFCI breaker leads to confusing nuisance trips and no added safety.
Testing and Maintenance
A GFCI is a mechanical device that can and does wear out, so testing isn’t optional. Press the TEST button monthly; power to the outlet (and anything downstream) should cut immediately, and RESET should restore it. If pressing TEST does nothing, or the outlet keeps power after a trip, the device has failed and needs replacing regardless of its age.
Modern GFCIs (2015 and newer) include self-test circuitry that checks themselves periodically and will indicate a fault with a blinking light or by refusing to reset when the internal sensing fails — a safety improvement over older units that could quietly die and leave you unprotected. If a GFCI is more than ten years old, or it trips for no clear reason and won’t stay reset, swap it. At under $20, there’s no reason to trust worn ground-fault protection near water.
Final Word
A GFCI outlet wiring diagram really comes down to one discipline: power in on LINE, protection out on LOAD, grounds pigtailed together, and always test with the built-in button plus a plug tester before you close it up. Respect that order and the code requirements around wet locations, and you’ll have safe, reliable protection exactly where it matters most.