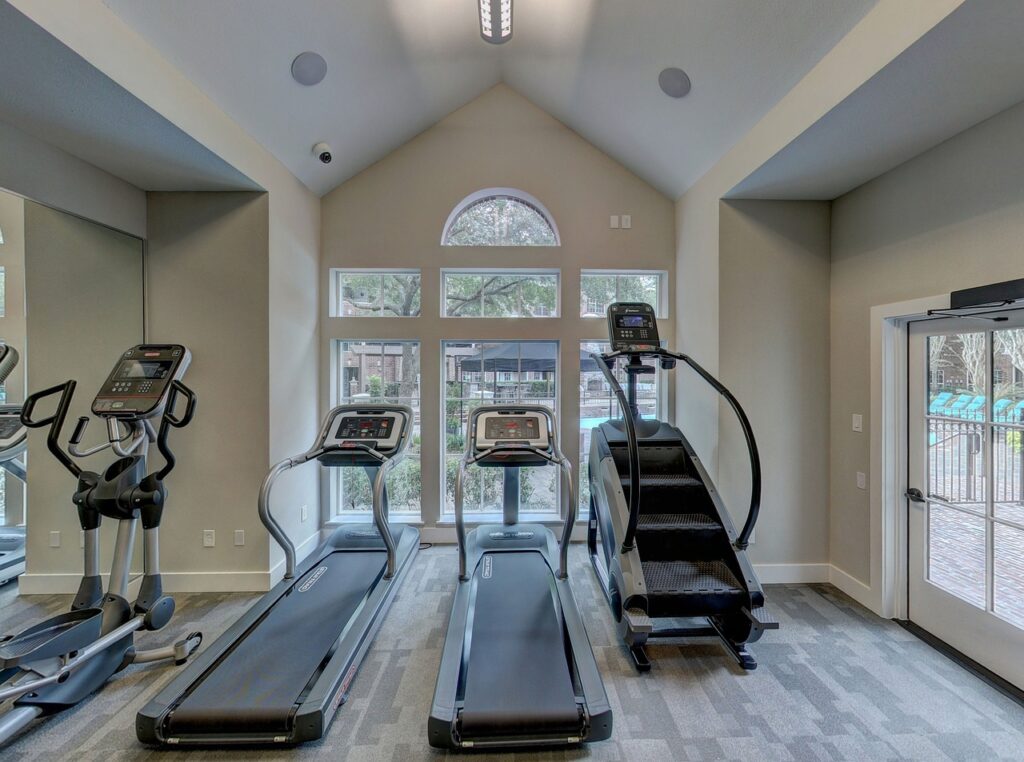
Drop a 45-pound plate on a bare hardwood floor once and you will understand why a gym rug is the first thing serious home lifters buy. Whether you are protecting a finished basement, a spare bedroom, or a slab garage, the right gym rug absorbs impact, muffles noise, keeps equipment from sliding, and saves your subfloor from thousands of dollars in damage. I have built out dozens of home gyms, and the flooring decision matters more than most people expect.
This guide breaks down what actually works underfoot: the material choices, the thickness you need for different training styles, sizing for treadmills and lifting platforms, and how to keep the whole setup clean after months of sweat. Get this layer right and everything you set on top performs better.
What a Gym Rug Really Does
People think of gym flooring as cushioning, but it does four jobs at once. It absorbs the shock of dropped weights so the impact does not travel into your joists or crack a concrete slab. It deadens sound, which matters a lot if anyone is sleeping above or below your training space. It grips both the floor and your equipment so a treadmill or rack does not creep across the room. And it creates a defined, comfortable surface that makes the space feel like a real gym instead of a corner of the basement.
Skip it and you risk gouged hardwood, dented laminate, chipped tile, and a treadmill that vibrates loudly enough to rattle drywall. A $150 to $400 flooring budget protects a floor that can cost $5,000 or more to replace.
Rubber, Foam, or Carpet: Choosing Your Material
The three main gym rug materials each suit a different type of training. Match the surface to how you actually work out, not to what looks good in a catalog.
Rubber
Rubber is the gold standard for anyone lifting heavy. It comes as interlocking tiles, roll-out mats, or bonded stall mats, and it shrugs off dropped dumbbells, kettlebells, and loaded barbells. A dense rubber surface protects the floor, resists tearing, and holds a squat rack rock-steady. The trade-off is a rubber smell that fades over a few weeks and a heavier product to haul in. Expect $1.50 to $4 per square foot for quality rubber.
Foam
EVA foam tiles are cheap, light, and soft, which makes them great for yoga, stretching, bodyweight training, and kids. They are the puzzle-piece mats you see everywhere for $0.75 to $2 per square foot. What they are not good for is heavy iron. Drop a 50-pound dumbbell on foam and you will leave a permanent dent, and the tiles compress under a heavy rack. Use foam for low-impact zones, not a deadlift platform.
Carpet-Style Gym Rugs
A dedicated carpet-topped gym rug or a low-pile turf runner splits the difference. These give a warmer, more finished look, work well under cardio machines, and feel better underfoot for circuit training. Turf strips are ideal for sled pushes and dynamic movement. They cushion less than rubber, so pair them with a mat where you drop weights.
How Thick Should a Gym Rug Be?
Thickness is where most people guess wrong. The correct depth depends entirely on the load you plan to drop.
- 1/4 inch (6 mm): Fine for cardio, yoga, and light dumbbell work up to about 25 pounds. Protects against scuffs, not heavy drops.
- 3/8 inch (10 mm): The all-around sweet spot for general home gyms with moderate free weights.
- 1/2 inch (12 mm): Handles regular dumbbell and kettlebell drops and supports most racks well.
- 3/4 inch (19 mm): The choice for Olympic lifting, heavy deadlifts, and CrossFit-style training where loaded bars hit the floor.
For a dedicated lifting platform over a fragile floor, I stack a 3/4-inch stall mat and still add a plywood-and-rubber platform under the barbell. Over a concrete garage slab, a single 3/4-inch layer usually does the job.
Sizing for Treadmills, Racks, and Free Weights
Measure before you buy, because returning a 200-pound pallet of rubber is a nightmare. A treadmill mat should extend at least 6 inches past the machine on every side to catch belt debris and dampen vibration; a common size is 3 by 6.5 feet. For a squat rack and bench setup, plan on an 8 by 8-foot minimum so you have room to walk around the rack safely. A full free-weight zone with room to swing kettlebells and do lunges wants 10 by 10 feet or more.
When in doubt, cover more floor than you think you need. It is cheaper to buy a few extra tiles now than to expand a mismatched floor later, and a fully covered surface looks and performs better than a patchwork.
Non-Slip Performance
A gym rug that slides is a gym rug that hurts you. On a smooth concrete or tile floor, choose mats with a textured or ribbed underside, or add a rubber gripper pad underneath a lighter rug. Interlocking rubber tiles lock into a single mass that will not shift. For any rug over hardwood or laminate, verify the backing will not scratch the finish and use a non-slip pad rated for hard floors. If you are running fast on a treadmill or doing explosive lifts, the surface must not creep even a fraction of an inch.
Protecting Different Floor Types
Your subfloor changes the game. Over a concrete slab, your main concerns are moisture and impact, so a thick rubber layer with a moisture barrier underneath works well. Over hardwood or engineered wood, you are protecting a finish, so avoid rubber that can off-gas and stain; use a felt-backed rug or place a barrier film first, since some rubber leaves marks on polyurethane over time. Over laminate or luxury vinyl, cushioning matters most because those cores dent easily under point loads like rack feet, so distribute weight with a wide, firm mat.
Cleaning Sweat and Odor
Sweat is the enemy of a home gym floor. It soaks into foam, feeds bacteria, and creates that locker-room smell within weeks if you ignore it. Build a simple routine and the space stays fresh for years.
- Wipe rubber and foam down weekly with a mix of warm water and a splash of white vinegar or a mild floor cleaner. Skip harsh solvents that degrade rubber.
- For carpet-style gym rugs, vacuum weekly and spot-treat with an enzyme cleaner made for pet or athletic odors.
- Pull up interlocking tiles a few times a year and clean underneath, where moisture collects.
- Keep a towel on hand during workouts and run a fan or dehumidifier in a basement gym to speed drying.
Never use bleach or ammonia on rubber; both break it down and leave a residue you will smell for months.
Installation Tips From the Field
Lay your gym rug on a clean, dry, level floor. Sweep and mop first, because grit trapped underneath will grind into the flooring and the mat. For interlocking tiles, dry-fit the whole layout before pressing seams together, and trim border pieces with a sharp utility knife and a straightedge. Let rubber acclimate flat in the room for 24 to 48 hours so it relaxes and lies without curling. If you smell strong rubber off-gassing, ventilate the space and give it two to three weeks; the odor dissipates.
What to Budget
A modest 8 by 8-foot rubber gym floor runs roughly $200 to $400 in quality tiles or stall mats. A full 10 by 12-foot lifting setup with 3/4-inch rubber lands closer to $400 to $700. Foam tiles for a light-use room can cover the same space for under $150. Compared to refinishing a hardwood floor or replacing dented vinyl, the gym rug is the cheapest insurance in the whole build.
The Bottom Line
The right gym rug is not an accessory; it is the foundation your entire home gym sits on. Choose dense rubber for heavy lifting, foam for low-impact work, and a carpet or turf surface for cardio and finished looks. Match the thickness to your heaviest drop, oversize the coverage, insist on a non-slip base, and clean sweat before it settles in. Do that, and one modest purchase protects your floor, quiets your training, and makes every workout feel like it belongs in a real gym.