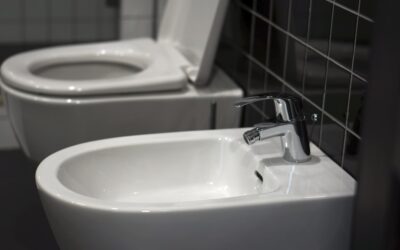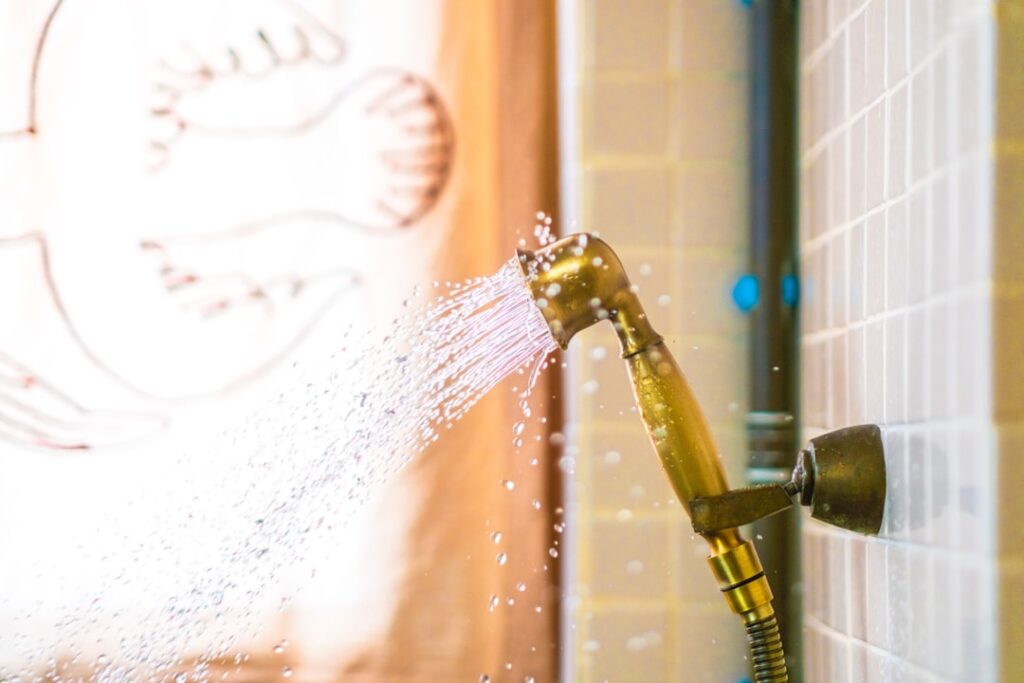
The cheapest, most flexible way to add a bidet to any bathroom is not a heated electronic seat, it is a hand held bidet sprayer that installs in about 15 minutes with no electricity and no plumber. A hand held bidet sprayer mounts beside your toilet, taps into the existing water supply, and gives you a directable spray for personal hygiene, cleaning cloth diapers, rinsing the toilet bowl, or even bathing a pet. For under $50 and a quarter hour of work, it delivers most of the benefit of a $600 electronic bidet.
I have installed several of these across different bathrooms, and the process is genuinely DIY-friendly. Here is how to choose one and put it in yourself.
How a Hand Held Bidet Sprayer Works
The design is simple and reliable. A T-valve (also called a T-adapter) installs between your toilet’s water supply line and the tank fill valve, splitting off a second water feed. A flexible braided hose runs from that T-valve to a trigger-operated spray head, which hangs from a holster mounted on the wall or the side of the tank. Squeeze the trigger and water sprays; release it and it stops.
Because it draws from the same cold supply that fills your toilet tank, there is no wiring, no battery, and no separate plumbing. The water is room-temperature cold unless you tap into a warm supply, which some deluxe kits allow by connecting under the sink instead.
What to Look For When Buying
Not all sprayers are built equally, and a few features separate a durable unit from a leaky disappointment:
- Metal internals: a brass or stainless T-valve and spray head outlast all-plastic units and resist cracking under pressure.
- Pressure control: a squeeze-sensitive trigger lets you modulate from a gentle rinse to a strong stream.
- Braided steel hose: resists kinking and bursting better than a plain vinyl hose.
- Auto shut-off valve: a spring-loaded valve that stops flow the instant you release, preventing drips and pressure buildup.
- Quality holster and mount: both wall-mount and clip-on tank options should hold the head securely.
Reliable brands in this space include SmarterFresh, Purrfectzone, Brondell, and Rinseworks Aquaus. Expect to pay $20 to $30 for a solid mid-range kit and $40 to $60 for premium all-metal units with adjustable pressure.
Step-by-Step Installation
You need only an adjustable wrench and maybe some plumber’s tape. Here is the process:
- Shut off the water at the toilet’s supply valve, usually a knob on the wall behind the toilet, and flush to empty the tank.
- Disconnect the supply line from the bottom of the toilet tank’s fill valve.
- Install the T-valve onto the tank fill valve inlet, then reconnect the toilet supply line to the T-valve’s straight-through port.
- Connect the sprayer hose to the T-valve’s side port, wrapping the threads with plumber’s tape for a leak-free seal.
- Attach the spray head to the hose and mount the holster within easy reach.
- Turn the water back on slowly and check every connection for drips, tightening as needed.
The whole job takes 10 to 20 minutes. Snug all connections firmly but do not overtighten plastic threads, which can crack. Test the trigger a few times and confirm the auto shut-off stops flow completely when you let go.
Water Pressure and Temperature
Standard home water pressure of 40 to 60 psi is ideal. If your spray feels weak, check that the supply valve is fully open and the hose is not kinked. If the spray is uncomfortably strong, a pressure-adjustable model or a partially closed T-valve tames it.
The default is cold water, which most users adapt to quickly. If you want warm water, look for a kit designed to connect under the sink to a mixing valve, or install an inline water heater. Some premium systems offer a dual-temperature control, though these cost more and add installation complexity. For most people, cold water at moderate pressure is perfectly comfortable after a short adjustment period.
Beyond Personal Hygiene
A hand held sprayer earns its keep in more ways than one. Parents use it to rinse cloth diapers directly into the toilet before washing. It makes cleaning the toilet bowl, and the area around it, far easier than a brush alone. Pet owners use it to spot-rinse muddy paws. It is also invaluable for elderly or mobility-limited users and caregivers who need a gentle, directable cleaning stream.
Because it is manual and mechanical, there is little to break. The most common issue over years of use is a worn washer or a slightly dripping trigger, both cheap and easy to replace.
Maintenance and Longevity
Upkeep is minimal. Periodically wipe the spray head to prevent mineral buildup around the nozzle holes, especially in hard-water areas; soaking the head in white vinegar for 30 minutes clears clogged jets. Check the hose connections every few months for the beginnings of a leak. If the auto shut-off starts to weep, the internal washer is inexpensive to swap.
An all-metal, quality sprayer easily lasts five to ten years. Plastic-heavy budget units may need replacing sooner, which is why spending the extra $15 for brass internals pays off over time.
Preventing and Fixing Leaks
The most common complaint with any hand held sprayer is a leak, and nearly all leaks trace to a handful of easy-to-fix causes. Loose threaded connections top the list, so hand-tighten firmly and add two or three wraps of plumber’s tape (PTFE tape) to every threaded joint before assembly. Do not overtighten plastic fittings, which crack under too much force, snug is enough with tape doing the sealing.
A dripping spray head usually means the internal auto shut-off washer has worn, an inexpensive part that unscrews and replaces in minutes. If water seeps from the T-valve, confirm the rubber gasket seated properly when you installed it and that you did not cross-thread the connection. A hose that weeps along its length signals a failed inner liner, so replace the hose rather than trying to patch it. Choosing a kit with a quality brass T-valve and a braided steel hose from the start prevents most of these issues entirely.
Choosing Between Wall and Tank Mounting
Where you mount the holster affects daily convenience. A wall-mount holster screws into the wall beside the toilet and keeps the sprayer within easy reach at a natural height, but it requires drilling into tile or drywall and finding a stud or using proper anchors. A tank-mount clip hangs the holster over the edge of the toilet tank with no drilling at all, ideal for renters or anyone who wants a reversible installation.
Consider handedness and layout: mount the holster on the side you will reach for it, and make sure the hose has enough slack to reach comfortably without straining. Keep the spray head hung up between uses so the trigger is not accidentally depressed. For a clean, permanent look, wall mounting wins; for flexibility and a no-tools install, the tank clip is the practical choice. Either way, position it so a child cannot easily grab and trigger it unattended.
Is a Hand Held Bidet Sprayer Worth It
For nearly every household, yes. A hand held bidet sprayer delivers the hygiene and versatility of a bidet at a fraction of the cost of an electronic seat, installs in minutes without a plumber, and requires no electrical outlet near the toilet. It is the ideal starter bidet and a permanent solution for many.
Choose an electronic bidet seat instead only if you specifically want heated water, a heated seat, air drying, and hands-free operation, and you have an outlet nearby. Otherwise, the hand held sprayer is the practical, affordable, and reliable choice. Buy a model with metal internals and a braided hose, spend 15 minutes installing it, and you will wonder why you did not add one years ago.