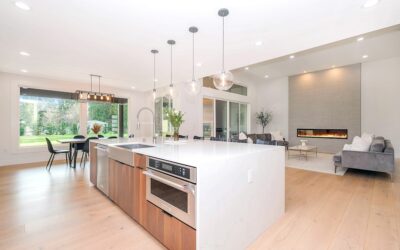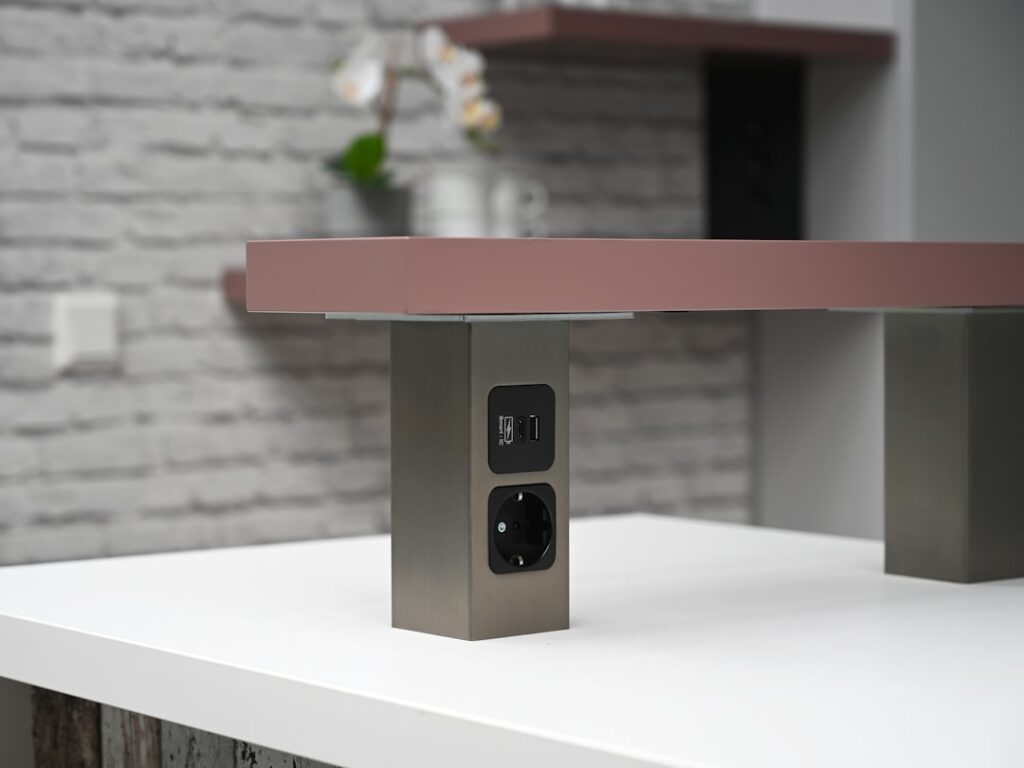
A hidden island countertop bracket is a flat steel support that tucks completely beneath a granite or quartz overhang so the stone appears to float with no corbels or legs in sight. For kitchen islands with seating overhangs, this concealed hardware is what carries the weight while keeping the clean, uninterrupted look most homeowners want under a breakfast bar.
Part of our Countertops guide — explore the full guide →
The appeal is obvious, but so is the risk if it is done wrong. Because the bracket is invisible, there is a temptation to skimp on the steel or the anchoring, and stone is not forgiving of that shortcut. This guide covers how hidden brackets work, the load ratings and steel gauge to look for, how to size them to your overhang, and the installation details that keep an island seating edge solid for the life of the kitchen.
How Hidden Brackets Work
Unlike a corbel that props up the stone from below with a visible arm, a hidden bracket is a horizontal plate that cantilevers out from the island’s structure. One end bolts firmly to the cabinet framing, a knee wall, or a plywood substrate, and the other end reaches out under the overhang to hold the stone flat and prevent it from tipping or flexing.
Because the plate sits on top of the cabinet or recessed into a groove, the finished counter drops down over it and hides it entirely. The steel does the structural work; the stone simply rests on and bonds to the top surface of the plate. Done correctly, you can run a hand along the underside of the overhang and feel nothing but smooth stone.
When Your Island Overhang Needs One
Not every island needs hidden support, but the threshold arrives sooner than many people expect. For 3 cm granite, fabricators generally want mechanical support once an unsupported overhang passes 10 to 12 inches. For quartz, which is more prone to deflection, that number drops to roughly 6 to 8 inches. Thinner 2 cm stone needs support even earlier.
Seating changes the math entirely. A breakfast bar invites people to sit, lean, and push off the edge to stand, creating point loads that a bare overhang cannot handle. If your island will seat two or three stools, plan on hidden brackets regardless of whether the depth technically clears the minimum. The one-third rule is a useful check: keep the unsupported portion under a third of the total slab depth, and add steel wherever that ratio is exceeded.
Load Ratings You Can Trust
Load rating is the spec that actually keeps the counter up. Quality hidden brackets are typically rated from 250 to 500 pounds each, with heavy plate versions carrying more. That figure assumes the bracket is bolted to solid framing, so the number on the packaging is a ceiling you only reach with proper anchoring.
Design around the worst realistic moment, not the average. Someone dropping into a stool and shoving off the edge can briefly apply 200 pounds or more at a single point. Aim for a combined bracket capacity that beats your heaviest expected point load by at least two to one. For a typical island seating side, brackets rated 350 to 500 pounds each, spaced correctly, give you that margin.
Steel Gauge and Sizing
Thickness separates a real structural bracket from a shelf part that merely looks similar. Look for 1/4-inch plate steel or a comparable heavy formed gauge. The flat cantilever plates sold specifically for floating countertops are usually 1/4-inch steel precisely because that thickness resists the bending force at the point where the plate exits the cabinet.
Sizing follows two rules. First, the plate should reach to within 1 to 2 inches of the outer edge of the overhang, so a 12-inch overhang wants a plate around 10 inches or longer. Second, the mounting leg inside the cabinet should be at least as long as the cantilevered portion outside, giving the anchor bolts enough leverage to resist the tipping force.
- Plate length: overhang depth minus 1 to 2 inches.
- Anchor leg: equal to or longer than the exposed cantilever.
- Steel: 1/4-inch plate or heavy formed gauge, rust-resistant finish.
Spacing Multiple Brackets
A single bracket rarely does the job on a seating side. Spacing controls how much the stone flexes between supports and how much load each bracket carries. For most island overhangs, place a bracket every 16 to 24 inches and never leave more than 24 inches unsupported where people sit.
Work from the finished counter length, not the cabinet. A 72-inch seating edge, for example, wants at least three or four evenly spaced brackets so no single span sags and no bracket is overloaded. Position brackets to avoid landing directly on a seam, and keep the outermost bracket a few inches in from each end so the corners are supported without the steel showing at the edge.
Installing a Hidden Island Bracket
Installation happens before the stone is set, because adjusting a bracket under a seated slab means lifting heavy stone and risking chips. The whole job succeeds or fails on what the bracket bolts into.
- Confirm the island has solid framing, a knee wall, or add a 3/4-inch plywood backer where the brackets will mount.
- Mark bracket positions on top of the cabinet, evenly spaced and clear of any planned seam.
- Predrill pilot holes and fasten each plate with 5/16-inch lag screws at least 2.5 inches long into wood framing.
- Check that every plate sits level and at the same height so the stone rests evenly across all of them.
- Apply a bead of silicone or construction adhesive to the top of each plate, then set and align the stone.
Treat the adhesive as secondary. It bonds the stone to the steel and keeps it from shifting, but the mechanical anchor into framing is what carries the weight. If the cabinet panel is thin particleboard with no stud behind it, add the plywood backer first rather than trusting screws in a weak panel.
Hidden Bracket vs. Visible Corbel
Both approaches support an overhang, and the choice comes down to looks and depth. A hidden island countertop bracket gives the clean floating appearance with nothing underneath, which fits modern and transitional kitchens. It works best when the island has a solid cabinet top or knee wall to anchor into and the overhang is in the normal seating range.
Visible steel brackets or corbels make sense when the overhang is unusually deep, when the cabinet cannot provide a strong enough anchor for a cantilever, or when you actually want a decorative bracket as part of the design. The trade-off is that they occupy leg and knee room and interrupt the underside line. For most breakfast bars in the 10 to 15 inch range, the hidden plate is the cleaner and fully capable choice.
Avoiding Common Failures
The failures that show up months later almost always trace back to one of a few shortcuts. Using a shelf-grade angle instead of a rated plate, spacing brackets too far apart, or anchoring into a thin panel instead of framing all let the stone flex or the bracket sag until a crack appears near a seam.
Do the measuring and the anchoring properly and a hidden bracket disappears from your attention entirely. Match the plate length to your overhang, confirm the rating beats your heaviest point load with margin, use 1/4-inch steel, and bolt into real wood. Chosen and installed that way, a hidden island countertop bracket holds a stone seating edge flat and solid for as long as the kitchen stands, with nothing visible to show how it does it.