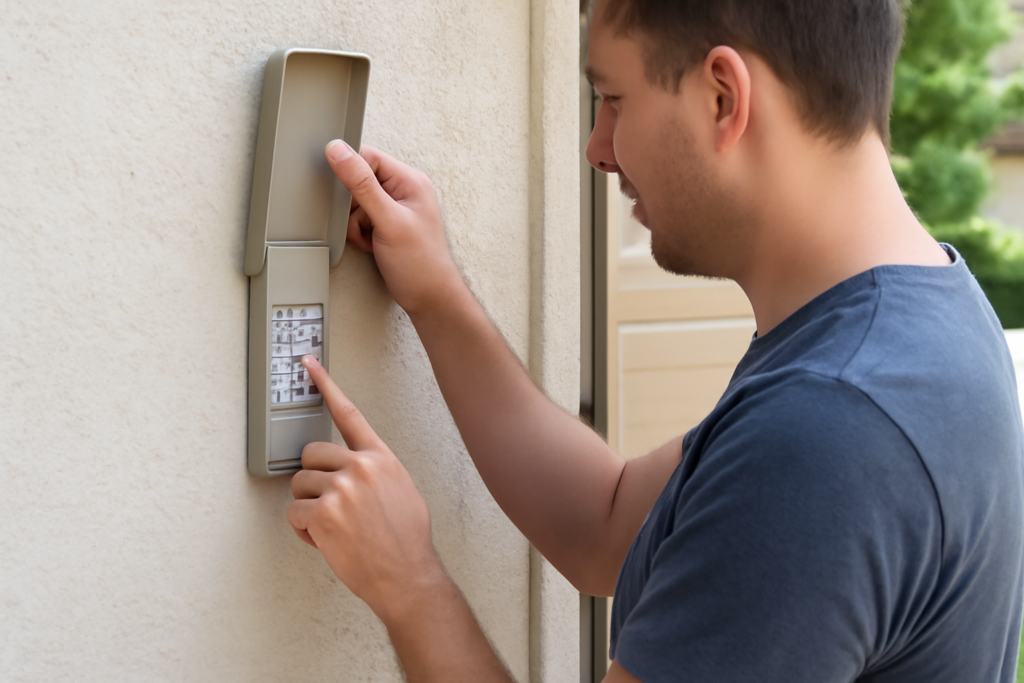
Your garage door is often the least secure entry to your home, and an outdated keypad code or a remote lost years ago can leave it wide open to anyone who finds them. Knowing how to change garage door opener code settings lets you lock out old remotes, reset a keypad PIN, and take back control in about five minutes without a locksmith. It is one of the most important and most overlooked security steps for a new homeowner or anyone who has handed out access. This guide covers changing the keypad code, erasing lost remotes, and setting a PIN that is actually hard to guess, across the major opener brands.
Why You Should Change Your Code
There are several moments when changing the code is not optional, it is essential. If you just bought or moved into a home, you have no idea how many remotes, keypad codes, and car buttons the previous owner handed out to neighbors, contractors, dog walkers, or family. Any of those still work until you reset the system. The same applies after a remote is lost or stolen, after a breakup or roommate move-out, or after service people had temporary access.
Modern openers make this easy because of two different mechanisms. The keypad PIN can be changed on its own, and the opener’s memory of all learned devices, remotes, keypads, and car buttons, can be wiped and rebuilt. Understanding that these are separate actions is key: changing only the keypad code does nothing about a stolen remote, and erasing the memory forces you to reprogram every device you want to keep.
Changing the Keypad PIN
The wireless keypad mounted outside your garage has its own changeable code, and updating it is the quickest security win. The exact steps vary slightly by brand, but the logic is consistent: put the system in learn mode and assign a new PIN.
- Locate the Learn button on the motor unit. Set up a ladder under the ceiling opener and find the Learn or Program button and its LED.
- Press the Learn button. The LED lights, giving you about 30 seconds to program.
- Enter your new PIN on the keypad. Type your chosen new code and press Enter, the up arrow, or the send button depending on the model.
- Watch for confirmation. The opener light will flash or you will hear a click, confirming the new code is set.
- Test it. Enter the new PIN at the keypad; the door should open. The old code no longer works.
Some newer keypads let you change the code directly on the keypad using a master or programming sequence printed inside the battery cover, no ladder required. Check your keypad’s sticker before climbing up.
Erasing Lost or Unknown Remotes
Changing the keypad PIN does nothing about a remote someone else still holds. To truly secure the door, you must erase the opener’s entire memory and then reprogram only the devices you want. This is the step that locks out unknown remotes for good.
- Press and hold the Learn button. On most modern openers, hold it for about 6 to 10 seconds until the LED turns off.
- Confirm the wipe. When the LED goes dark, every previously programmed remote, keypad, and car button has been erased from memory.
- Reprogram your devices. Now re-add each remote and keypad you want to keep, using the normal programming sequence for your brand.
After this, any remote you did not deliberately reprogram, including anything a previous owner or ex-tenant kept, is dead. This is the single most important step when you take over a home you did not build the access list for.
Brand-Specific Notes
The core process is nearly universal, but button names and colors differ.
- LiftMaster and Chamberlain: Learn button colors vary by generation (purple, yellow, red-orange, green). Hold the Learn button about 6 seconds to erase all codes; press and release it to add a device.
- Genie: Look for a “Learn Code” or “Program Set” button. Genie remotes often program with a double-press rather than a press-and-hold. Hold the button to clear memory.
- Craftsman and Sears: Many are made on the same platform as LiftMaster, so the Learn-button process matches closely.
- Older DIP-switch openers: There is no memory to erase. To change the code, change the DIP-switch pattern on both the opener and every remote to a new matching pattern, which instantly invalidates any old remote set to the previous pattern.
If you cannot find or identify the Learn button, the opener’s model number, printed on the motor unit, lets you look up the exact procedure.
Choosing a Secure New Code
A new PIN only helps if it is not easy to guess, and many people undo their own security with an obvious choice. Avoid your house number, your street number, birthdays, or sequences like 1234 and 0000. Thieves try these first. Pick four digits with no personal connection and no visible pattern, and avoid numbers you have written on anything near the garage.
A few extra habits harden the door further. Enable the vacation or lock mode many openers include, which temporarily disables all remotes and keypad access while you travel. Never leave a spare remote clipped to a visor in an unlocked car, since it is a direct key to your home. And if your opener supports it, use a smartphone app with its own login rather than relying only on a keypad. Change the keypad PIN periodically, especially after any service visit.
When to Reset vs. Replace
Resetting the code handles almost every security concern, but occasionally replacement is smarter. A very old DIP-switch opener uses a fixed code with no rolling-code security, meaning a determined thief with the right device can capture and replay it. If that describes your opener, upgrading to a modern rolling-code unit, which generates a new code every use, is a genuine security improvement that changing the DIP pattern cannot match.
Likewise, if the keypad is weather-worn and unreliable or the opener’s logic board is failing so codes will not hold, replacement is the fix. A new keypad runs $30 to $60, and a full modern opener with rolling code and app control costs $200 to $500 installed, a reasonable investment for the security of your home’s largest door.
What to Do Right After Moving In
Buying a home is the single most important time to change your garage access, and it should be near the top of your move-in checklist alongside changing the door locks. You have no way of knowing how many remotes and keypad codes the previous owners handed out over the years to relatives, neighbors, house cleaners, dog walkers, and contractors, and every one of them still opens your garage until you reset the system.
Do two things in your first week. First, hold the Learn button on the motor unit until the LED goes out to wipe the opener’s entire memory, erasing every remote and keypad the old owners programmed. Then reprogram only your own remotes, your keypad with a fresh PIN, and your cars. Second, change the keypad code to something with no personal connection. Together these steps guarantee that only devices you control can open the door, closing a security gap that most new homeowners never think about until it is too late.
Smart Openers and App-Based Access
Newer openers with built-in Wi-Fi or an add-on smart controller change how you manage access, and they add both convenience and control. Instead of relying on physical remotes and a keypad PIN, you open and monitor the door from a smartphone app, get alerts when it opens or closes, and can grant or revoke access to family members and guests digitally without touching the Learn button.
This matters for security because revoking a person’s app access is instant and specific, unlike erasing the whole memory and reprogramming every device. Many smart openers also let you set schedules, auto-close the door if it is left open, and give temporary access codes to a delivery person or contractor that expire automatically. If you are already replacing an aging opener, choosing one with app control is a worthwhile upgrade. Just protect the app itself with a strong, unique password and two-factor authentication, since the app is now a key to your home.
Protecting Against Code Theft
Beyond who has your PIN, older openers face a technical vulnerability worth understanding. Fixed-code units, common on openers made before the mid-1990s, transmit the same code every time, which a thief with an inexpensive device can capture and replay to open your door. Rolling-code openers defeat this by generating a new code with every press, so a captured signal is useless the next time.
If you have an old fixed-code opener, changing the DIP switches improves nothing against this replay attack; only upgrading to a rolling-code opener does. Beyond the opener itself, simple habits harden your garage: never leave a remote visible in a car, use the vacation lock when you travel, keep the door from the garage into the house locked as if it were an exterior door, and consider a smart opener that alerts you to any opening. Layering these measures turns your garage from the weakest entry into a well-secured one.
The Bottom Line
Knowing how to change garage door opener code settings is essential home security you can handle in minutes. Change the keypad PIN through the Learn button, and, crucially, hold the Learn button to erase the opener’s full memory whenever you move in or lose a remote, then reprogram only the devices you trust. Match the steps to your brand, choose a PIN with no personal connection, and consider upgrading an old fixed-code opener to rolling code. Take these steps and your garage stops being the weak link in your home’s security.