Learning how to clean dirty grout can transform a tired-looking floor, shower, or backsplash without the cost of re-tiling. Grout is porous, so it soaks up grease, soap scum, mildew, and foot traffic over time, slowly turning from bright white to dingy gray. The good news is that with a few common products and a little elbow grease, you can lift most of that buildup and restore the original color.
Part of our Tile & Grout guide — explore the full guide →
This guide walks you through proven cleaning methods from gentlest to strongest, plus the safety steps and sealing tips that keep grout looking clean long after you put the scrub brush away.
Why Grout Gets Dirty
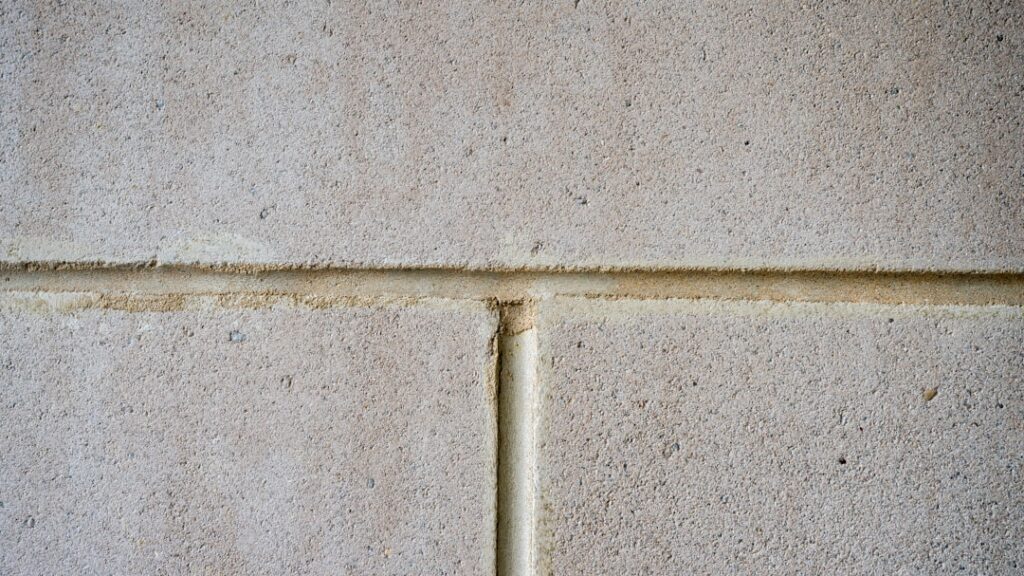
Grout is a cement-based filler with a slightly rough, absorbent surface. That texture is exactly what traps dirt, oils, and moisture, and it is why grout darkens faster than the tile around it. In kitchens, airborne grease settles into the lines; in bathrooms, soap residue and humidity feed mildew and mold.
Because the staining sits inside the pores rather than just on top, a quick wipe rarely does the job. Effective cleaning means loosening grime from within the grout and then rinsing it away, which is why the methods below rely on dwell time and gentle abrasion rather than brute scrubbing alone.
What You Will Need
Most grout-cleaning jobs use simple, affordable supplies you may already own. Gather these before you start:
- Baking soda and clean water
- White vinegar (for light cleaning only, and not on natural stone)
- Oxygen bleach powder (sodium percarbonate) for tougher stains
- A stiff-bristled grout brush, an old toothbrush, or a grout scrubbing tool
- A spray bottle, a bucket, and clean microfiber cloths
- Rubber gloves and eye protection
- A steam cleaner, if you have one
Always read the label on any product and work in a well-ventilated room. Crack a window or run a fan, especially in a small bathroom, so fumes do not build up.
Method 1: Baking Soda Paste
For everyday dinginess, a baking soda paste is the safest place to begin. Mix baking soda with just enough water to form a thick paste, then follow these steps:
- Spread the paste directly onto the grout lines so it fully covers the discoloration.
- Let it sit for 10 to 15 minutes to draw out grime.
- Scrub firmly along each line with a stiff grout brush or toothbrush.
- Wipe away the paste and rinse the area with clean water.
- Dry with a microfiber cloth and inspect; repeat on any stubborn spots.
On glazed ceramic or porcelain tile, you can lightly mist white vinegar over a baking-soda-covered line to boost the action, then scrub and rinse. Skip the vinegar entirely on marble, travertine, or other natural stone, because the acid can etch and dull the surface.
Method 2: Oxygen Bleach for Tough Stains
When grout is heavily soiled or grayed throughout, oxygen bleach (sodium percarbonate) is a powerful, color-safe option that is gentler than chlorine bleach. Dissolve the powder in warm water according to the package directions to make a cleaning solution.
- Apply or pour the solution over the dirty grout until the lines are saturated.
- Allow it to dwell for the time listed on the label, often 10 to 30 minutes, keeping it wet.
- Scrub thoroughly with a stiff brush.
- Rinse completely with clean water and wipe the surface dry.
Oxygen bleach works well on floor grout and shower lines and is far less likely than chlorine products to fade colored grout. As with any cleaner, test a small hidden area first to confirm it does not affect your tile or grout color.
Method 3: Steam Cleaning
If you own a steam cleaner, it offers a chemical-free way to deep-clean grout using only heat and water. The hot vapor penetrates the pores and lifts grime, and it is especially effective for mildew in showers. Fit the machine with a narrow grout or detail nozzle, then move slowly along each line, letting the steam do the work before wiping the loosened dirt away with a cloth.
Steam pairs nicely with the other methods. You can loosen heavy buildup with oxygen bleach first, rinse, and then finish with steam to refresh the lines. Just keep the nozzle moving and follow the appliance instructions, since concentrated heat can damage some sealants and delicate surfaces.
Safety: Never Mix Cleaning Chemicals
The single most important safety rule when cleaning grout is to never combine cleaning products. Mixing chlorine bleach with ammonia or with vinegar can release toxic gases that are genuinely dangerous to breathe. Use one product at a time, rinse thoroughly between methods, and ventilate the space the entire time.
Wear rubber gloves to protect your hands and eye protection when working overhead in a shower. If you are sensitive to fumes or working in a tight, windowless room, take breaks and keep air moving. For stubborn mold problems that keep returning, or grout that is cracked and crumbling, it may be time to call a professional tile and grout service to assess and possibly re-grout the area.
Seal Grout to Keep It Clean
Cleaning is only half the battle; sealing is what keeps grout looking fresh. Once the grout is completely clean and fully dry, usually after 24 hours, apply a quality penetrating grout sealer following the manufacturer’s directions. A sealer fills the pores so dirt, grease, and moisture sit on top instead of soaking in, making future cleanups much faster.
Plan to reseal grout periodically, often every one to two years in high-traffic or wet areas, though this varies by product and use. Between sealings, wipe up spills promptly and give surfaces a quick rinse so grime never gets the chance to settle deep. A sealed, well-maintained grout line resists staining dramatically better than bare, porous grout.
Final Thoughts
Knowing how to clean dirty grout comes down to matching the method to the mess: start with a gentle baking soda paste, step up to oxygen bleach for set-in stains, and use steam for a chemical-free deep clean. Protect yourself by ventilating, wearing gloves, and never mixing products, then lock in your results with a fresh coat of sealer. With these habits, your grout can stay bright and easy to maintain for years.