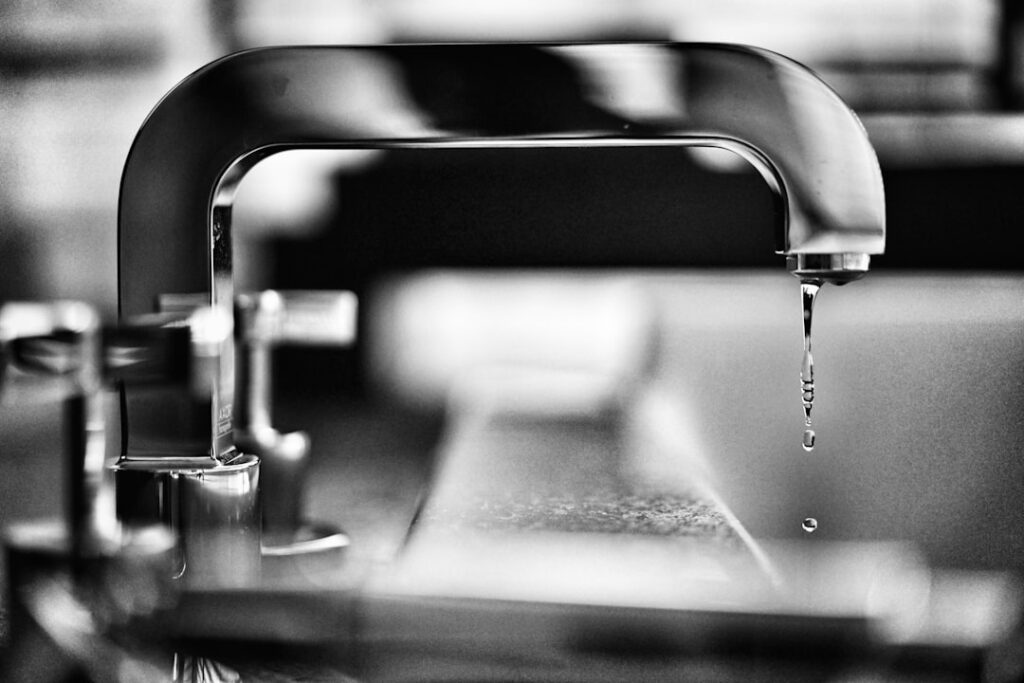
A single dripping faucet can waste more than 3,000 gallons of water a year, enough to fill dozens of bathtubs, and it almost always points to a cheap, replaceable part inside the handle. Learning how to fix a leaky faucet with two handles is one of the most satisfying weekend repairs a homeowner can tackle, usually costing under $15 in parts and taking less than an hour. This guide walks you through the entire process from shutting off the water to testing your finished repair.
- Understanding How a Two-Handle Faucet Works
- Tools and Materials You Will Need
- Step 1: Shut Off the Water Supply
- Step 2: Remove the Handles
- Step 3: Access and Remove the Valve Stem or Cartridge
- Step 4: Inspect and Replace the Worn Parts
- Step 5: Check the Valve Seat
- Step 6: Reassemble the Faucet
- Step 7: Turn the Water Back On and Test
- When to Call a Professional
- Preventing Future Leaks
Understanding How a Two-Handle Faucet Works
A two-handle faucet has separate hot and cold controls feeding a single spout. Each handle operates an independent valve, which means a leak is usually isolated to one side. If only your hot water drips, the problem is on the hot handle and you may only need to repair that side. Most two-handle faucets fall into one of two categories: older compression faucets that use rubber washers, and newer models that use cartridges or ceramic discs. Identifying your type determines which replacement part you need.
Compression faucets are the most common source of drips because the rubber washer inside compresses every time you shut off the water. Over years of use, that washer hardens, cracks, or wears thin and can no longer form a tight seal. The result is the steady drip you hear at night.
Tools and Materials You Will Need
Gather everything before you start so you are not running to the hardware store mid-repair:
- Adjustable wrench or a set of channel-lock pliers
- Flathead and Phillips screwdrivers
- Replacement washers, O-rings, or a cartridge that matches your faucet
- Plumber’s grease
- Plumber’s tape
- A clean rag and a small bowl to hold parts
- White vinegar for cleaning mineral buildup
If you are unsure which washer or cartridge fits, take the old part to the store and match it directly, or note the faucet brand and model. Many manufacturers sell repair kits specific to their designs.
Step 1: Shut Off the Water Supply
Look under the sink for two shutoff valves, one for hot and one for cold. Turn both clockwise until they stop. If your faucet does not have local shutoffs, turn off the main water supply to the house. Once the valves are closed, open the faucet handles to release any remaining water and relieve pressure in the lines. Close the drain or lay a rag over it so small screws cannot fall down the pipe.
Step 2: Remove the Handles
Most handles have a decorative cap on top hiding a screw. Pry the cap off gently with a flathead screwdriver, then remove the screw underneath. Lift the handle straight up and off. If it is stuck from mineral buildup, wiggle it gently rather than forcing it. A handle puller tool can help with stubborn handles, but patience usually does the job.
Step 3: Access and Remove the Valve Stem or Cartridge
With the handle off, you will see a packing nut. Use your wrench to loosen it counterclockwise, then pull out the valve stem or cartridge. Pay close attention to the orientation and order of the parts as you remove them, because they must go back in exactly the same way. Laying parts out in sequence on a towel prevents confusion during reassembly.
Step 4: Inspect and Replace the Worn Parts
At the bottom of a compression valve stem you will find a rubber washer held by a small brass screw. If the washer is flattened, cracked, or grooved, that is almost certainly your leak. Replace it with an identical new washer. While you are in there, inspect the O-rings around the stem. Worn O-rings cause leaks around the base of the handle rather than from the spout, so replacing them at the same time is smart preventive maintenance.
For cartridge faucets, simply pull the old cartridge straight out and slide a matching new one in. Ceramic disc cartridges rarely fail but can develop mineral deposits. Soak metal and ceramic parts in white vinegar for a few minutes to dissolve buildup, then rinse them clean.
Step 5: Check the Valve Seat
If you replaced the washer and the faucet still drips, the valve seat may be damaged. The valve seat is the surface the washer presses against. Over time it can become pitted or rough, which prevents a tight seal. You can resurface it with an inexpensive seat-dressing tool, or replace it entirely with a seat wrench if it is the removable type. Addressing the seat is the step many beginners skip, and it is often the reason a repair does not hold.
Step 6: Reassemble the Faucet
Apply a thin layer of plumber’s grease to the new washer, O-rings, and stem threads. This lubrication helps the parts seal and makes future repairs easier. Reinsert the valve stem or cartridge in the same orientation you found it, tighten the packing nut snugly but not so hard that you crack anything, then reattach the handle and decorative cap. Wrap plumber’s tape clockwise around any threaded connections you separated.
Step 7: Turn the Water Back On and Test
Slowly reopen the shutoff valves. Turn the faucet on and let the water run for a minute to clear air from the lines. Then shut it off completely and watch the spout closely for several minutes. Check around the base of the handles for any seepage. If everything is dry, your repair is a success. If a drip remains, the most likely culprits are an imperfect washer fit or a valve seat that needs resurfacing.
When to Call a Professional
Most two-handle faucet leaks are well within reach of a confident do-it-yourselfer. However, call a licensed plumber if you discover corroded pipes, a cracked faucet body, leaks inside the wall, or if the shutoff valves themselves fail. These issues can lead to water damage that costs far more than a service call. Knowing your limits protects both your home and your budget.
Preventing Future Leaks
A few habits extend the life of your faucet. Avoid cranking the handles shut with excessive force, which crushes washers prematurely. Address hard-water buildup with periodic vinegar cleaning. And keep a small repair kit on hand so the next drip is a five-minute fix rather than a multi-day annoyance. With these basics handled, you will keep your fixtures running quietly and efficiently for years. The home maintenance team at D and G Flooring encourages homeowners to tackle small repairs like this early, before a minor drip becomes a costly water stain.