Laminate floors take scratches differently than hardwood. There is no real wood under the wear layer to sand, only a thin printed decor sheet glued to high-density fiberboard. That changes the entire repair playbook. Learning how to fix scratched laminate flooring properly means matching the scratch depth to the right product, because the technique that hides a light surface scuff will look terrible on a gouge that exposes the brown HDF core beneath. The good news is that 90% of laminate scratches fix invisibly with $20 of materials and 20 minutes of work.
Identify the Scratch Depth First
Run your fingernail across the scratch. If your nail glides over it, the scratch is in the urethane topcoat only. If your nail catches but you do not feel through to a different layer, the scratch is in the wear layer above the print. If you see brown HDF or the white melamine core, the damage has gone through the printed decor and demands a different fix entirely.
- Surface scuff: Topcoat only, often invisible after cleaning, fixes with polish
- Light scratch: Through clear coat into print layer, fixes with markers or pencils
- Medium scratch: Through print, fixes with wax stick or putty kit
- Deep gouge: Through to HDF core, fixes with resin filler or plank replacement
- Chipped corner: Edge damage, often requires plank swap for clean finish


Step-by-Step Fix for Light Scratches
Light scratches are the easiest category. You will need a microfiber cloth, neutral laminate cleaner, and a furniture-touch-up marker in the closest matching color. Stewart MacDonald and Minwax both sell wood-tone marker sets at Home Depot for under $15.
- Vacuum the area to remove grit that could rescratch during repair
- Wipe with a damp microfiber soaked in Bruce No-Wax or Bona Hard Surface cleaner
- Let the floor dry completely, 5 to 10 minutes
- Test the marker on a hidden plank under a baseboard or in a closet
- Color the scratch with short strokes following the grain direction
- Wipe excess with a dry cloth immediately so it does not haze the surrounding finish
- Apply a thin coat of laminate floor polish to blend the repair
Medium Scratch Repair with Wax Sticks
Wax fillers work best on medium scratches that show light gray or white beneath the print. The Coconix Floor Repair Kit, Mohawk SureFinish, and Bruce FloorCare kits all ship with 9 to 12 blendable colors at the $25 to $40 price point. Pick the kit that includes a small heated melting tool, because cold-application wax fails on most scratches.
Warm the wax stick with a butane micro-torch or the included low-heat tool. Drip a small bead into the scratch and immediately level with the plastic scraper that comes with the kit. Wipe excess wax with a soft cloth in the grain direction. The repair sets in 30 seconds and is walkable in 5 minutes. A finish-blend pen from the same kit recreates the gloss level of the surrounding floor.
Deep Gouge Fix with Resin Filler
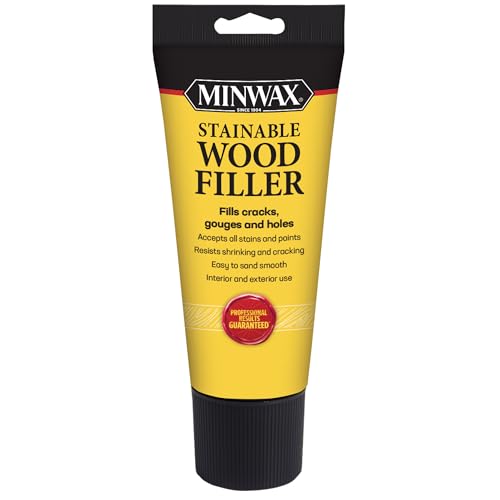
Deep scratches that expose the brown HDF core need a structural fill, not just color. Epoxy or two-part resin fillers like Famowood Glaze Coat, Bondo Wood Filler, or the Big Bear Mighty Repair Kit fill the depth, accept color, and cure rock-hard so the repair does not pop out under traffic.
Apply the resin with the kit’s putty knife, slightly overfilling the gouge. Let it cure per the package, usually 60 to 90 minutes. Sand flush with 320-grit wrapped around a small wood block, moving only in the grain direction. Apply the touch-up marker over the cured resin to recreate the wood-grain pattern, then seal with a urethane finish pen.
When to Replace Instead of Repair
Some damage is past repair. Chipped corners, water-swollen joints, and scratches that span more than 2 inches usually look better as plank replacements. Click-lock Pergo, Mohawk RevWood, Shaw Repel, and Quick-Step all support board-by-board swaps. Pull the nearest baseboard, undo planks back to the damaged one, swap it, and rebuild the row.
This is exactly why pros tell every customer to keep at least one full box of attic stock from the original install. Color batches change. A new box bought a year later will rarely match the floor exactly. Without the original batch, plan to swap from a closet or under-furniture area where the patch will be invisible.
Brand Spotlight: Coconix vs. Mohawk SureFinish
Coconix dominates Amazon reviews for laminate repair kits because its 11-color blendable palette covers nearly any wood tone from blonde maple to walnut. The kit costs around $30 and includes resin, color tubes, and finish pens. Mohawk SureFinish is sold at most flooring dealers and uses Mohawk’s own color-match system tuned to RevWood, Solidtech, and Mohawk laminate lines. SureFinish runs $35 to $45 and is the better pick if you bought Mohawk laminate originally because the colors match Mohawk SKUs out of the box.
Prevent Future Scratches
The best repair is the one you never need. Felt pads under all furniture legs, replaced every 12 months because they pick up grit. Walk-off mats at every exterior door to trap shoe grit. A no-shoes-indoors rule cuts laminate scratches by roughly 70%. Pet nails trimmed monthly and a hard-floor vacuum used at least weekly to lift abrasive sand before it grinds into the wear layer.
Pros and Cons of DIY Laminate Repair
DIY repair saves the $200 to $500 minimum a flooring contractor charges for a service call. It also lets you fix scratches the same day they happen, before grit grinds further damage. The downside is that color matching takes practice, and a poorly executed repair sometimes looks worse than the original scratch. Buy the kit, practice on a hidden area first, and you will save thousands across the life of the floor.
Prefer to explore on your own?
See how new flooring looks in your actual room in seconds — free, no signup.
Try the free Floor Studio →