A ductless heat pump can heat and cool a room for a fraction of what window units and baseboard heaters cost to run, and a growing number of homeowners are installing them without a contractor. Learning how to install a mini split system yourself can save $1,500 to $3,500 in labor on a single-zone setup, but this is not a casual weekend project. You are drilling through your exterior wall, hanging a 30-pound outdoor unit, and working with a refrigerant circuit that must be sealed and evacuated correctly. Done right, the reward is a quiet, efficient system that pays for itself in a few winters.
- DIY Kit Versus Pro-Installed System
- Tools and Materials You Will Need
- Step 1: Choose Locations for Both Units
- Step 2: Mount the Indoor Wall Bracket
- Step 3: Drill the Wall Penetration
- Step 4: Connect and Route the Line Set
- Step 5: Set and Wire the Outdoor Unit
- Step 6: Evacuate or Release the Refrigerant
- Step 7: Power Up and Test
- When to Call a Professional
DIY Kit Versus Pro-Installed System
Two paths exist. Pre-charged DIY kits from brands like MRCOOL DIY ship with the line set already filled with refrigerant and fittings that connect by hand, so you never open the refrigerant circuit or need EPA certification. Traditional systems from Mitsubishi, Fujitsu, or Daikin require you to flare copper lines and pull a vacuum, which legally requires EPA Section 608 certification to handle refrigerant. If you are not certified, choose a DIY kit or hire a licensed HVAC tech for the final connection.
Tools and Materials You Will Need
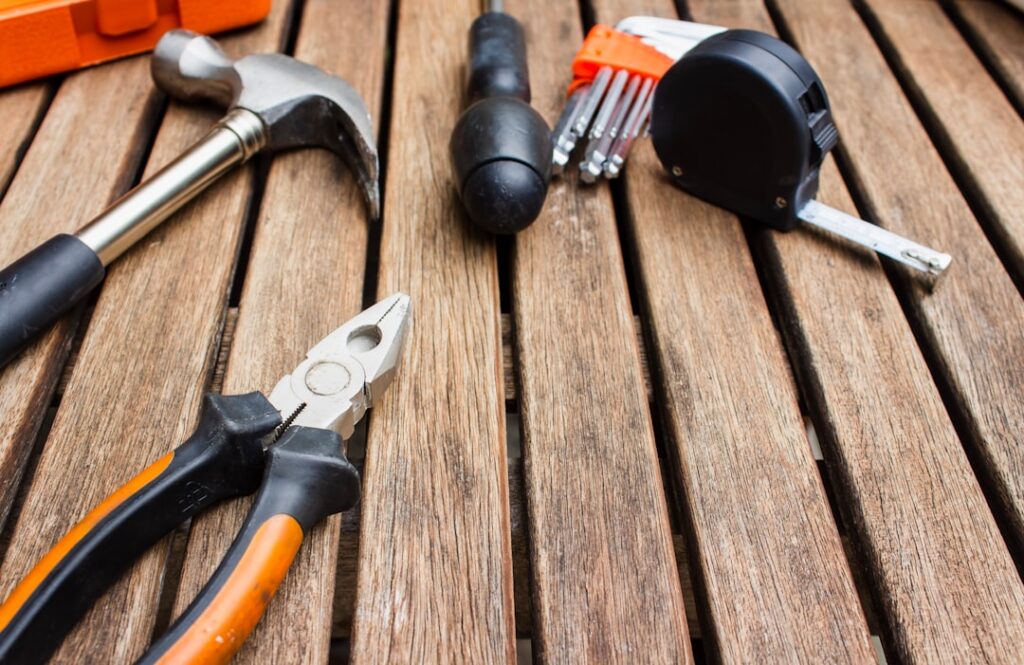
- Cordless drill with a 3-inch hole saw for the wall penetration
- Level, stud finder, and a socket set for the mounting brackets
- Adjustable and torque wrenches for the flare nuts
- Manifold gauge set and a two-stage vacuum pump (traditional systems only)
- Flaring tool and tubing cutter (traditional systems only)
- Wall sleeve, exterior line-set cover, condensate drain hose, and outdoor pad or brackets
Plan on a full day for a first install, roughly 6 to 10 hours. A helper makes lifting the condenser and threading the line set far safer.
Step 1: Choose Locations for Both Units
Placement drives performance. Mount the indoor air handler 6 to 7 feet up on an exterior wall, away from direct sunlight and at least 4 inches below the ceiling for proper airflow. The outdoor condenser needs a level pad or wall brackets rated for its weight, 12 inches of clearance on the back and sides, and a spot where winter snow will not bury it. Keep the two units as close together as practical; most kits include a 16 or 25-foot line set, and shorter runs preserve efficiency.
Step 2: Mount the Indoor Wall Bracket
Screw the metal mounting plate to the wall, anchoring into studs where possible and using toggle bolts elsewhere. Check it with a level in both directions, then mark the hole location, usually behind the right or left corner of the plate. A dead-level bracket matters because the indoor unit relies on gravity to drain condensate; even a slight backward tilt sends water dripping onto your floor.
Step 3: Drill the Wall Penetration
Bore a 3-inch hole through the wall at a slight downward angle toward the outside, about a quarter-inch of fall, so condensate flows out rather than in. Insert the plastic wall sleeve to protect the line set from abrasion and seal against pests. Vacuum the dust and check for wiring or plumbing in the cavity before you cut.
Step 4: Connect and Route the Line Set
Feed the refrigerant lines, control wiring, and condensate hose through the hole. On a DIY kit, thread the pre-charged lines onto the indoor fittings and hand-tighten, then torque the flare nuts to the manufacturer’s spec, commonly 25 to 40 foot-pounds depending on line diameter. On a traditional system, cut and flare the copper to a clean 45-degree seat before connecting. Bundle the lines with the included tape, keeping bends gentle since kinked copper restricts flow.
Step 5: Set and Wire the Outdoor Unit
Position the condenser on its pad, attach the line set to the service valves, and connect the color-coded control cable exactly as the wiring diagram shows. This is the step to slow down on, because a reversed wire can damage the control board. Most single-zone units run on a dedicated 208/240-volt circuit, and the electrical hookup should be done by a licensed electrician if you are not confident with a breaker panel.
Step 6: Evacuate or Release the Refrigerant
On a traditional system, connect your manifold gauges and vacuum pump to the service port and pull the system down to 500 microns, holding it there for 15 minutes to prove there are no leaks and no moisture. Only then open the service valves to release the factory charge into the lines. On a MRCOOL DIY kit, you skip the pump entirely: once the fittings are torqued, you back out the hex valves with an Allen key to release the pre-charged refrigerant. This difference is the single biggest reason DIY kits exist.
Step 7: Power Up and Test
Restore power, put the remote in cooling mode, and set it to 65°F. Within a few minutes the indoor unit should blow cold air and the outdoor fan should spin. Switch to heat and confirm warm air, then watch the condensate drain outside to verify flow. Check every flare fitting with electronic leak detector or soapy water; a slow refrigerant leak will quietly kill efficiency and eventually the compressor.
When to Call a Professional
Knowing how to install a mini split system also means knowing your limits. Multi-zone systems, long line sets that need topping off with refrigerant, and any job requiring you to open a factory-sealed circuit legally demand EPA certification. If the vacuum, flaring, or electrical steps make you uneasy, hire a pro for those portions and do the mounting and line routing yourself to still cut the bill. A correctly installed unit should deliver a SEER of 18 or higher and last 15 to 20 years, so getting the seal and charge right is worth every ounce of care.