Learning how to install a toilet by yourself is one of the most satisfying weekend plumbing jobs, and it’s well within reach for a careful homeowner. The whole swap takes most people one to two hours with basic tools, and the only specialized skill is patience: rush the wax ring or overtighten the bolts and you’ll be redoing the job. I’ll walk you through it the way I’d do it on a job site, including the small steps that prevent leaks and cracked porcelain.
Part of our Bathroom Remodeling & Flooring guide — explore the full guide →
Before you start, confirm the rough-in measurement, the distance from the wall behind the toilet to the center of the floor bolts, which is usually 12 inches. Buy a toilet that matches it so the bowl sits where it should.
- Tools and Materials You'll Need
- Step 1: Shut Off the Water and Drain the Old Toilet
- Step 2: Disconnect and Remove the Old Toilet
- Step 3: Inspect and Prep the Flange
- Step 4: Set the New Wax Ring
- Step 5: Set the Bowl and Press to Seat
- Step 6: Attach the Tank
- Step 7: Connect the Water Supply
- Step 8: Check for Leaks and Caulk the Base
- Final Checks
Tools and Materials You’ll Need
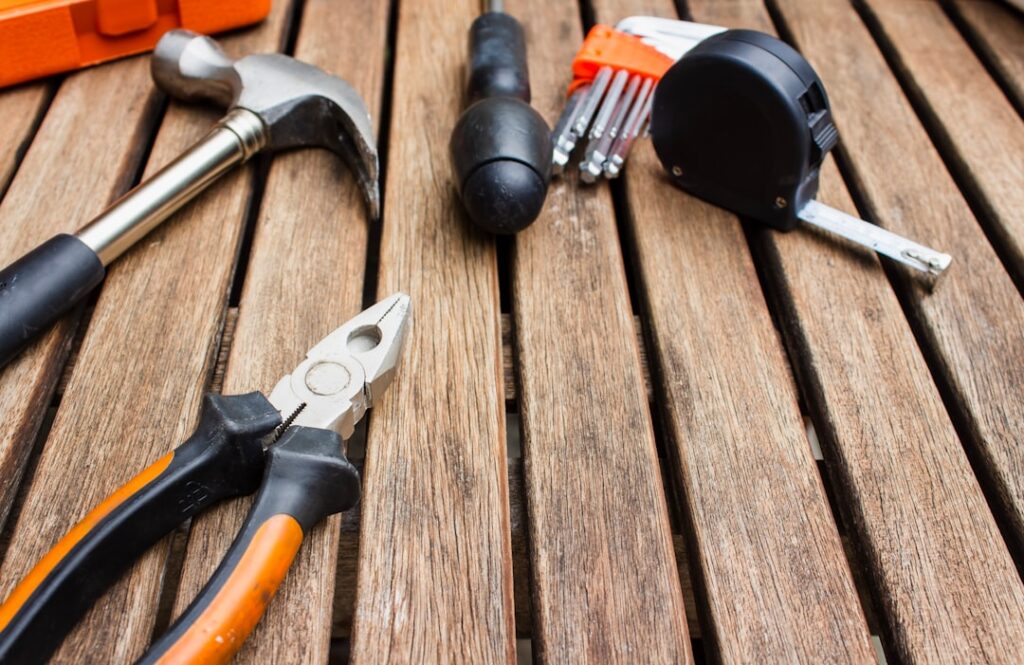
Lay everything out before you begin so you’re not hunting for a wrench with the floor flange open.
- Adjustable wrench and a basin wrench
- Slotted and Phillips screwdrivers
- Putty knife and an old towel or rag
- Sponge and a bucket or shop vacuum
- Level
- Utility knife
- New wax ring (or a wax-free seal)
- New closet (floor) bolts and caps
- New flexible water supply line
- 100-percent silicone caulk
- Plastic shims if the floor is uneven
- Disposable gloves
Buy a new wax ring even if the old one looks fine; it’s a few dollars and it’s the one part you cannot reuse.
Step 1: Shut Off the Water and Drain the Old Toilet
Turn the shutoff valve behind the toilet clockwise until it stops. Flush and hold the handle to push out as much water as possible. Sponge the remaining water out of the tank and bowl into a bucket, or use a shop vacuum, until both are dry. A dry toilet is far easier and cleaner to remove.
Step 2: Disconnect and Remove the Old Toilet
Disconnect the supply line from the bottom of the tank with an adjustable wrench. If the tank is separate, unbolt and lift it off first. Pry the caps off the closet bolts at the base, then unscrew the nuts. Break the caulk seal at the floor with a utility knife if needed.
Now straddle the bowl, rock it gently side to side to break the wax seal, and lift straight up. It’s heavier than it looks, so lift with your legs. Set it on an old towel or cardboard. Immediately stuff a rag into the open drain pipe to block sewer gas and keep tools from falling in.
Step 3: Inspect and Prep the Flange
Scrape the old wax off the flange with a putty knife until the metal or plastic ring is clean. Inspect the flange itself; it should sit level with or slightly above the finished floor and be solidly anchored. A cracked or broken flange must be repaired or replaced now with a repair ring, because the flange is what holds the toilet down and seals the drain. Set new closet bolts into the flange slots, pointing up, and slide them to the proper position so they’re parallel to the wall.
Step 4: Set the New Wax Ring
Remove the rag from the drain. You have two choices for the seal. A traditional wax ring presses onto the bottom of the bowl’s discharge horn (or onto the flange, per its instructions). A wax-free rubber or foam seal is reusable-friendly and more forgiving if you have to reposition the bowl.
If you use wax, press it onto the bowl outlet rather than the flange for better aim, and don’t touch the seal more than necessary; warmth from your hands deforms it. Whichever you choose, do not set it until you’re ready to place the bowl, because you only get one good attempt with wax.
Step 5: Set the Bowl and Press to Seat
Lower the bowl carefully so the two closet bolts come up through the holes in the base. Get it right the first time; lifting and replacing crushes a wax ring and ruins the seal. Once the bolts are through, press down firmly with your weight and a slight rock to compress the seal evenly until the bowl sits flush on the floor.
Slide the washers and nuts onto the bolts and tighten them by hand, then snug them with a wrench in small alternating turns. Here is the rule that saves toilets: do not overtighten the closet bolts. Porcelain cracks easily, and an overtightened bolt will split the base, sometimes days later. Tighten only until the bowl is firm and stops moving. If the toilet rocks on an uneven floor, slip plastic shims underneath rather than cranking the bolts harder. Trim the bolts and cap them.
Step 6: Attach the Tank
If your toilet is two-piece, set the tank gasket and bolts per the manufacturer’s instructions, lower the tank onto the bowl, and tighten the tank-to-bowl bolts evenly and gently, alternating sides. Again, snug, not gorilla-tight; the same porcelain caution applies. Hand-tighten plus a small turn is usually right.
Step 7: Connect the Water Supply
Attach a new flexible supply line from the shutoff valve to the tank’s fill-valve shank. Hand-tighten both ends, then add only a quarter-turn with a wrench. Over-cranking these plastic nuts cracks them. Open the shutoff valve slowly and let the tank fill.
Step 8: Check for Leaks and Caulk the Base
Flush several times and watch closely. Look at the supply connections, the tank-to-bowl bolts, and especially the floor around the base. Feel underneath with a dry tissue to catch a slow seep. If anything weeps, snug that connection slightly, never aggressively.
Once it’s dry through several flushes, run a bead of 100-percent silicone caulk around the base where it meets the floor, leaving a small unsealed gap at the very back. That gap lets you spot a future leak instead of hiding water under the bowl. Smooth the bead with a wet finger.
Final Checks
Confirm the bowl is level, the seat is secured, and there’s no movement when you sit. Watch the floor over the next day or two for any sign of moisture. Done patiently, learning how to install a toilet by yourself saves a service call and gives you a leak-free fixture that should last for decades. Take your time on the wax ring and go easy on every bolt, and the rest is straightforward.