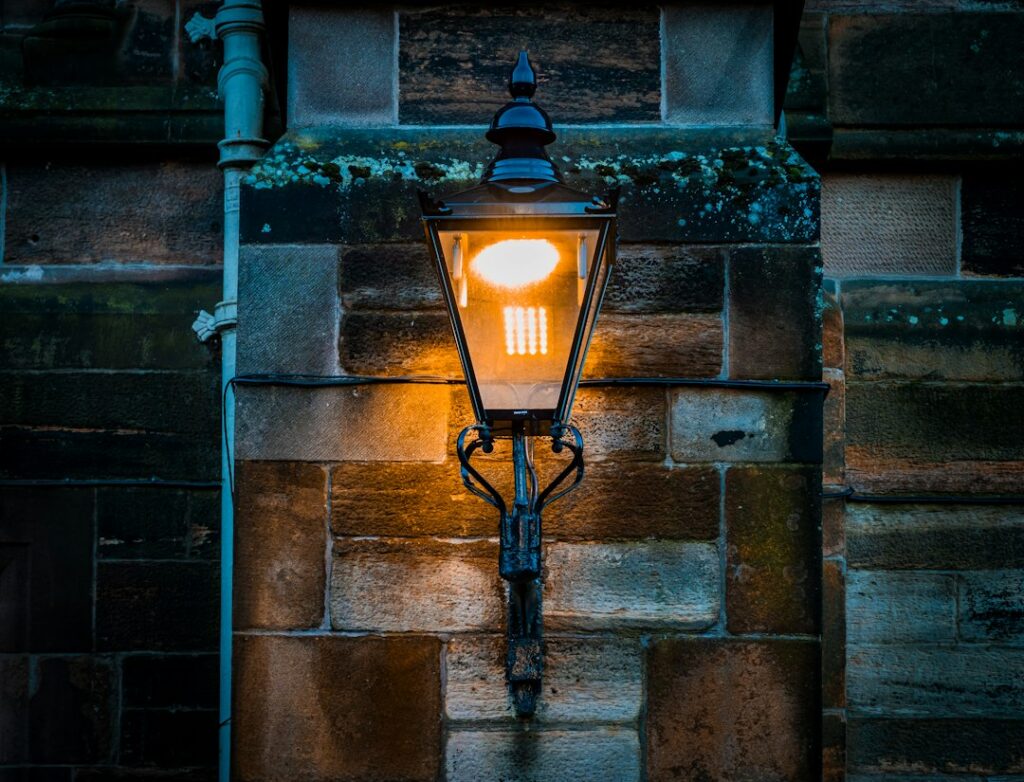
Most lamp post problems show up a year later: a post that leans after the first freeze, a cable nicked by a shovel because it was buried 6 inches deep, or a light that never turns off because the photocell faces the porch light. Knowing how to install an outdoor lamp post correctly comes down to three things done in order: a buried power feed at the right depth, a base that will not heave or tip, and clean connections sealed against water. Get those right and a post light will run for decades with nothing more than a bulb change.
Part of our Windows & Doors guide — explore the full guide →
The short version: choose a spot within reach of a GFCI-protected outdoor circuit, dig a trench from the power source to the post location (generally 24 inches deep for direct-bury UF cable, less in conduit or on a GFCI-protected 120-volt residential branch circuit, depending on your local code), set the post in concrete or on a bolt-down anchor, pull cable up through the post, and connect the fixture and photocell. If running a new wire from your panel sounds like more than you want to take on, a solar lamp post skips the trench entirely.
- Before You Start: How to Install an Outdoor Lamp Post Safely and Legally
- Choosing the Post Location
- Tools and Materials
- Step-by-Step: Installing the Lamp Post
- Solar Lamp Post: The No-Trench Alternative
- Troubleshooting Common Lamp Post Problems
- What It Costs to Install an Outdoor Lamp Post
- When to Call a Licensed Professional
- Outdoor Lamp Post FAQ
This guide walks through each stage, the tools you need, realistic cost ranges, and the parts of the job that belong to a licensed electrician.
Before You Start: How to Install an Outdoor Lamp Post Safely and Legally
Planning takes an afternoon and saves the most grief. Start by calling 811 at least a few business days before digging. The free service marks buried gas, electric, water, and communication lines, and many utilities are shallower than homeowners expect. Private lines you installed yourself, such as sprinkler pipes or an old garage feed, will not be marked, so check your own records.
Next, confirm permits. Most jurisdictions require an electrical permit for any new outdoor wiring, and many require an inspection of the open trench before you backfill. Your local building department will tell you what they want to see, and the inspection is worth having: it confirms burial depth, cable type, and GFCI protection while mistakes are still easy to fix.
Finally, decide on the power source. Your options, from simplest to most involved:
- Extend an existing outdoor GFCI receptacle circuit that has spare capacity. A single LED post lantern draws well under 1 amp, so it rarely overloads a circuit.
- Tap an existing interior circuit through a new exterior box, which usually means drilling through the rim joist or siding.
- Run a new dedicated circuit from the panel. This is the cleanest option for long runs or multiple lights, and it is work for a licensed electrician.
- Go solar and skip the wiring altogether (covered later).
Choosing the Post Location
Good placement is about light, access, and maintenance. Along a driveway or front walk, set the post 18 to 36 inches back from the pavement edge so car doors, snowplows, and mowers do not clip it. Keep it clear of tree roots, which make trenching miserable, and away from downspouts that saturate the soil around the base.
Think about the photocell too. A dusk-to-dawn sensor reads ambient light, so a post that sits in the glow of a garage floodlight or streetlight may flicker or stay off. Face the sensor away from other light sources, typically north, and at least a few feet from bright fixtures.
Shorter trench runs are cheaper and easier. If you have a choice between two spots, pick the one closer to your power source. Voltage drop is rarely an issue with LED fixtures on runs under 100 feet using 12-gauge cable, but longer runs deserve a quick calculation or an electrician’s input.
Tools and Materials
Gather everything before you break ground, because an open trench is a tripping hazard you want closed quickly.
- Lamp post kit (post, lantern head, mounting hardware) and a photocell rated for outdoor use
- UF-B direct-burial cable, usually 12/2 or 14/2 with ground, sized to match the circuit breaker
- Schedule 40 or 80 PVC conduit and fittings for the sections where the cable enters the house and rises into the post
- Weatherproof in-use cover and GFCI receptacle or GFCI breaker if the circuit is not already protected
- Trenching shovel or rented trencher, post hole digger or auger
- Two to four 50-pound bags of fast-setting concrete, or a bolt-down anchor base
- Gravel for drainage, a 4-foot level, and scrap lumber for bracing
- Wire strippers, needle-nose pliers, wire connectors rated for damp locations, electrical tape
- Non-contact voltage tester
- Gloves, safety glasses, and warning tape to lay above the cable
Step-by-Step: Installing the Lamp Post
1. Mark and dig the trench
Run a string line or spray paint from the power source to the post location. Dig to the depth your code and cable method require. As a general rule, direct-bury UF cable is expected at 24 inches, PVC conduit at 18 inches, and a GFCI-protected 120-volt residential circuit of 20 amps or less can often go at 12 inches. Your inspector has the final word. Keep the trench bottom free of sharp rocks that could cut the cable jacket.
2. Dig the post hole
For a concrete-set post, dig a hole 8 to 12 inches in diameter and deep enough to get below your frost line or at least 24 inches, whichever is deeper. Add 3 to 4 inches of gravel at the bottom for drainage. If you are using an anchor base on an existing concrete pad, you only need to core or drill for the cable entry.
3. Set conduit for the rise
Wherever the cable leaves the trench and comes above grade, protect it with conduit. At the post, run a PVC sweep elbow from the trench bottom up through the center of the hole so the cable will feed into the post cleanly. At the house end, run conduit from the trench up to the junction box or receptacle.
4. Pull the cable
Lay the UF cable flat in the trench without tension, leaving loose slack at both ends. Feed the post end up through the sweep and leave at least 18 inches extra above where the lantern will mount. Do not make any splices in the trench unless you use a listed direct-burial splice kit.
5. Set the post
Slide the post over the conduit and cable, plumb it on two adjacent faces with your level, and brace it with scrap lumber staked into the ground. Mix and pour concrete around the post, sloping the top away from the post so water sheds off. Fast-setting mixes firm up in 20 to 40 minutes, but let the base cure at least 24 hours before hanging the lantern. For an anchor base, bolt the anchor to the pad with concrete wedge anchors and fasten the post to the anchor per the kit instructions.
6. Wire the fixture and photocell
With the power source still off, strip the cable ends and connect the fixture: black (hot) to black, white (neutral) to white, and bare or green (ground) to the fixture’s ground screw or lead. Most photocells install between the incoming hot and the fixture’s hot lead, with the photocell’s white lead tied to neutral. Follow the wiring diagram on your specific photocell, because some models use a red load wire. Use connectors rated for damp or wet locations and tuck the wires neatly into the post cap or lantern base.
7. Make the connection at the source
Before touching any existing box, turn off the breaker and confirm power is off with a non-contact voltage tester at every wire in the box. Only then connect the new cable to the existing circuit, keeping hot to hot, neutral to neutral, and ground to ground. The circuit must be GFCI-protected, either by a GFCI receptacle upstream or a GFCI breaker. Install a weatherproof in-use cover on any outdoor box.
8. Inspect, backfill, and test
If your permit calls for a trench inspection, schedule it before backfilling. Then backfill about 6 inches of soil over the cable, lay yellow warning tape, and finish filling and tamping. Restore the breaker, cover the photocell with tape or your hand to simulate darkness, and confirm the light comes on. If the circuit feeds a receptacle, check it afterward with a plug-in outlet tester.
Solar Lamp Post: The No-Trench Alternative
A solar lamp post is the fastest way to install an outdoor lamp post where running cable is impractical, such as across a long lawn, a mature garden, or a paved driveway. The panel sits on top of the lantern, charges a battery during the day, and a built-in sensor turns the light on at dusk.
Setup is mechanical only: dig a hole, set the post in concrete or on a ground spike or anchor, and install the head. No permit is usually required. The trade-offs are real, though. Solar models typically produce less light than a wired fixture, runtime drops in winter and after cloudy days, and batteries need replacement every two to four years. Place the panel where it gets six or more hours of direct sun. Solar works well for accent and path marking; for security lighting or a bright driveway entrance, hardwired still wins.
Troubleshooting Common Lamp Post Problems
Even when you know how to install an outdoor lamp post by the book, a few issues crop up in the first season. Most are quick fixes.
- Light stays on all day: The photocell is shaded, faces the wrong direction, or has failed. Rotate it to face open sky away from other lights, or replace it.
- Light cycles on and off at night: The photocell is seeing its own light reflected off the lantern glass or a nearby wall. Reposition it or add a shield.
- Light never comes on: Check the GFCI upstream first, since it may have tripped. Then check the bulb and, with the breaker off, the connections in the post.
- GFCI trips when it rains: Water is reaching a connection. Look for a failed gasket in the lantern, an unsealed post cap, or a buried splice that was not rated for direct burial.
- Post leans after winter: The base was above the frost line or lacked drainage. Reset it deeper with gravel beneath the concrete.
What It Costs to Install an Outdoor Lamp Post
Costs vary widely by region, run length, and fixture quality, but these general ranges help with budgeting:
| Item | Typical Range |
|---|---|
| Post and lantern kit | $100 to $600+ |
| UF cable, conduit, fittings | $1 to $3 per foot of run |
| Concrete, gravel, photocell, GFCI | $50 to $120 |
| Trencher rental (half day) | $100 to $200 |
| Electrician installation | Roughly $500 to $1,500+ for a typical run |
| Solar lamp post | $80 to $400 |
Longer runs, boring under a driveway, or adding a new circuit at the panel push professional quotes higher. Permit fees are usually modest but vary by city.
When to Call a Licensed Professional
Much of this project is digging and setting a post, which any handy homeowner can handle. The electrical work deserves more caution. Call a licensed electrician if you need a new circuit or breaker added at the panel, if your home has aluminum branch wiring, if the only nearby power source is not GFCI-protected and you are unsure how to add protection, or if the run is long enough that voltage drop and wire sizing need to be calculated.
Follow the National Electrical Code as adopted by your jurisdiction and pull the required permit; local amendments often change burial depths and protection rules. Never work on wires while they are energized. Always turn off the breaker and confirm power is off with a non-contact voltage tester before opening any box, and if the tester or the panel labeling leaves any doubt, stop and bring in a pro. Hiring out only the final hookup while you do the trenching and post setting is a common way to save money without cutting corners.
Outdoor Lamp Post FAQ
How deep do you bury wire for a lamp post?
Direct-bury UF cable is generally buried 24 inches deep, cable in PVC conduit around 18 inches, and a GFCI-protected 120-volt residential circuit of 20 amps or less can often go at 12 inches. Local code and your inspector set the final requirement.
Can I install an outdoor lamp post myself?
You can dig the trench, set the post, and mount the fixture yourself in most areas, but many jurisdictions require a permit for the wiring. New circuits and panel work should go to a licensed electrician.
Does a lamp post need to be in concrete?
Not always. Concrete gives the most stable base in soil, while a bolt-down anchor works on an existing slab or pad. Some light-duty solar posts use ground spikes, but they can lean over time.
Where should the photocell face on a post light?
Point the photocell toward open sky, usually north, and away from porch lights, streetlights, and the lantern’s own glow so it reads true dusk and dawn.
Is a solar lamp post as bright as a wired one?
Usually not. Solar models suit path and accent lighting, but output and runtime drop in winter. For a bright driveway entrance or security lighting, a hardwired fixture is more reliable.