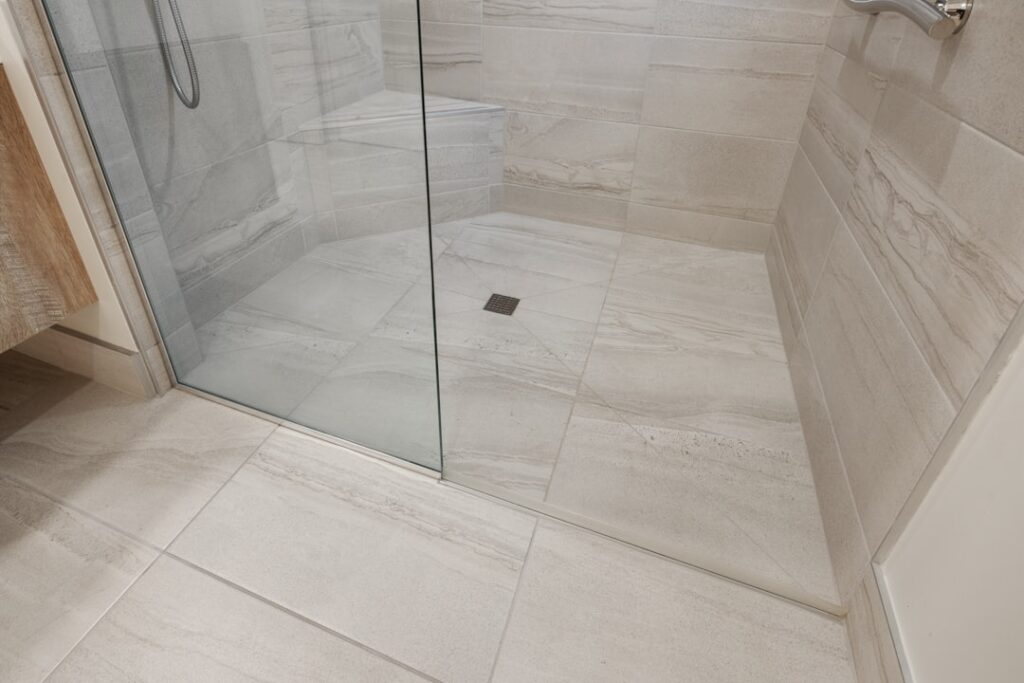
Hanging a frameless door is the single most nerve-racking task in a bathroom remodel, because you are drilling into finished tile while handling a $600 to $1,500 sheet of tempered glass that cannot be trimmed, shimmed, or forgiven. I have installed dozens, and if you want to know how to install frameless glass shower door on tile without cracking porcelain or ending up with a door that swings itself open, the answer is 80 percent measurement and layout, 15 percent careful drilling, and 5 percent actually hanging glass. Budget a half day for a standard hinged door, work with a helper, and do not skip a single plumb check. Here is the full sequence I use.
- What you are working with: hardware and load
- Step 1: Verify plumb, level, and square before ordering glass
- Step 2: Lay out hinge positions on the tile
- Step 3: Drill the tile without cracking it
- Step 4: Mount hinges and set the door
- Step 5: Adjust, then commit
- Step 6: Seal the right places, and only the right places
- Cost and honest DIY assessment
What you are working with: hardware and load
A frameless door is 3/8 or 1/2 inch tempered glass. A typical 24 to 30 inch door weighs 80 to 100 pounds, and all of it hangs on two (sometimes three) hinges lagged through your tile into blocking or studs. That is the first non-negotiable: hinge-side fasteners must land in solid wood framing or dedicated blocking behind the tile, not just cement board and drywall anchors. Good builders install a flat 2×10 or doubled 2×6 blocking in the hinge wall during framing. If you are retrofitting and are not sure blocking exists, find studs with a magnet stud finder (it locates the backer board screws) and plan your hinge locations to hit framing. Wall-mount hinges typically want two 2.5 to 3 inch stainless screws each.
Tools you will need: a level (a 6-foot level or a quality 2-foot plus straightedge), tape measure, painter’s tape, diamond or carbide spear-point tile bits, a drill with a clutch, hex keys for the hinge plates, 100% silicone sealant, wood shims or dedicated glass setting blocks, and a helper with decent grip strength.
Step 1: Verify plumb, level, and square before ordering glass
Frameless glass is cut to your opening, so measure after tile, not from plans. Check the curb for level and both walls for plumb at three heights. Anything within 1/8 inch over the door height is workable; more than that and the fabricator needs to know, because they will cut the glass out of square to match, or you will live with a tapered gap. Order tempered glass with holes pre-drilled for your specific hinges. Glass typically takes one to two weeks; measure twice, because a re-cut is a full-price do-over.
Standard clearances to plan around: 3/16 inch gap at the hinge side, 1/8 to 3/16 inch under the door over the curb, and 3/16 inch at the strike side or between door and inline panel. The curb itself should slope slightly inward, about 1/8 inch, so water drains to the pan; if yours slopes outward, tell the glass company, and fix the drip situation with a door sweep.
Step 2: Lay out hinge positions on the tile
Tape the hinge wall with painter’s tape where hardware lands. Tape does three jobs: you can mark on it, it keeps the drill bit from skating on glaze, and it reduces edge chipping. Measure the hinge hole locations from the glass itself or from the manufacturer’s template, not from memory. Hinges usually sit so the door pivot line is 1/8 to 3/16 inch off the wall. Transfer the hole centers to the tape, then check the marks against a plumb line. Both hinges must be on the same vertical plane within 1/16 inch, or the door will bind or self-swing.
Look at where your marks fall on the tile. Avoid drilling within 3/4 inch of a tile edge or grout joint if you can shift slightly; edges are where tile cracks. You usually cannot move hinge heights much, but you often have a little horizontal play in the layout before glass is ordered, which is another reason layout happens early.
Step 3: Drill the tile without cracking it
Porcelain is brutally hard, so use a diamond core bit or a carbide spear-point rated for porcelain, sized per the hinge screws and anchors (commonly 3/16 to 5/16 inch). The technique:
- Start the drill at low RPM, around 300 to 600, with light pressure, at a slight angle to establish a notch, then bring it perpendicular.
- Keep the bit cool. A sponge of water held at the hole, or a small dam of plumber’s putty filled with water, prevents glaze burn and bit death.
- Let the bit do the work. Pushing hard is how tile cracks and bits shatter.
- Once through the tile, swap to a standard bit for wood, and drill pilot holes into the blocking: 1/8 inch pilot for a #10 or #12 stainless screw.
If a hole misses solid wood, do not shrug and use a plastic anchor. Either re-verify blocking location and adjust within the hinge plate’s tolerance, or use a heavy-duty toggle rated far beyond the load as a last resort, understanding the hinge wall really should be framing. This door gets pushed, leaned on, and slammed for twenty years.
Step 4: Mount hinges and set the door
Run a thin bead of clear silicone into each screw hole before driving screws; this waterproofs the penetration, which matters more than people think, because the hole passes through your waterproofing layer. Mount the wall plates of the hinges snug but not final-tight.
Now the two-person part. Set setting blocks or stacked shims on the curb to hold the door at its 1/8 to 3/16 inch gap. Lift the glass, slot it into the open hinge plates, and have your helper hold it dead still while you install the hinge gaskets and clamp plates. Tempered glass must never touch metal directly; every hinge contact point gets its rubber gasket. Snug the clamp bolts evenly, alternating side to side, firm but not gorilla-tight, since overtightening point-loads the glass at the cutouts, which is the one place tempered glass is vulnerable.
Step 5: Adjust, then commit
Pull the shims and swing the door slowly. Check three things: the door holds position at rest anywhere in its arc (a self-closing or self-opening door means the hinges are out of plumb), the strike-side gap is even top to bottom, and nothing contacts tile or the curb through the full swing. Most frameless hinges give you a few degrees of adjustment in the clamp before final torque; loosen slightly, rotate the glass a hair, retighten. When it swings true, final-tighten everything, install the handle or knob through its pre-drilled holes with gaskets both sides, and add the door sweep and any side seals, trimmed to length with snips.
Step 6: Seal the right places, and only the right places
Silicone the fixed panel channels and the joint where any inline panel meets tile and curb, on the outside face and vertical edges. Do not caulk the inside bottom edge of a fixed panel channel completely shut; leave weep gaps so any water that gets in can drain back into the shower. Use 100% silicone, tool it in one pass, and give it 24 hours before the shower runs. Then wait another day and test with a real shower, checking the floor outside the door and at the hinge wall base for escapees.
Cost and honest DIY assessment
| Item | Typical US cost |
|---|---|
| Frameless door glass, 3/8 in, custom | $500–$1,100 |
| Hinges, handle, sweep, seals | $150–$400 |
| Bits, silicone, shims, consumables | $40–$80 |
| Professional install, door only | $300–$700 labor |
| Pro supply-and-install package | $900–$2,500 total |
DIY saves real money, but be honest about the risk profile: the material cannot be un-drilled, un-cracked, or stretched. If your opening is badly out of plumb, if the glass needs a header or clamped inline panel, or if you have never drilled porcelain, the pro premium buys you their insurance policy on a very unforgiving product.
Final tips from jobs that taught me the hard way: never lay tempered glass flat on a hard floor even for a second, always on cardboard or foam with the edges protected, because tempered glass fails from edge strikes. Keep the protective film on until the door is hung. Re-check every hinge bolt after two weeks of use, since gaskets compress and bolts relax. And write the glass thickness and hinge model inside the vanity cabinet, because five years from now, when a gasket needs replacing, that note is gold. Learning how to install frameless glass shower door on tile is really learning patience with layout; the drill and the glass just follow the lines you drew.
Prefer to explore on your own?
See how new flooring looks in your actual room in seconds — free, no signup.
Try the free Floor Studio →