
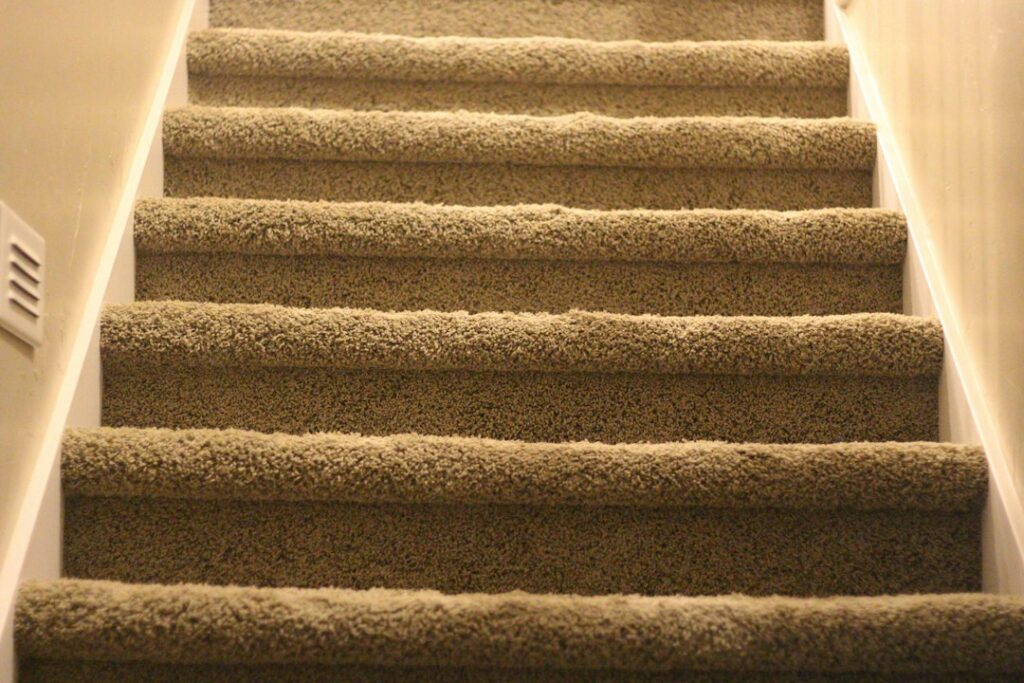
A stair runner that shifts, bunches, or leaves a lip at the nose of each tread is not just ugly; it is a trip hazard. The difference between a professional-looking runner and a sloppy one comes down to careful layout and firm, consistent tension. If you want to learn how to install stair runner yourself, the good news is that a straight staircase of 13 steps is a realistic one-day project with basic tools. This guide covers measuring, material selection, installation style, and the stapling technique that keeps a runner tight for years.
Part of our Stairs & Stair Flooring guide — explore the full guide →
- How to Install Stair Runner: Tools and Materials
- Measuring Your Stairs Correctly
- Choosing Your Runner Material and Style
- Preparing the Stairs
- Step-by-Step Waterfall Installation
- Joining Pieces and Handling Landings
- Working Around Open Sides and Bullnose Steps
- Adding Stair Rods and Final Touches
- Safety, Care, and Common Mistakes
How to Install Stair Runner: Tools and Materials
Gather everything before you start. Running to the store with half the stairs done usually leads to rushed, uneven work.
- Runner — Sold by the linear foot or in fixed-length rolls, typically 26 to 32 inches wide.
- Rug pad — A dense felt or felt-rubber pad about 1/4 inch thick, cut narrower than the runner.
- Pneumatic or electric staple gun — Use 9/16-inch crown staples; 1/2-inch or 9/16-inch leg length works for most wool and synthetic runners.
- Carpet stair tool (bolster) — Pushes the runner tightly into the crease where tread meets riser.
- Utility knife and straightedge, tape measure, chalk or painter’s tape, and double-sided carpet tape.
- Optional — Stair rods for a decorative look, and binding tape or seam glue for cut ends.
A decent electric staple gun costs $40 to $80. Pneumatic staplers powered by a small compressor drive staples more consistently in dense wool, and you can rent one for about $30 a day.
Measuring Your Stairs Correctly
Accurate measurement prevents the most expensive mistake: running short on the last step. Measure the depth of one tread including the nose overhang, then the height of one riser. Add those two figures together, then multiply by the number of steps.
For example, a staircase with 10-inch treads, 1-inch nose overhangs, and 7.5-inch risers gives 18.5 inches per step. For 13 steps, that is 240.5 inches, or about 20 feet. Add 12 to 18 inches for waste and adjustments. A 22-foot runner would be a safe order.
Next, decide on width. Most designers leave 3 to 5 inches of exposed wood on each side of the runner. On a 36-inch-wide staircase, a 27- to 30-inch runner looks balanced. Measure the stair width at several points because older staircases are rarely perfectly uniform.
Choosing Your Runner Material and Style
Wool is the classic choice. It is durable, naturally flame-resistant, and hides wear well. Expect $40 to $120 per linear foot for quality wool. Nylon and polypropylene are more affordable ($15 to $40 per linear foot) and stain-resistant, making them practical for homes with kids and pets. Sisal and jute look appealing but can be slippery and harder to clean; sisal also stains with water.
Flat-weave runners are the easiest for DIYers because they fold crisply over the nose. Thicker, cut-pile runners look luxurious but require more force to bend and more staples.
Waterfall vs. Hollywood Installation
There are two main styles.
- Waterfall — The runner goes over the nose and drops straight down to the next tread, leaving a small air pocket under the nose. It is faster and easier, the best choice for a first-time installer.
- Hollywood (upholstered) — The runner wraps tightly around the nose and is stapled underneath it, following the stair profile exactly. It looks more tailored but takes longer and requires thinner, more flexible material.
Preparing the Stairs
Remove any old carpet, tack strips, and staples, then fill nail holes and touch up paint or stain on the exposed treads. The wood showing on either side of your runner will be visible for years, so this is the time to refinish if it is worn.
Find the center line. Measure the width of each tread and mark its center with a pencil or a small piece of painter’s tape. Then measure half your runner width from center and mark both edges on each tread. These marks keep the runner straight. A laser level projected down the staircase is a helpful shortcut on long flights.
Cut pad pieces for each tread. Each pad should be about 1 to 2 inches narrower than the runner so it does not show at the edges and should run from the back of the tread to just over the nose. Staple or tape the pads in place, with a few staples near the back and at the nose.
Step-by-Step Waterfall Installation
- Start at the bottom. Align the runner end at the base of the bottom riser, centered on your marks. If the end is raw, fold it under about 1 inch or finish it with binding tape so it will not fray.
- Staple the bottom edge. Place staples every 3 inches across the bottom of the first riser, pushing each staple into the pile so it disappears.
- Pull tight up the riser. Stretch the runner firmly upward and staple at the top of the riser where it meets the underside of the tread nose.
- Anchor into the crease. Bring the runner over the first tread, pull it tight, and use the stair tool to jam it into the back crease where the tread meets the next riser. Staple through the runner into the crease, placing staples roughly 1.5 to 2 inches apart across the width. Angle the gun slightly to drive staples straight into the joint.
- Staple the next riser. Add a row of staples at the bottom of the next riser to lock the tension.
- Repeat. Continue up the stairs, checking alignment with your edge marks on every step. Small errors add up quickly, so correct any drift immediately by pulling out staples and repositioning.
- Finish at the top. End the runner at the top of the last riser or tuck it under the landing nose. Fold the raw end under and staple securely.
For a Hollywood installation, follow the same sequence but add a row of staples tightly under the tread nose, pulling the runner around the nose profile before stapling.
Joining Pieces and Handling Landings
If your runner comes in two pieces, place the seam in the crease between a tread and riser where it is least visible. Cut both ends straight, butt them tightly together, and staple both edges into the crease. A thin bead of seam sealer on the cut ends stops unraveling.
Landings require a different approach. On a straight landing, you can run the runner flat across and continue up, stapling at the edges or using double-sided carpet tape under the flat section. For 90-degree turns, many installers cut the runner and miter the corner, or fold it at a 45-degree angle to change direction. Winder stairs, which are pie-shaped, are challenging for DIY and may be worth hiring out; professional stair runner installation typically costs $300 to $800 for labor on a standard staircase.
Working Around Open Sides and Bullnose Steps
Many staircases have one open side with balusters or a rounded bullnose bottom step. A runner looks best when it stays centered on the straight portion of the treads, so measure from the closed wall on a partially open staircase rather than from the balusters, which may sit on a return nosing. On a bullnose step, keep the runner rectangular and simply let the curved end of the tread remain exposed wood. Trying to wrap the curve almost always leaves wrinkles.
If the bottom step is deeper than the others, cut a separate piece for it and join it in the crease with the second step. That keeps the pattern aligned on the main flight. For patterned runners with borders or stripes, dry-lay the entire runner on the stairs first and hold it with painter’s tape to confirm the pattern repeats land where you want them before driving a single staple.
Adding Stair Rods and Final Touches
Stair rods are mostly decorative today, since staples do the actual holding. They sit in the crease at the base of each riser and are fixed with brackets on each side of the runner. Brass, matte black, and brushed nickel finishes range from $15 to $60 per rod. Mount brackets carefully with a level so every rod sits at the same height.
After installation, run your hand over each step to check for loose spots and add staples as needed. Vacuum to lift pile that was crushed during stapling, and trim any stray threads with scissors rather than pulling them.
Safety, Care, and Common Mistakes
A tight runner improves stair safety by adding traction to slick hardwood. Loose runners do the opposite. Check tension twice a year and add staples if the runner starts to bubble at the nose.
Common mistakes include using a pad as wide as the runner (it shows at the edges), not pulling hard enough before stapling each crease, starting at the top instead of the bottom, and skipping the center line. Using staples that are too short is another; they back out in thick pile within months.
Vacuum the runner weekly with a hand attachment, since stair runners collect dirt quickly in the nose area. Wool runners should be professionally cleaned every 12 to 18 months. Once you know how to install stair runner correctly, replacing a worn one years from now becomes a simple afternoon job that refreshes your entire entry.


