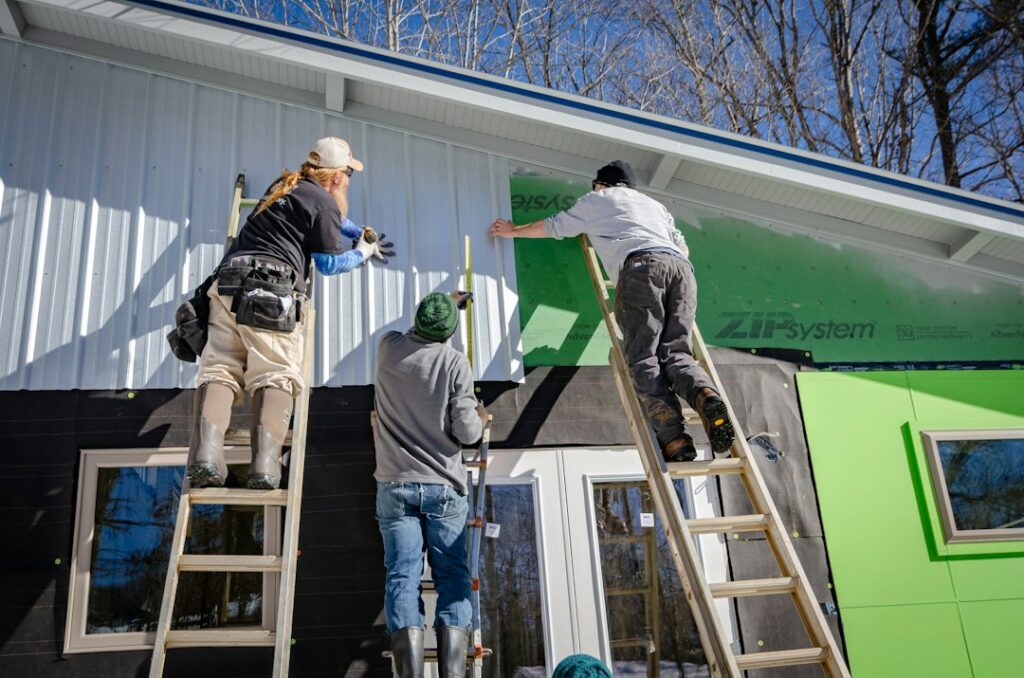
Learning how to install vinyl siding is one of the most rewarding exterior projects a capable DIYer can take on. Vinyl is lightweight, forgiving, and designed to snap together in interlocking courses, so with patience and the right technique you can wrap a wall in durable, low-maintenance siding that shrugs off weather for decades.
The single most important idea to understand up front is that vinyl expands and contracts with temperature, sometimes by half an inch across a long panel. Every step below is built around letting the siding move freely, because siding nailed too tightly will buckle, warp, and fail. Follow the sequence carefully and you will get a clean, weather-tight result.
- Tools and Materials You Will Need
- Step 1: Prepare the Wall
- Step 2: Install Starter Strips and Corner Posts
- Step 3: Add J-Channel Around Openings
- Step 4: Hang the First Course
- Step 5: Work Up the Wall, Course by Course
- Step 6: Finish Around Openings and at the Top
- Common Mistakes to Avoid
- Working Around Windows, Doors, and Obstacles
- Adding Insulation Behind the Siding
- Safety and Efficiency Tips
- Final Checks and Maintenance
Tools and Materials You Will Need
Gather everything before you start so you are not stopping mid-course:
- Vinyl siding panels, plus J-channel, starter strip, outside and inside corner posts, and utility trim
- Roofing nails with 3/8-inch heads, galvanized or aluminum, long enough to reach 3/4 inch into solid wood
- House wrap or building paper and rigid foam if adding insulation
- Snap-lock punch, unlocking tool (zip tool), and tin snips or a fine-tooth circular saw blade
- Chalk line, 4-foot level, tape measure, and utility knife
- Ladder or scaffolding, safety glasses, and gloves
Step 1: Prepare the Wall
A sound, flat surface is the foundation of a good siding job. Remove old siding if present, then inspect the sheathing for rot or damage and replace anything soft. Fasten any loose boards and make sure the wall is flat and true. Install a moisture barrier such as house wrap across the entire surface, overlapping seams by several inches and taping them so water sheds outward. Around windows and doors, integrate the wrap with flashing so moisture cannot get behind it. Snap a level chalk line around the base of the wall as your reference for the starter strip.
Step 2: Install Starter Strips and Corner Posts
The starter strip anchors the bottom edge of the first course and sets the angle for everything above, so getting it level is critical. Align its top edge to your chalk line and nail it every 10 to 16 inches, keeping nails centered in the slots. Leave a small gap where starter strips meet end to end for expansion.
Next, set the corner posts. Position outside and inside corner posts plumb, holding them about 1/4 inch below the eaves and 3/4 inch above the finished bottom. Nail through the top of the uppermost slots to hang the post, then nail the remaining slots loosely, centered, so the post can move.
Step 3: Add J-Channel Around Openings
J-channel frames windows, doors, and rooflines and receives the cut ends of siding panels. Run it along the tops and sides of every opening, cutting and overlapping pieces so water is directed out and away rather than into the channel. At window tops, notch and fold the channel to create a small tab that sheds water over the side pieces. Take your time here, because neat J-channel work is what separates an amateur job from a professional one.
Step 4: Hang the First Course
Now the satisfying part begins. Lift the first siding panel and push up until its bottom locks firmly into the starter strip. You should feel and hear it click along the length. Nail the panel through the center of each nailing slot every 16 inches, and here is the golden rule: do not drive nails tight. Leave about the thickness of a dime, roughly 1/32 inch, between the nail head and the panel so the siding can slide side to side.
- Nail straight, not at an angle, so the panel hangs evenly.
- Start each nail in the center of the slot, never at the ends.
- Leave a 1/4-inch gap where panels meet corner posts and J-channel for expansion.
Step 5: Work Up the Wall, Course by Course
Each new course locks into the one below and nails at the top, the same way as the first. Overlap panel ends by about one inch, and stagger the seams so no two joints line up in adjacent courses; this looks better and sheds water more reliably. Check your work with a level every few courses, because small errors compound as you climb. If a course drifts out of level, adjust gradually over the next few rows rather than forcing it. Use the snap-lock punch to create raised tabs on cut top pieces where they slide into utility trim under windows and at the top of the wall.
Step 6: Finish Around Openings and at the Top
Cutting panels to fit under windows and around obstacles takes patience. Measure the height needed, mark the panel, and cut it lengthwise with tin snips or a knife-scored snap. Where a cut top edge lacks a locking lip, use the snap-lock punch to add tabs and slide the panel into utility trim so it stays put. At the very top of the wall, install undersill or utility trim beneath the eaves and lock the final course into it. Keep all expansion gaps consistent so the finished wall can breathe through seasonal temperature swings.
Common Mistakes to Avoid
Most siding failures trace back to a handful of errors. Steer clear of these:
- Nailing too tight — the number one cause of buckling; always leave the panel loose.
- Skipping expansion gaps — panels butted against trim will oil-can and warp in heat.
- Starting off-level — an uneven starter strip throws off every course above it.
- Poor water management — reversed J-channel laps and missing flashing let moisture in.
Working Around Windows, Doors, and Obstacles
The trickiest cuts on any siding job come around openings and penetrations, so plan them carefully. When a course runs into a window, you will need to notch the panel to fit around the frame while keeping the locking lip engaged where possible. For pipes, outlets, hose bibs, and light fixtures, use a specialized mounting block that gives a flat, weatherproof surface, and cut a hole in the siding slightly larger than the penetration so the panel can still expand. Always slip flashing behind the siding above any opening so water is directed over the top of the panel rather than behind it. Take these cuts slowly and dry-fit before committing, because a sloppy cut around a window is one of the most visible flaws on a finished wall.
Adding Insulation Behind the Siding
Many homeowners take the opportunity of a re-siding project to improve the wall’s thermal performance. Rigid foam insulation board installed over the sheathing, beneath the house wrap or between the wrap and the siding depending on your assembly, adds an R-value boost and evens out minor wall irregularities for a flatter finished surface. Insulated vinyl siding, which has a contoured foam backing bonded to each panel, is another option that adds rigidity and reduces the hollow feel of standard vinyl. If you add foam, remember it changes the depth of your wall, so you may need furring or longer fasteners and adjusted trim depths. Confirm your window and door flashing details still shed water correctly with the added thickness.
Safety and Efficiency Tips
Siding a house involves ladders, saws, and long days, so work smart to stay safe and keep the job moving:
- Set up scaffolding for upper courses rather than overreaching from a ladder.
- Store panels flat and out of direct sun before installation, since heat makes vinyl expand and harder to fit accurately.
- Cut vinyl with a fine-tooth blade mounted backward for cleaner edges, or score and snap thinner cuts.
- Keep a helper on hand for long panels and heavy lifting.
- Check your level lines every few courses so small drifts do not compound up the wall.
Working during moderate temperatures also helps, as extreme heat or cold changes how the panels behave and how tightly they lock together.
Final Checks and Maintenance
When the last course is locked in, walk the perimeter and confirm every panel moves slightly by hand, all seams are staggered, and openings are neatly channeled and flashed. Vinyl needs almost no upkeep afterward; an annual rinse with a garden hose or gentle wash keeps it looking fresh. Now that you know how to install vinyl siding the right way, the biggest factors in success are patience, level starting lines, and respecting the material’s need to expand. Take your time on prep and the first course, and the rest of the wall will go up quickly and last for years.