A bookshelf that sags under 40 paperbacks was built with 3/4 inch MDF and no back panel. That is the single most common failure in DIY shelving projects, and it takes about 18 months to show up. Learning how to make a bookshelf that will hold a real book collection for 20 years is not about fancy joinery; it is about picking the right material thickness, shelf span, and back panel. This guide walks through the cut list, build steps, and finish work for a 72 inch tall by 30 inch wide bookshelf built from 3/4 inch hardwood plywood in a single weekend.
Materials List
You will need one full sheet of 3/4 inch hardwood plywood (birch or maple), one quarter sheet of 1/4 inch plywood for the back panel, and about 16 linear feet of 1×2 hardwood for face frames. Expect $95 to $160 in materials at Home Depot or Lowe’s in 2026.
- Plywood: 1 sheet 4×8 3/4 inch birch
- Back panel: 1/4 inch birch plywood, 30 x 72 inches
- Face frame: 1×2 hardwood, 16 linear feet
- Fasteners: 1-1/4 inch pocket screws, 1 inch brad nails
- Glue: Titebond III or equivalent wood glue
Tools: a circular saw with a guide or a table saw, a drill, a Kreg pocket-hole jig, a brad nailer, and a sander.
Cut List
Rip the full sheet of 3/4 inch plywood into the following pieces:
- 2 sides: 72 inches long x 11.25 inches deep
- 1 top: 30 inches long x 11.25 inches deep
- 1 bottom: 30 inches long x 11.25 inches deep
- 4 shelves: 28.5 inches long x 11 inches deep
- 1 back panel: 30 x 72 inches (1/4 inch ply)
The 28.5 inch shelf length matches the 30 inch external width minus two 3/4 inch side panels. Shelves sit in between the sides rather than resting on top of them. That is the main structural choice that prevents sag.
Limit Shelf Span to Prevent Sag
For 3/4 inch hardwood plywood holding books (roughly 25 lbs per linear foot), keep shelf span under 32 inches between supports. A 36 inch unsupported shelf will deflect 1/4 inch after 90 days of real-world book weight. The 30 inch external design in this build lands at a 28.5 inch span, which stays flat for decades.
If you want wider shelves, add a center divider or step up to 1 inch Baltic birch plywood. Real 5/4 hardwood (true 1 inch) pushes safe span to 40 inches.
Assemble the Carcass
Drill pocket holes on the underside of the top panel and the top of the bottom panel, 2 holes per joint. Drill pocket holes on both ends of each shelf, 2 per end.
Lay one side panel flat on the floor. Apply wood glue to the joint and drive 1-1/4 inch pocket screws to attach the top, bottom, and shelves. Space shelves at 10, 21, 32, and 43 inches from the bottom to accommodate standard and oversized books. Mark those lines in pencil before assembly.
Flip the half-assembled frame and repeat on the other side. Work quickly so the glue does not set before the joints are square.
Install the Back Panel
Square the carcass by measuring diagonally corner to corner. The two diagonal measurements should match within 1/16 inch. If they do not, push a corner until they do.
Lay the 1/4 inch back panel over the assembly. Apply a thin bead of glue to the back edge of the sides, top, bottom, and every shelf. Nail the back panel in place with 1 inch brads spaced 6 inches apart. The back panel is what locks the carcass square and eliminates racking under load.
Face Frame for Durability
The face frame covers the raw plywood edges and adds stiffness. Rip 1×2 hardwood into two 72 inch verticals and five 28.5 inch horizontals (top, bottom, and one above each shelf).
Pocket-screw the horizontals to the verticals first to build the frame flat on the floor. Apply glue to the front edges of the carcass, position the face frame, and secure with 1 inch brads into the shelf edges. Fill nail holes with wood putty and sand smooth.
Sand, Prime, and Finish
Sand everything with 120-grit, then 180-grit. Focus on the face frame joints and any exposed plywood edges. Vacuum off the dust and wipe with a tack cloth.
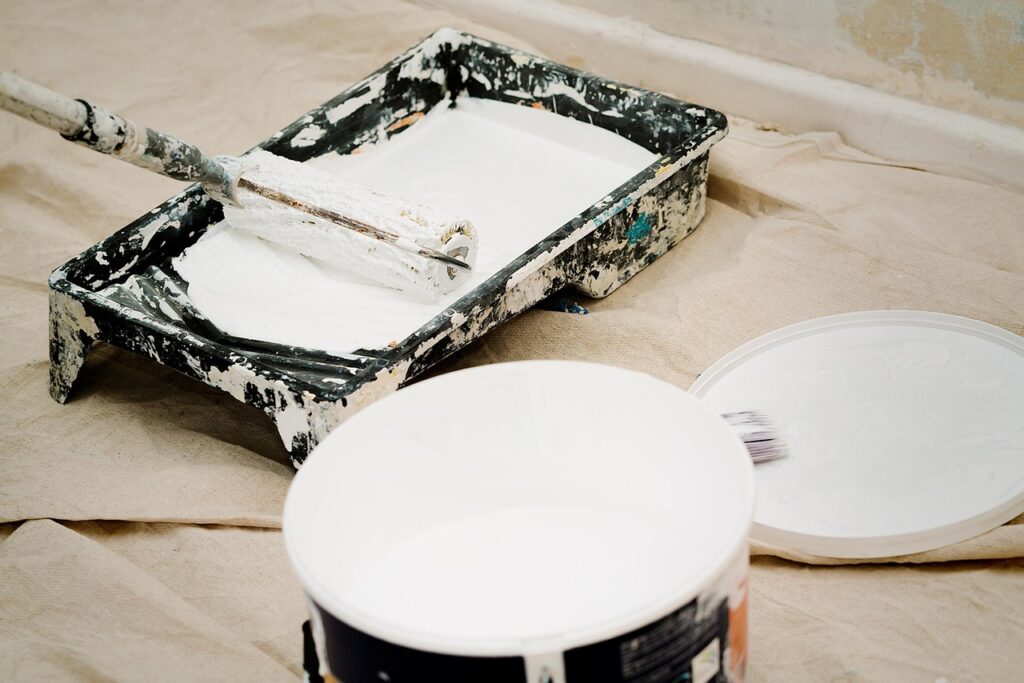
For painted finishes, prime with a stain-blocking primer like Zinsser BIN or Cover Stain. Follow with two coats of semi-gloss latex enamel. For stain-grade finishes, apply a pre-stain wood conditioner, then the stain, then two coats of water-based polyurethane from General Finishes or Minwax.
Secure the Bookshelf to the Wall
Any bookshelf over 48 inches tall needs to be anchored to a wall stud. Tall shelves loaded with books become a tipping hazard with pets or children. Use a simple L-bracket screwed into the back of the top rail and through the drywall into a 2×4 stud.
That is it. In roughly 12 hours of shop time over a weekend, you have a solid 72 by 30 inch bookshelf ready for 200-plus books. Once you have built one, you can scale the same method up or down for any room. The principles behind how to make a bookshelf that lasts are the same every time: keep the span short, use plywood that is at least 3/4 inch thick, and never skip the back panel.