The power’s out, your car is trapped, and the button on the wall does nothing. Knowing how to open a LiftMaster garage door opener in that moment saves you a locksmith call and a lot of panic. The phrase actually covers several different tasks: releasing the door manually during an outage, opening it from outside without power, and popping open the opener’s plastic housing to reach the battery or circuit board. Learning how to open LiftMaster garage door opener systems the right way for each situation saves both your equipment and your sanity, so this guide walks through all of them clearly, because the right method depends entirely on what you’re trying to accomplish.
Part of our Garage Doors guide — explore the full guide →
- Manual Release During a Power Outage
- Reconnecting After the Power Returns
- Opening the Door From Outside With No Power
- Opening the Opener Housing for Repairs
- When the Wall Button Won’t Work but Power Is On
- Opening a Jammed or Stuck Door
- Reprogramming Remotes and Keypads
- Understanding the Backup Battery
- Safety Rules Worth Repeating
- Quick Reference by Situation
Manual Release During a Power Outage
Every LiftMaster opener has a red emergency release cord dangling from the trolley, the piece that rides along the rail and pulls the door. This cord is your lifeline when there’s no power.
First, make sure the garage door is fully closed if possible. Pulling the release with the door partway up is dangerous because a door with a broken or weak spring can slam down once disconnected. With the door down, pull the red cord straight down and back toward the motor unit until you hear a click. That disengages the trolley from the carriage, and the door is now free to move by hand.
Grab the door by the bottom or a handle and lift it straight up. A properly balanced door on healthy springs feels light, around 10 pounds of effort, and will stay open on its own. If it feels heavy or crashes back down, stop; you likely have a broken spring and should not force it. Once you’re through, slide the door back down manually.
Reconnecting After the Power Returns
People get stuck here more than on the release itself. Once power is back, you need to re-engage the trolley. Pull the red release cord back toward the door (the opposite direction, toward the opening) until you feel the spring-loaded lever reset. Then simply press your remote or wall button. The motor will run and the trolley carriage will travel until it snaps back into the trolley with an audible click. On some newer models, you pull the cord toward the door and the next button press reconnects automatically. Either way, run the door through one full open-and-close cycle to confirm it’s engaged and moving smoothly.
Opening the Door From Outside With No Power
If the outage happens while you’re away and your only garage entry has no other door, you’ll need an outside emergency release kit. Many homes with no separate service door were built with one; it’s a small lock cylinder mounted near the top center of the garage door with a cable running to the trolley release.
Insert the provided key, turn it, and pull the lock cylinder out. That tugs the internal cable and trips the manual release, just as pulling the red cord would from inside. Then lift the door by hand. If your garage never had this kit installed, you can add one for about $20, and it’s a smart upgrade for any garage without a walk-in door.
Opening the Opener Housing for Repairs
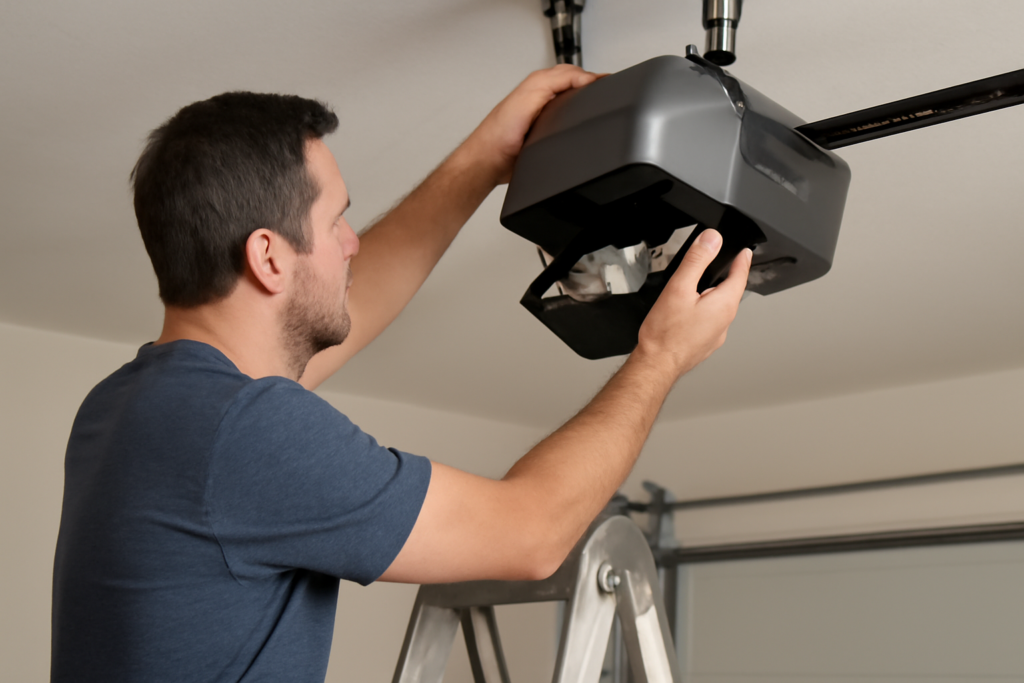
A completely different task is opening the plastic cover on the motor unit itself, usually to replace the backup battery, swap the light bulb board, or access the logic board. Here’s how to do it safely:
- Unplug the opener from the ceiling outlet first. Never work inside the housing with it powered.
- Locate the light lens cover on the front of the motor unit. On most LiftMaster models it hinges down; press the tabs on the sides or bottom and swing it open to expose the bulb.
- For deeper access, remove the retaining screws on the light lens and the side panel. LiftMaster typically uses standard Phillips screws.
- The backup battery (if equipped) sits in a compartment on the side or bottom of the housing, often behind a small snap-off cover.
The 485LM backup battery is the most common replacement part, and swapping it takes about five minutes once the cover is off. A steady red light or a chirping opener usually signals the battery is at end of life after three to five years.
When the Wall Button Won’t Work but Power Is On
Sometimes the issue isn’t power at all, it’s a lockout. LiftMaster wall control panels have a “Lock” feature that disables all remotes to prevent unauthorized entry, often triggered accidentally. If your remotes are dead but the wall button works, press and hold the Lock button on the wall panel for a couple of seconds until the LED stops flashing. That releases the vacation lock and your remotes should work again.
Another common culprit is the safety sensors. The two small photo-eye sensors near the floor on each side of the door must be aligned and unobstructed. If one has a blinking LED, the door will refuse to close and may beep. Wipe the lenses, clear any leaves or clutter, and gently adjust them until both show a steady light.
Opening a Jammed or Stuck Door
Sometimes the opener runs but the door won’t budge, or it starts and immediately reverses. Before assuming the opener is broken, rule out a mechanical jam. Disconnect the opener using the red release cord and try to lift the door by hand. If it won’t move manually either, the problem is the door, not the opener, likely a broken spring, a bent track, or a roller off its track. In that case, do not keep pressing the button; you’ll only strain the motor.
If the door lifts by hand but the opener reverses it, the force settings or travel limits may be off. LiftMaster units have adjustment dials or buttons for up-force, down-force, and travel limits. A door that reverses before closing usually needs a limit or force adjustment, but make these changes in small increments and re-test, since too much down-force defeats the safety reversal that protects children and pets.
Reprogramming Remotes and Keypads
Occasionally “opening” the door means getting a dead remote working again. To reprogram a LiftMaster remote, press and release the “Learn” button on the back of the motor unit; the LED will glow for about 30 seconds. Within that window, press the button on your remote until the opener lights blink or you hear a click, confirming it’s paired. The same process works for a wireless keypad, where you’ll enter your chosen PIN during the learn window.
If you’ve lost a remote or moved into a new home, it’s smart to clear all previously programmed remotes for security. Hold the “Learn” button until the LED goes out (about six seconds); this erases every remote and keypad from memory, and you then re-add only the ones you want. This is a two-minute task that locks out anyone who might still have an old opener.
Understanding the Backup Battery
Many newer LiftMaster models include a backup battery so the door still opens during a power outage, which is required by law in some states. If your opener chirps periodically or shows a red light, the backup battery is likely at end of life, typically after three to five years. The door will still work on grid power, but the backup won’t function until you replace the 485LM battery. Swapping it takes five minutes once the light lens or side cover is open, and it restores your outage protection so you’re never stuck in the dark.
Safety Rules Worth Repeating
A garage door is the heaviest moving object in most homes, and its springs store enormous energy. Keep these rules in mind:
- Never pull the manual release with the door open unless you’re certain the springs are intact.
- Keep fingers away from the section joints; they pinch hard.
- Never try to adjust or repair the torsion springs yourself. Those are under extreme tension and cause serious injuries every year.
- Test the door’s balance twice a year by disconnecting it and lifting halfway; if it won’t stay put, call a technician.
Quick Reference by Situation
To sum it up simply: if the power is out and you’re inside, pull the red cord down and back, then lift. If you’re locked out, use the exterior key release. If you need the battery or bulb, unplug and open the light lens or side cover. And if remotes are dead but power is fine, check the wall-panel lock and the photo-eye sensors first.
Knowing how to open a LiftMaster garage door opener across all these scenarios turns an emergency into a two-minute task. Practice the manual release once on a calm afternoon so your hands know the motion before you actually need it in the dark. That single dry run is the difference between confidence and a frantic phone call when the power really does go out.