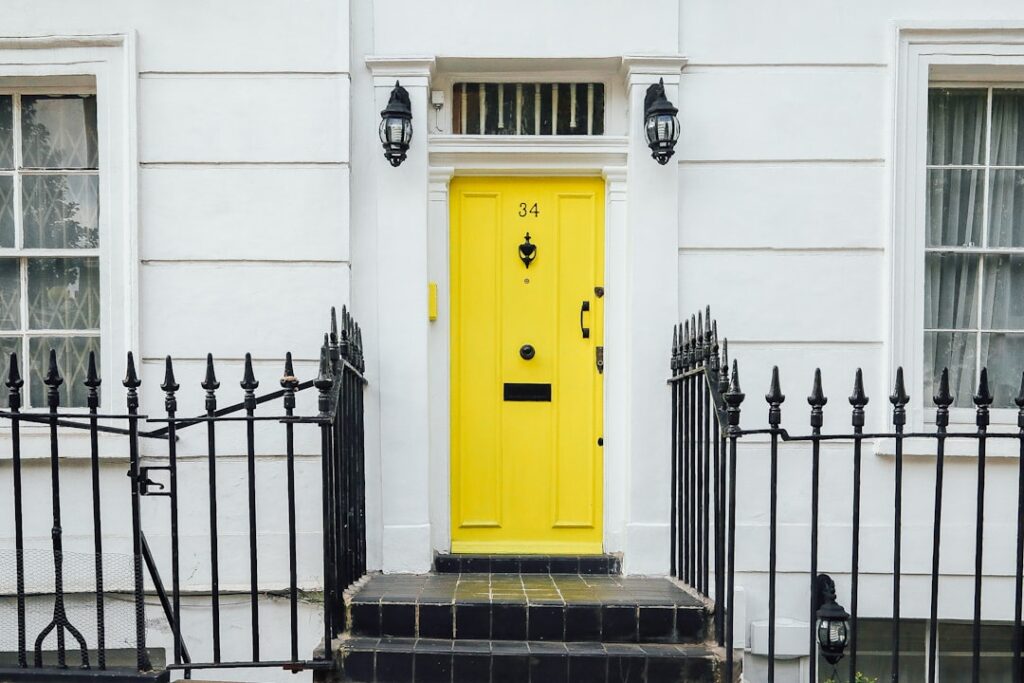
Learning how to paint a metal front door is one of the highest-impact weekend projects you can tackle, and minor entry upgrades like a fresh door consistently rank among the home improvements with the strongest perceived payback. A steel or aluminum door takes paint beautifully when you prep it right, and a careful job can last 8 to 10 years before it needs a refresh. This guide covers everything from cleaning and sanding to choosing paint, drying times, and getting a smooth, brush-mark-free finish.
Tools and Materials You Will Need
- Mild detergent or degreaser and clean rags
- 150 to 220 grit sandpaper or sanding sponge
- Painter’s tape and a drop cloth
- Screwdriver for removing hardware
- Rust-inhibiting metal primer
- Exterior paint rated for metal and doors (acrylic latex or oil-based enamel)
- A quality 2 to 2.5 inch angled sash brush and a small foam or microfiber roller
- Tack cloth, putty knife, and exterior-grade filler for any dents
Choose the Right Day and Conditions
Paint behaves best in mild, dry weather. Aim for a day between roughly 50 and 85 degrees Fahrenheit with low humidity and no rain in the forecast for at least 24 hours. Avoid painting in direct, blazing sun, which makes paint dry too fast and leaves lap marks, and avoid early morning or late evening when dew can form on the surface. Plan to start mid-morning so coats have daylight hours to cure.
Step-by-Step Instructions
- Decide whether to remove the door. You can paint it in place or lift it off the hinges and lay it flat on sawhorses. Laying it flat reduces drips and gives a smoother finish, but painting in place is faster. If you keep it hung, work when you can leave it open to dry.
- Remove the hardware. Unscrew the knob, deadbolt, knocker, and any kick plate, or tape them off carefully. Removing hardware gives a cleaner, more professional result than cutting in around it.
- Clean the surface thoroughly. Wash the door with a mild detergent or degreaser to strip dirt, oils, and old residue. Grease and grime are the top causes of peeling, so do not rush this. Rinse and let it dry completely.
- Address rust and dents. Sand away any rust spots down to bare, sound metal and treat them with a rust-inhibiting primer. Fill dents or deep scratches with exterior filler, let it cure, and sand smooth.
- Scuff-sand the whole door. Lightly sand all surfaces with 150 to 220 grit to dull the existing sheen and give the primer something to grip. You are not stripping the old paint, just creating tooth. Wipe off all dust with a tack cloth.
- Tape and protect. Apply painter’s tape around the weatherstripping, glass, and the frame edges, and lay a drop cloth beneath the door to catch drips.
- Prime the door. Apply a thin, even coat of rust-inhibiting metal primer. Use the brush for recessed panels and detailed areas first, then roll the flat sections with a foam roller for a smooth finish. Follow the primer label for dry time, typically 1 to 4 hours.
- Sand lightly between coats. Once primer is dry, give it a very light pass with fine sandpaper to knock down any raised texture, then wipe with a tack cloth.
- Apply the first coat of paint. Work in the same order each time: brush the panel insets and grooves first, then immediately roll the larger flat areas while the edges are still wet to blend them. Keep coats thin to avoid runs.
- Let it dry, then recoat. Allow the first coat to dry per the can, usually 4 to 6 hours for acrylic latex. Apply a second thin coat for full coverage and durability. A third coat may help with deep or dramatic color changes.
- Reinstall hardware and remove tape. Once the paint is dry to the touch, carefully peel the tape and reattach the hardware. Avoid closing the door fully until the paint has cured enough not to stick.
Choosing the Right Paint and Primer
For most homeowners, a 100 percent acrylic latex exterior paint is the easiest choice. It cleans up with water, resists fading and cracking, and stays flexible through temperature swings. Oil-based enamel produces an exceptionally hard, glass-smooth finish and was long the traditional pick for doors, but it dries slowly, smells strong, and requires solvents for cleanup. Whichever you choose, pair it with a quality rust-inhibiting primer made for metal. A satin or semi-gloss sheen is ideal for a front door because it resists dirt and wipes clean, while still hiding minor surface imperfections better than high gloss.
Tips for a Smooth, Professional Finish
- Use thin coats. Two or three thin coats always beat one thick coat, which sags and traps brush marks.
- Maintain a wet edge by working in sections and blending before the paint sets.
- Follow the panel order: recesses first, then horizontal rails, then vertical stiles, so brush strokes follow the door’s natural lines.
- A foam or microfiber roller on flat areas lays paint down with far fewer streaks than a brush alone.
- Resist touching or recoating too soon; rushing the dry time is the fastest way to ruin an otherwise great job.
How Long Until the Door Is Fully Cured?
There is a difference between dry to the touch and fully cured. Acrylic latex is typically dry to the touch within an hour or two and ready to recoat in several hours, but it can take 2 to 4 weeks to fully harden. During that curing window, close the door gently, avoid slamming it, and keep heavy contact off the painted face. If you notice the door sticking to the weatherstripping, rub a little talcum powder or a silicone strip on the stop to prevent the fresh paint from bonding to it.
Common Mistakes to Avoid
The biggest errors are skipping the cleaning step, ignoring rust, loading the brush with too much paint, and painting in poor weather. Each leads to peeling, drips, or a finish that fails early. Take your time on prep, since it accounts for most of the final quality, and the painting itself goes quickly. Done patiently, a freshly painted metal front door transforms your curb appeal in a single weekend and protects the door from the elements for years to come. D and G Flooring always recommends checking the forecast first so you get a full dry window.