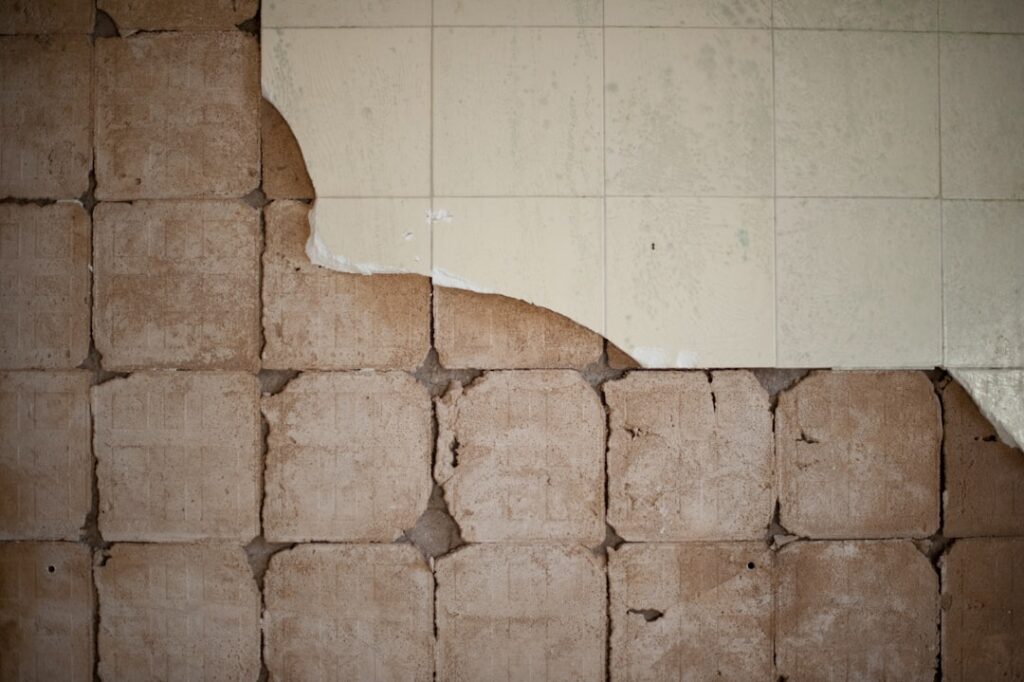
Whether you are salvaging vintage tiles to reuse or scraping a subfloor clean for a fresh install, knowing how to remove mortar from tile is what separates a smooth reinstall from a lumpy, failed one. Dried thinset and mortar cure to near-concrete hardness, and any ridge left behind telegraphs through the new tile, throwing off your level and cracking grout lines within months. The good news is that with the right approach, most mortar comes off cleanly. This guide walks through the methods that actually work, from gentle soaking to power grinding.
Part of our Tile & Grout guide — explore the full guide →
Understand What You Are Dealing With
Mortar comes in a few forms, and each behaves differently. Modern thinset is a cement-based adhesive mixed with polymers, which makes it tough but slightly more brittle than old-school mud beds. Mastic, an organic glue used on some wall tile, softens with heat and moisture. Traditional thick mortar beds, common in homes built before 1970, are pure sand and portland cement and are the hardest to remove. Before you start, tap a hidden spot to gauge how brittle the bond is. Cement-based mortar chips off in flakes, while mastic peels in rubbery sheets.
Method 1: Soak and Scrape for Reusable Tiles
If your goal is to save the tiles, patience wins over force. Submerge loose tiles in a bucket of warm water for 30 minutes to an hour. The water penetrates the thinset and weakens its grip on the tile face. Once soaked, lay a tile flat and work a stiff putty knife or a 2-inch margin trowel under the mortar edge at a low angle. Most of it will pop off in chunks. For stubborn spots, a grout saw or an old chisel tapped lightly with a rubber mallet finishes the job.
Work over a padded surface so you do not crack the tile you are trying to save. Take your time. Rushing this step is how homeowners turn a box of salvageable antique tiles into a pile of shards. Expect to spend two to three minutes per tile.
Method 2: Chisel and Hammer for the Subfloor
When you are clearing mortar off a concrete or backer-board subfloor and do not care about saving anything, a masonry chisel and a 2 to 3 pound hand sledge do the trick on small areas. Hold the chisel at a shallow 20 to 30 degree angle and drive it under the mortar ridges, shearing them off flush. Keep the blade moving; digging straight down gouges the substrate. For anything larger than a small bathroom, switch to a powered SDS rotary hammer with a wide scraper bit, which does the same work at ten times the speed.
On a wood subfloor, ease way back on the force. Plywood flexes and splinters, so a stiff floor scraper or an oscillating multi-tool with a carbide blade is safer than a heavy chisel. The goal is a flat surface, not a perfectly bare one; a thin, smooth skim of old thinset is fine to tile over as long as it is sound and level.
Method 3: Acid Wash for Thin Mortar Haze
Sometimes the problem is not chunks but a stubborn cement haze or thin film bonded to the tile face. This is where a mild acid earns its keep. A diluted muriatic acid solution, mixed one part acid to ten parts water, dissolves cement residue. Always add acid to water, never the reverse, and work in a ventilated space wearing acid-resistant gloves and goggles.
- Wet the tile with plain water first so the acid does not soak in too deep.
- Brush on the diluted solution and let it fizz for two to three minutes.
- Scrub with a nylon brush as the mortar softens.
- Rinse thoroughly with clean water to neutralize, then rinse again.
Never use acid on marble, limestone, or other natural stone. It etches the surface permanently. For those, a specialty stone-safe cement remover is the only sound choice. Sulfamic acid, sold as a milder alternative, is gentler on grout and safer to handle for most homeowners.
Method 4: Angle Grinder for Heavy Buildup
For thick, tenacious mortar on a concrete slab, an angle grinder fitted with a diamond cup wheel grinds ridges flat fast. This is aggressive, dusty work, so hook the grinder to a shop vac with a dust shroud and wear a P100 respirator. Keep the wheel moving in overlapping passes and check your level often; it is easy to grind a low spot into the slab. Grinding is overkill for reusable tiles but unbeatable for prepping a slab for large-format tile that demands a dead-flat base.
Pro Tips to Save Time and Tiles
A few habits make the whole job cleaner. Score deep grout lines with a grout saw before you start prying, so tiles release individually instead of taking their neighbors with them. Keep a spray bottle of water handy to mist the work and keep silica dust down. Sort salvaged tiles as you clean them, stacking the fully cleaned ones separately so you can track how many usable pieces you actually have.
Temperature helps too. Mastic and organic adhesives soften noticeably when warmed, so a heat gun on a low setting or even a hair dryer can make wall-tile mortar peel far more easily. Do not overheat glazed tile, though, as thermal shock can crack it.
When to Just Replace the Substrate
Occasionally the smartest move is not to remove mortar at all. If the underlying backer board is crumbling, water-damaged, or the mortar is fused so hard that removal risks destroying the subfloor, cut out that section and install fresh cement board. New backer board is inexpensive at around $12 to $15 a sheet, and starting with a clean, flat surface almost always produces a better tile job than fighting decades-old mortar.
Final Word
Learning how to remove mortar from tile is really about matching the method to your goal. Soak and gently scrape when you want to reuse tiles, chisel or power-scrape to clear a subfloor, acid-wash to lift a thin haze, and grind only when buildup is heavy and the substrate is concrete. Protect yourself with gloves, goggles, and a respirator throughout, and remember that a flat, sound surface matters more than a spotless one. Keep a spray bottle and a straightedge within reach, work in small sections so you can gauge your progress, and never rush the soaking step when you are trying to save vintage tiles, because patience is what keeps them intact. Take your time on salvage work, stay aggressive only where the substrate is concrete, and check the surface with a straightedge before you spread new thinset. Get the base right and your new tile will lie flat and last for decades.
Prefer to explore on your own?
See how new flooring looks in your actual room in seconds — free, no signup.
Try the free Floor Studio →