
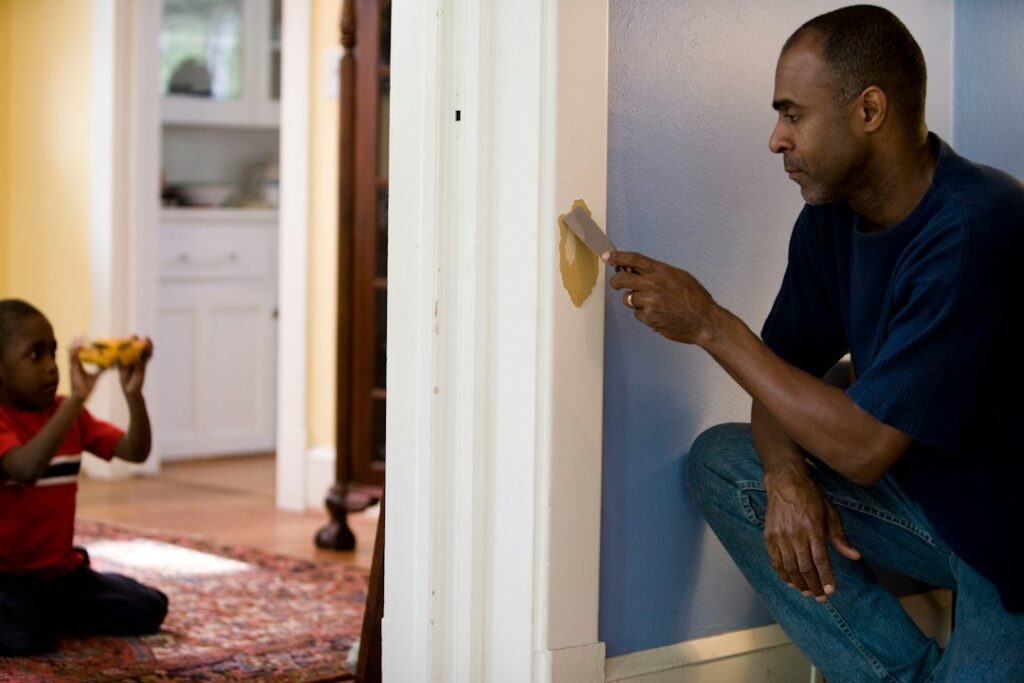
Most people who set out to replace window trim end up spending more time patching the wall than installing the new casing. The culprit is almost always the removal: a pry bar levered straight against drywall or plaster crushes the surface, pulls paper, and leaves a ragged edge that the new trim will not quite cover.
Part of our Windows & Doors guide — explore the full guide →
The fix is simple. Score every paint and caulk line first, pry against a protective block instead of the wall, and pull nails through the back of the trim rather than hammering them out the face. Do that, and the old casing, stool, and apron come off cleanly, leaving a flat surface ready for new trim. Then you check the jamb and framing for rot, cut tight miters, nail into the jamb and framing, and finish with caulk and paint.
- How to Replace Window Trim: Understand the Parts
- Lead Paint and Safety Precautions
- Tools and Materials
- Step 1: Remove the Old Trim Without Wall Damage
- Step 2: Inspect for Rot and Air Leaks
- Step 3: Install the New Stool and Apron
- Step 4: Cut and Install the New Casing
- Step 5: Fill, Caulk, and Paint
- Replacing Exterior Window Trim
- Troubleshooting Window Trim Problems
- Typical Costs
- When to Call a Carpenter or Contractor
- Frequently Asked Questions
This guide covers interior window trim from removal through final caulk, plus notes on swapping exterior trim, costs, troubleshooting, and when to bring in a carpenter.
How to Replace Window Trim: Understand the Parts
Knowing what each piece does helps you remove them in the right order and order the correct materials.
- Casing: The flat or molded boards that frame the top and sides of the window, covering the gap between the window jamb and the wall.
- Stool: The horizontal shelf at the bottom, often called the interior sill. It is notched to fit around the jambs and extends past the casing on each side.
- Apron: The board below the stool that covers the gap underneath and supports the stool visually.
- Jamb and jamb extensions: The inside frame of the window. On thicker walls, extensions are added so the jamb sits flush with the drywall.
- Reveal: The small setback, usually 3/16 to 1/4 inch, where the casing sits back from the inside edge of the jamb. A consistent reveal makes trim look crisp.
Some windows use “picture frame” trim, with mitered casing on all four sides and no stool. Others use the traditional stool-and-apron setup. Decide which style you want before you buy materials.
Lead Paint and Safety Precautions
If your home was built before 1978, the existing window trim may be coated in lead-based paint. Windows are one of the most common lead hazards in older homes because friction from opening and closing grinds the paint into dust.
- Test before you pry, scrape, or sand. Use an EPA-recognized lead test kit or have a certified inspector test the paint.
- If lead is present, lay 6-mil plastic on the floor, mist surfaces with water to keep dust down, avoid power sanding and heat guns, and clean with a HEPA vacuum and wet wipes.
- Bag old trim in heavy plastic and follow local disposal rules.
- Hiring a contractor for this work on pre-1978 homes? Ask for an EPA Lead-Safe Certified firm.
- In homes with plaster or textured walls from before the 1980s, joint compound and texture may contain asbestos. Avoid breaking or sanding the wall surface until it has been tested.
- Wear safety glasses, gloves, and hearing protection when using a miter saw and nailer.
Tools and Materials
- Utility knife with fresh blades
- Stiff putty knife (2 to 3 inches) and a thin flat pry bar
- Scrap wood block or a wide drywall knife to protect the wall
- Nippers or end-cutting pliers for pulling nails
- Miter saw (a hand miter box works for small jobs)
- Coping saw or jigsaw for notching the stool
- Brad or finish nailer with 1-1/4 and 2-inch nails, or a hammer and nail set
- Combination square, tape measure, pencil, and a level
- Wood glue for miters
- New casing, stool, and apron stock (primed finger-joint pine, poplar, MDF, or PVC)
- Paintable acrylic latex caulk, wood filler, sandpaper (120 and 180 grit), primer, and paint
- Low-expansion window and door foam for gaps around the window frame
Step 1: Remove the Old Trim Without Wall Damage
- Score every seam. Run a sharp utility knife along the joint where the casing meets the wall and where it meets the jamb. Cut through paint and caulk completely. This one step prevents most torn drywall paper.
- Start at the corner of a casing leg. Tap a stiff putty knife into the seam between casing and wall. Wiggle it along the joint to open a small gap.
- Protect the wall. Slide a scrap block or wide drywall knife behind the pry bar so the bar bears on the block, not the drywall.
- Pry gradually. Work up and down the casing, lifting a little at each nail location. Pull evenly so the board does not split. Remove the head casing, then side casings.
- Remove the apron, then the stool. The apron often is nailed up into the stool as well as into the wall. Pry it downward and outward. The stool may be nailed down into the framing and screwed or nailed at the jamb; work it loose gently, especially if the window sash sits on it.
- Pull nails through the back. Clamp nippers onto nails left in the old trim and roll them out the back side. For nails left in the wall or jamb, pull them with nippers or cut them flush with an oscillating tool.
Step 2: Inspect for Rot and Air Leaks
With the trim off, you can see the rough opening gap and the bottom of the jamb, which are the places water damage hides.
- Probe the jamb, sill, and exposed framing with an awl. Wood that is soft, dark, or crumbly is rotted.
- Small areas of surface rot can be dug out, treated with a wood hardener, and filled with two-part epoxy wood filler.
- If the window sill or rough framing is soft over a wide area, or if the header or studs show damage, stop and call a carpenter or contractor. Framing around a window carries loads, and structural repair is not a trim job.
- Look for staining that suggests water entry from outside. Fix exterior flashing or caulking before closing up the interior.
- Fill the gap between the window frame and the rough opening with low-expansion foam. Standard expanding foam can bow jambs and bind the sash.
Step 3: Install the New Stool and Apron
- Measure the stool length. Stools typically extend 3/4 to 1 inch past the outside edge of the casing on each side. Add the casing width twice plus the window width plus your overhang.
- Mark the horns. Hold the stool against the wall and jambs, then mark where it must be notched to fit around the jambs and meet the window sash.
- Cut the notches with a jigsaw or coping saw. Test-fit and trim until the stool sits flat against the sash with a small gap for sash movement.
- Nail the stool down into the framing with 2-inch finish nails and, if possible, into the jamb.
- Cut and install the apron. Its length usually matches the outside edges of the casing above. Nail it through the wall into framing and up into the stool.
Step 4: Cut and Install the New Casing
- Mark the reveal. Set a combination square to 3/16 or 1/4 inch and mark the reveal on each jamb corner so every piece sits back the same amount.
- Cut the head casing. Measure between the reveal marks at the top corners, then cut 45-degree miters on each end so the short point matches that measurement.
- Tack the head casing. Align the inside edge with the reveal lines and tack with a couple of 1-1/4-inch nails into the jamb. Leave the outer edge loose for now.
- Cut the side legs. Miter one end to 45 degrees, hold it in place, and mark the bottom where it meets the stool. Cut square at that mark.
- Test the miters. Dry-fit the legs to the head. If a joint gaps at the outside, the wall is probably proud; if it gaps inside, the jamb is proud. Plane or shim as needed, or shave the miter slightly on the saw.
- Glue and nail. Apply wood glue to the miters. Nail the inside edge of each piece into the jamb with 1-1/4-inch nails and the outside edge into the framing with 2-inch nails, every 12 to 16 inches. Pin across each miter with a brad from the top edge to lock it.
Step 5: Fill, Caulk, and Paint
- Set any proud nail heads and fill holes with wood filler. Sand smooth once dry.
- Run a thin bead of paintable caulk along the wall-to-casing seam and the casing-to-jamb reveal. Smooth it with a damp finger or caulk tool.
- Prime any bare wood or cut ends, then apply two coats of semi-gloss or satin trim paint.
Replacing Exterior Window Trim
Exterior trim follows the same principles, with more focus on water. Remove old boards carefully so you do not tear house wrap or damage flashing. Replace rotted pieces with PVC trim or primed, rot-resistant wood, and back-prime wood on all faces. Install a drip cap above the head trim, tuck it under the house wrap or siding, and caulk vertical joints while leaving the bottom edges open to drain. If the siding must come off to reach the trim, or if the sheathing behind it is soft, a siding contractor is often the better choice.
Troubleshooting Window Trim Problems
The miters keep opening
Seasonal wood movement opens poorly glued miters. Always glue miters and pin them across the joint. Primed MDF or PVC moves less than solid wood.
The casing will not sit flat
The drywall is proud of the jamb, which is common near corners where joint compound builds up. Shave the high spot with a utility knife or rasp, or add a thin jamb extension so the surfaces align.
Drywall tore during removal
Seal torn paper with a coat of shellac-based primer or a skim of setting compound before painting. Most small tears are hidden by the new casing if it is the same width or wider.
Typical Costs
- Primed finger-joint pine or MDF casing: generally a few dollars per linear foot; a standard window uses about 14 to 18 feet.
- Solid hardwood or PVC trim: commonly two to four times as much as primed pine.
- DIY materials per window (trim, stool, caulk, filler, paint): roughly $40 to $120.
- Professional trim replacement: often $150 to $400 per window, more if rot repair, lead-safe practices, or custom profiles are involved.
When to Call a Carpenter or Contractor
- You find rot in the rough framing, window header, or wall studs.
- Lead paint testing is positive and you prefer not to handle lead-safe removal yourself.
- The window is out of square, bowed, or binding, which may mean the frame or rough opening needs attention.
- You are matching historic profiles that must be custom milled.
- Exterior trim involves siding removal, flashing repair, or work above the first floor.
Frequently Asked Questions
Can I replace window trim without removing the window?
Yes. Interior casing, stool, and apron are separate from the window unit and can be removed and replaced without touching the window itself.
How long does it take to replace window trim on one window?
For a DIYer, plan on two to four hours per window for removal and installation, plus time for caulk and paint to dry. Experienced carpenters work faster once set up.
What is the best material for new window trim?
Primed finger-joint pine and MDF are affordable and paint well indoors. PVC trim resists moisture and is a good choice for bathrooms and exterior work. Hardwood is best when you plan a stained finish.
Do I need to remove the old caulk before installing new trim?
Scrape off any caulk left on the wall or jamb so the new casing sits flat. Leftover beads create gaps that are harder to caulk neatly.
How do I avoid damaging plaster walls when removing trim?
Score the paint line deeply, pry against a wide block rather than the plaster, and work slowly. Plaster keys can break if you pry too hard in one spot, so move the bar along the board frequently.


