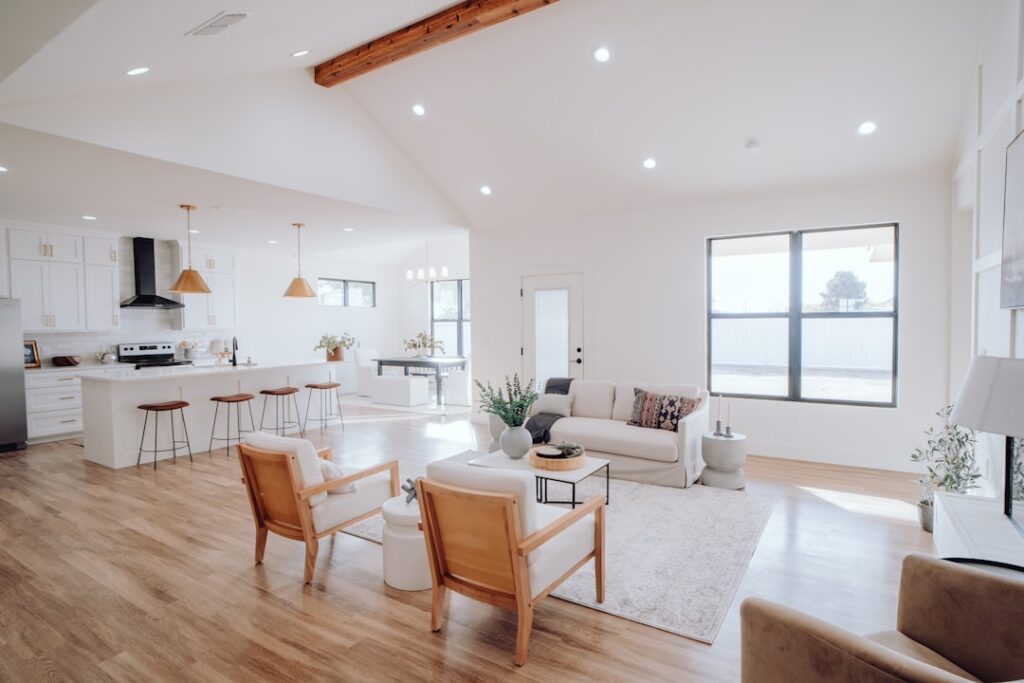
Nothing announces an amateur install louder than planks that taper from 5 inches wide on one end of the room to 2 inches on the other. Walls are almost never as straight or as parallel as they look, and starting flooring against a crooked wall locks every subsequent row into the same defect. Learning how to square a room for flooring before the first plank goes down is the single most important step an installer takes, and it only takes about 20 minutes when you do it right.
Why Squaring Matters
Most residential walls drift by 1/2 inch to 1 1/4 inches over 12 feet. That sounds minor until you multiply it across a 30-foot run. A floor that starts true to one wall will hit the opposite wall at a slight angle, and the last row will need a tapered rip cut. Worse, if the deviation is large enough, end joints in adjacent rows can become visibly skewed instead of running parallel.
Squaring eliminates the wall as a reference. Instead of trusting drywall and framing, you establish a perfectly perpendicular working line based on the longest sight line in the room. Every plank registers to that line.
What You Need Before Starting
Gather your tools first so you are not chasing them mid-layout:
- 25-foot tape measure with a stiff blade that holds a long extension
- Chalk line with blue or red chalk (avoid permanent colors on light subfloors)
- 4-foot framing square or a quality speed square
- Pencil and Sharpie for marks on subfloor
- Laser line optional but extremely helpful for rooms over 200 sq ft
Clear the entire room down to subfloor before you start. Layout marks need to be visible from every corner.
The 3-4-5 Method Explained
The Pythagorean trick that framers have used for centuries is the fastest way to establish a true right angle without specialty tools. The rule: any triangle with sides of 3 feet, 4 feet, and 5 feet contains exactly one 90-degree corner where the 3 and 4 meet.
For more accuracy on bigger rooms, scale it up. Use 6-8-10, 9-12-15, or 12-16-20. The longer the legs, the smaller the angular error in your final layout. On a 25-foot room, a 12-16-20 setup is the right call.
Step-by-Step Squaring Process
Work through these steps in order:
- Pick your starting wall. Choose the longest, straightest wall in the room. Eyeball it down its length to spot bows or kinks
- Measure off the wall. From the starting wall, measure out the width of one plank plus a 3/8-inch expansion gap. Make this mark at both ends of the wall
- Snap your first chalk line. Connect the two marks with a chalk line and snap it. This is your starting reference line, parallel to the wall
- Establish the perpendicular. At one end of your chalk line, measure out 4 feet (or 12 feet for larger rooms) and mark the spot. From the same starting point on the wall, measure 3 feet (or 9) along the wall and mark
- Confirm with the hypotenuse. The diagonal between your two marks should measure exactly 5 feet (or 15). If it does not, adjust the 4-foot mark until the diagonal hits exactly 5 feet
- Snap the perpendicular line. Extend the now-confirmed perpendicular across the room with a long chalk line
You now have two reference lines at a true 90-degree angle. Every plank lines up against these lines, not the walls.
Handling Out-of-Square Rooms
Sometimes the room itself is so far out of square that splitting the difference becomes necessary. Measure all four walls and diagonals. If diagonals are within 1/2 inch of each other, treat the room as square. If they are off by more than 1/2 inch, average the discrepancy.
To average, center your chalk line in the room, then check the distance from the chalk line to each parallel wall at both ends. The closer the two distances are to each other, the less obvious the taper will be at the end of the install. Sometimes you need to bias the layout to hide the taper behind furniture or in a closet rather than under a window where it will be obvious.
Special Cases for Different Flooring Types
The squaring principle applies universally, but starting positions differ:
- Click-lock LVP and laminate — start your first row along the chalk line, tongue facing the wall, leaving a 3/8-inch expansion gap
- Engineered hardwood (nail-down) — same chalk line approach, but use a manual or pneumatic flooring nailer for rows 4 and beyond
- Tile — find the center of the room and snap two perpendicular lines through it; tile out from center to control symmetry at all four walls
- Carpet — squaring is less critical because pile hides minor drift, but tack strips still need to be set parallel to a true reference line
Common Mistakes to Avoid
Three errors show up on every botched installation. First, using a baseboard or door frame as a reference. These are rarely square to anything. Second, skipping the diagonal check. The 3-4-5 measurement is what proves the angle is true, and many installers eyeball it instead of verifying. Third, snapping chalk lines too close to the wall. Give yourself at least one full plank width plus the expansion gap so you can dry-lay the first row before committing.
Pro Tips That Save Time
Dry-lay an entire first row before driving a single nail or clicking the first joint. This catches issues with end-cuts, transitions, and door jambs before the floor is locked in. Use a self-leveling laser when working on rooms over 300 square feet because chalk lines fade and smudge as the day goes on.
Always measure the room twice before snapping. Subfloor obstructions like a heat register cover or floor outlet can throw off your tape if you do not account for them in advance.
Once you understand how to square a room for flooring, every install you do gets faster, cleaner, and more professional looking. Spend the 20 minutes upfront and the entire job goes smoother.
Prefer to explore on your own?
See how new flooring looks in your actual room in seconds — free, no signup.
Try the free Floor Studio →