Most homeowners assume swapping out a dishwasher requires a licensed plumber, a licensed electrician, and a full afternoon of headaches. The truth lies in the middle. Is it hard to install a dishwasher? For a like-for-like swap with existing connections, the job takes 2 to 3 hours and costs under $40 in parts. New installations with no prior hookups are a different beast entirely. This guide walks through what the work actually involves so you can decide whether to grab your tools or hire a pro for the $185 to $250 labor fee.
What Skills the Job Actually Requires
You are not rebuilding an engine. You are connecting three things: a water supply line, a drain hose, and a 120-volt electrical circuit. If you can tighten a compression fitting with two wrenches, route a hose through a base cabinet, and tell the difference between hot and neutral wires, you have the skill set. Most installations fail not from complexity but from sloppy leveling or overtightened supply lines that crack brass elbows.
Plan on renting or borrowing an installation kit if you do not own one. Everbilt and Fluidmaster both sell $18 to $24 kits at The Home Depot that include a braided stainless supply line, 90-degree elbow fitting, and Teflon tape. Add a $12 air gap if your local code requires one (California, Minnesota, and Washington still enforce it in most jurisdictions).
The Three Connections You Need to Make
Water Supply Line
Modern dishwashers use a 3/8-inch compression inlet on the valve but connect to a 1/2-inch hot water supply stub under the sink. A dedicated 1/2″ supply line with a braided stainless jacket is the industry standard for good reason. It resists kinking behind cramped cabinets and handles the 80-psi pressure spikes common in municipal water. Hand-tighten the fittings, then give them a quarter-turn with a wrench. Any more and you risk cracking the brass.
Drain Hose
Route the drain hose through the base cabinet and create a high loop that reaches within 1 inch of the underside of the countertop. This loop prevents dirty sink water from siphoning back into your dishwasher. Attach the hose to a garbage disposal drain inlet (knock out the plug first with a hammer and screwdriver) or to a dedicated branch on the sink tailpiece.
Electrical Connection
Dishwashers draw 10 to 15 amps and run on a dedicated 120-volt circuit. Cut power at the breaker before touching anything. The wiring goes to a small junction box at the front base of the unit: black to black, white to white, bare ground to the green screw. A Romex connector secures the cable where it enters the box. If your old unit was hardwired and you prefer a plug-in cord, Frigidaire and Whirlpool both sell $15 power cord kits.
Tools You Already Probably Own
- Adjustable wrench and channel-lock pliers
- Phillips and flathead screwdrivers
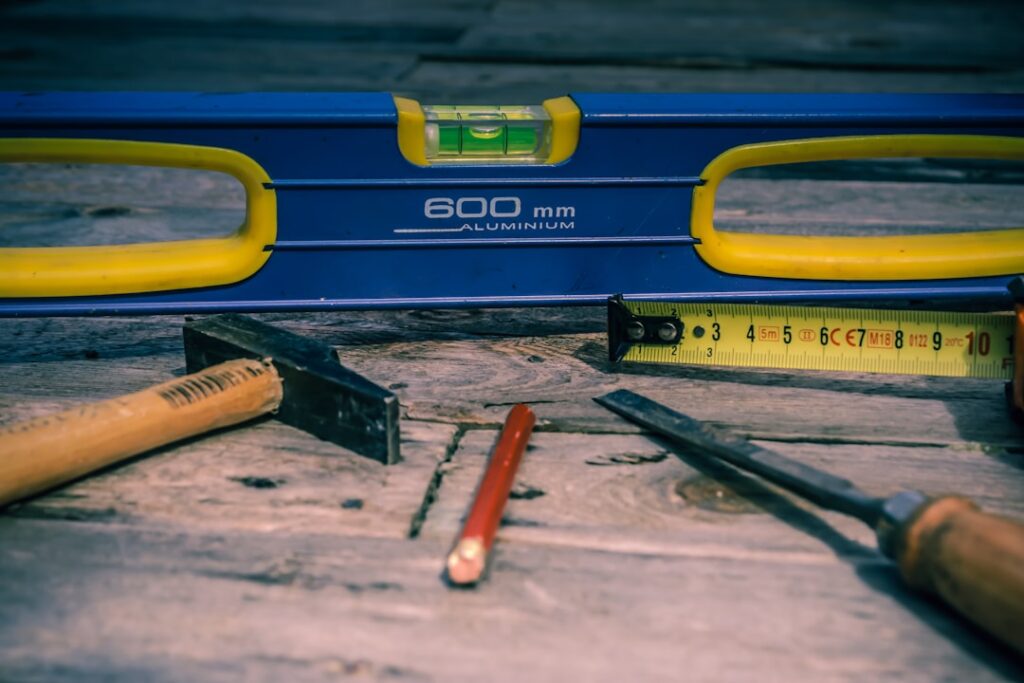
- 4-foot level (a 2-foot will work but is less accurate)
- Voltage tester or multimeter
- Utility knife and flashlight
- Towels for the inevitable water drip
A nut driver set speeds up the mounting bracket work considerably. If you are installing on a hardwood floor and worry about scratches, slide a piece of cardboard or a moving disc under the feet before pulling the unit out.
Step-by-Step Walkthrough
- Turn off the circuit breaker and the hot water shut-off valve under the sink
- Place towels, then disconnect the supply line, drain hose, and electrical at the old unit
- Remove the mounting screws at the top front corners and slide the old dishwasher out
- Attach the new 90-degree elbow fitting and supply line to the new unit before sliding it in (access is terrible once it is under the counter)
- Route the drain hose and supply line through the cabinet hole, push the unit halfway in
- Level the unit front to back and side to side by adjusting the threaded feet
- Secure the mounting brackets to the underside of the counter (use the side brackets if you have a stone countertop)
- Make electrical connections in the junction box
- Connect the drain hose with a high loop and secure with a hose clamp
- Turn on water, check for leaks, restore power, and run a test cycle on the shortest setting
When to Call a Pro Instead
Skip the DIY route if your kitchen has no existing dishwasher connections. Running a new 1/2-inch PEX water line, cutting into a drain stack, and pulling a dedicated 20-amp circuit through finished walls is a full-day job that usually requires a permit. Expect $400 to $900 for the rough-in work plus $150 to $250 for the installation itself.
Also call a licensed installer if your countertop is granite or quartz. The mounting brackets need to attach to the side cabinets, not the underside of the stone, and the clearance tolerances are unforgiving. A scratched dishwasher is cheap. A cracked $3,800 slab is not.
Common Mistakes That Cause Leaks
Forgetting the high loop on the drain hose causes dirty water backup into the dishwasher tub. Overtightening the brass compression fitting at the inlet valve cracks the elbow and produces a slow drip you will not notice for three days. Skipping the anti-tip bracket on freestanding installations is a code violation in most states.
Run the first cycle with an empty tub and the cabinet doors open. Check every fitting with a dry paper towel after 10 minutes. A leak the size of a dime on a paper towel is the difference between a $0 fix today and $4,000 in subfloor damage next year.
The Bottom Line
Replacing an existing dishwasher is a reasonable Saturday morning project for anyone comfortable with basic plumbing and electrical work. A brand-new installation with no existing hookups is not. Factor in the $40 in parts versus the $200-plus in labor, and the DIY route pays for itself if you value your time at under $75 an hour. Either way, the job is more tedious than technical.