If you have shopped for tile at a home center or tile store, you have almost certainly walked past Keracolor grout — Mapei’s popular line of cement grouts sold in dozens of colors. It is one of the most widely available and reliable cement grouts for DIYers and pros alike, and it comes in two main formulas that trip people up if they grab the wrong one. Understanding the difference between Keracolor S and Keracolor U, how to mix it, and when to reach for epoxy instead will save you a cracked, crumbling grout line and a lot of frustration. Here is the field-tested rundown.
What Keracolor Grout Is
Keracolor is a line of polymer-modified cement grouts made by Mapei, a major flooring and tile products manufacturer. It is designed for both floor and wall tile, comes in a wide palette of coordinated colors, and is engineered to resist shrinking, cracking, and efflorescence better than basic unmodified grouts. It is a cement-based grout, which means it is affordable and easy to work with, but it is porous and needs sealing.
You will find it stocked at Home Depot, Lowe’s, Floor & Decor, and tile specialty stores, which is a big part of its appeal — color-matched caulk and grout are easy to source in the same brand.
Keracolor S vs Keracolor U
This is the choice that matters most, and it comes down to grout joint width. Get it wrong and your grout will crack or be impossible to work into the joints.
- Keracolor S (Sanded): for grout joints from 1/8 inch up to 1/2 inch. The sand adds bulk and strength for wider joints and floors.
- Keracolor U (Unsanded/Universal): for narrow joints from 1/16 inch up to 1/8 inch, and safe on scratch-prone surfaces like polished marble, glass, and metal tile.
The rule: wide joints and floors get sanded (S); tight joints and delicate tile faces get unsanded (U). Using sanded grout in a hairline joint is nearly impossible to pack in, while unsanded grout in a wide joint will shrink and crack because it lacks the aggregate to hold volume.
Color Selection
Keracolor offers a broad color range from bright white to charcoal and warm earth tones, and Mapei coordinates the colors across its grout, caulk, and sealer lines. That coordination is genuinely useful: you can match the silicone caulk in your shower corners to the grout on the walls.
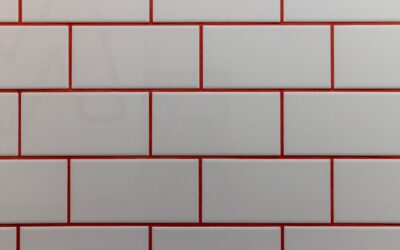
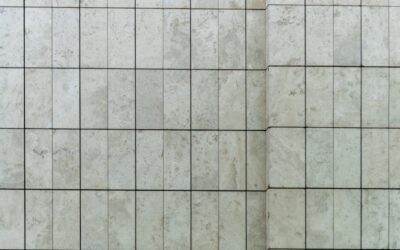
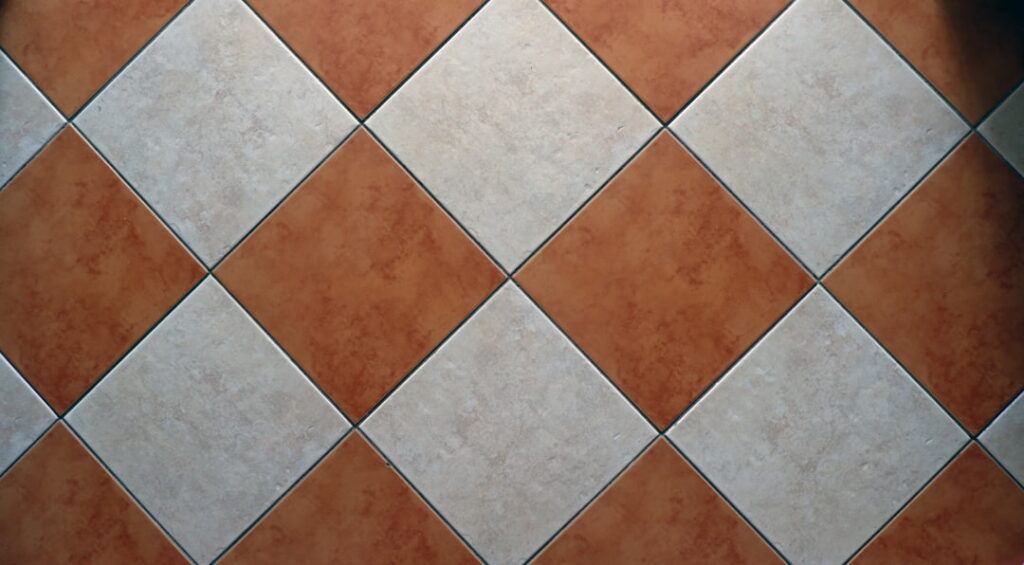
Grout color changes a tiled surface dramatically. Matching grout to tile makes the field read seamless; contrasting grout emphasizes every tile and the pattern. For floors and high-traffic areas, choose a mid-tone or darker grout — bright white grout on a floor shows dirt within weeks and is a lifelong cleaning battle.
Coverage and How Much to Buy
Coverage depends on tile size, joint width, and joint depth. As a rough guide, a standard 25-pound bag of sanded Keracolor covers a lot of area with small joints but far less with wide joints or large, deep-set tile. Mapei prints a coverage chart on the bag keyed to your tile size and joint width — use it rather than guessing.
Always buy a little extra and from the same lot number. Cement grout color can vary slightly between batches, and finishing a job with a second lot risks a visible color shift across the floor.
Mixing It Correctly
Cement grout is forgiving only if you mix it right. Follow these steps:
- Add the powder to clean, cool water in the ratio printed on the bag — not the other way around.
- Mix with a margin trowel or a low-speed drill paddle to a smooth, peanut-butter consistency with no dry lumps.
- Let it slake (rest) for the time on the bag, usually 5 to 10 minutes, so the polymers fully activate.
- Remix briefly, then use it within its working time.
The two most common mistakes are adding too much water, which weakens the grout and washes out color, and skipping the slake period. Consistent water measurement across batches also keeps the color uniform.
Applying Keracolor Grout
Once your thinset has cured a full 24 hours, work the grout in with a rubber float held at a 45-degree angle, packing it fully into the joints and pressing from multiple directions. Let it firm up for the time on the bag, then wipe diagonally with a damp, well-wrung sponge, rinsing often. Diagonal wiping avoids dragging grout back out of the joints.
A haze will form as it dries — buff it off with a dry microfiber cloth once the grout has set. Do not flood the joints with water while cleaning, as excess water pulls color out and weakens the surface.
Sealing Is Not Optional
Because Keracolor grout is cement-based, it is porous and will absorb water, grease, and stains if left unsealed. After the grout has fully cured — usually 48 to 72 hours — apply a quality penetrating grout sealer, and reapply annually in wet areas and high-traffic floors. In showers and around sinks, sealing is what keeps the grout from turning gray and harboring mildew. Skipping this step is the single biggest reason cement grout looks dingy within a year.
When to Choose Epoxy Instead
Keracolor is excellent for most residential jobs, but it is not the right pick everywhere. For a heavily used shower, a kitchen backsplash behind a cooktop, or any surface exposed to constant moisture and staining, an epoxy grout is worth the extra cost and harder application because it is nonporous, stain-proof, and never needs sealing. For most floors, walls, and general tile work, though, a polymer-modified cement grout like Keracolor offers the best balance of price, workability, and durability.
Curing and First-Use Timeline
Cement grout looks finished long before it actually is, and rushing the cure is a common mistake. After you wipe the haze, the grout is only surface-dry. Full cure takes time as the moisture leaves the joints and the polymers finish setting. Wait at least 48 to 72 hours before sealing, and keep the area dry during that window — do not shower over fresh grout or mop a new floor.
Temperature and humidity affect the timeline. In a cold garage or a damp basement, cure times stretch out; in a warm, dry room they shorten. If the grout stays cool and wet, it can cloud or weaken, so keep the space ventilated and above roughly 50°F while it cures. Only once it is fully cured and the surface reads a consistent, even color should you apply sealer.
Fixing Common Keracolor Problems
A few issues come up repeatedly with cement grout, and most trace back to water. Blotchy or uneven color usually means the water ratio varied between batches or the joints were over-wiped with a soaking sponge — mix consistently and wring the sponge nearly dry. A white, powdery film that returns after cleaning is efflorescence, mineral salts pushed to the surface by excess moisture, common where too much water was used in the mix. Hairline cracking in the joints often means the wrong formula for the joint width, movement in the substrate, or grout that was over-watered. Getting the mix, the joint match, and the wiping right up front prevents nearly all of these.
Bottom Line
Keracolor is a dependable, widely available cement grout that handles the vast majority of home tile projects well. Match the formula to your joint width — sanded (S) for wide joints and floors, unsanded (U) for tight joints and delicate tile — mix it precisely, apply it at a 45-degree angle, and always seal it once cured. Reserve epoxy grout for the wettest, highest-abuse zones. Follow those rules and Keracolor will give you clean, durable, color-consistent grout lines that hold up for years.
Prefer to explore on your own?
See how new flooring looks in your actual room in seconds — free, no signup.
Try the free Floor Studio →