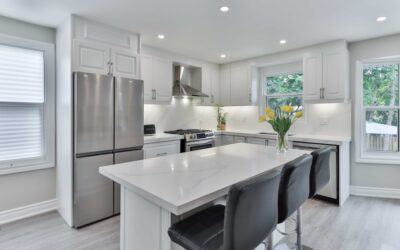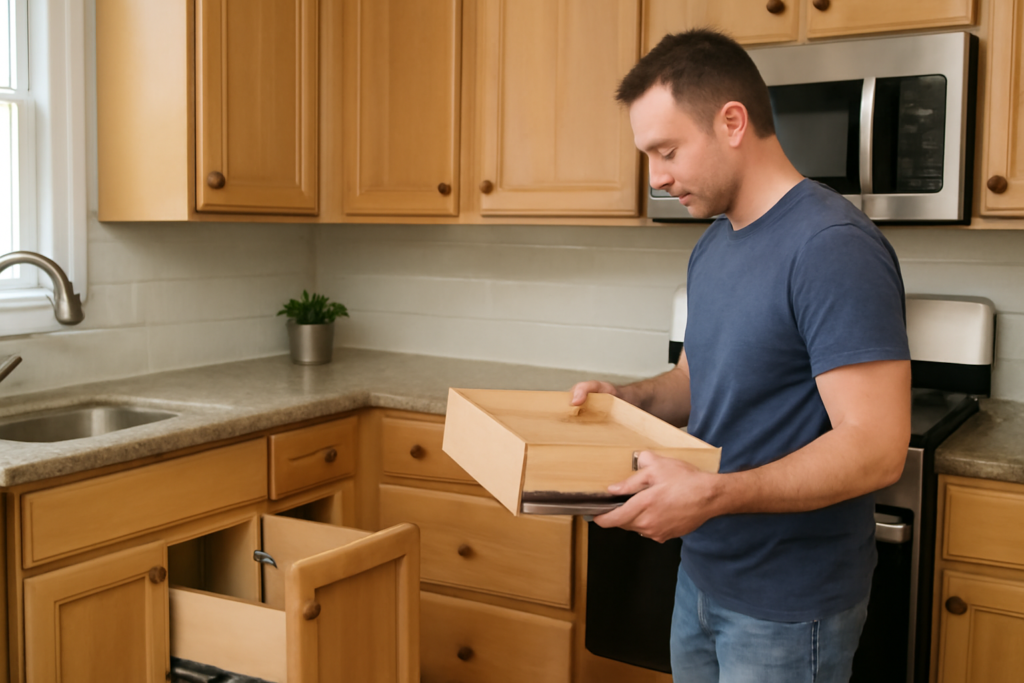
A blown-out drawer bottom or a face that no longer sits flush does not mean you need new cabinets. A kitchen cabinet drawer replacement costs a fraction of a full refacing job, and if you measure carefully you can have a new box gliding smoothly in an afternoon. I have swapped hundreds of these in kitchens where the boxes were fine but decades of overloaded silverware and slamming had wrecked the drawers themselves. The trick is not the building; it is getting the width, depth, and slide clearance exactly right so the new drawer drops into the existing opening.
Part of our Kitchen Remodeling guide — explore the full guide →
Whether you are rebuilding one failed drawer or replacing a whole bank of five, the process is the same. You measure the opening, decide whether to reuse the old face, pick a slide type, and build or order a box sized to leave the correct gap on each side. Get the clearance wrong by an eighth of an inch and the drawer either binds or rattles.
- Decide What You Are Actually Replacing
- Measure the Opening the Right Way
- Choose the Right Drawer Slide
- Build or Buy the New Drawer Box
- Install the Slides and Hang the Drawer
- Dial In the Reveal and Adjust the Front
- Matching the New Drawer to an Existing Bank
- Tools and Materials You Will Need
- What the Whole Job Costs
Decide What You Are Actually Replacing
Homeowners lump three different jobs under one phrase. Replacing just the drawer box means building or buying a new four-sided box with a bottom and reusing the original drawer front and slides. Replacing the front means swapping only the decorative face, usually because the finish is dated. Replacing the whole assembly means new box, new front, and new slides together.
Look at what failed. A cracked or bowed bottom panel, split corners, or a wobbly box calls for a new box. Peeling laminate or a color you hate on an otherwise solid drawer calls for a new front. If the drawer sags, tilts, or drags even when empty, the slides are worn and belong in the trash regardless of what else you do. Be honest here, because rebuilding a box and reinstalling forty-year-old epoxy slides just guarantees a repeat visit.
Measure the Opening the Right Way
Every accurate drawer starts with three numbers taken from the cabinet opening, not the old drawer. Measure the clear width between the cabinet sides, the depth from the face frame back to the rear rail or cabinet back, and the height of the opening. Write them down to the sixteenth of an inch.
The slides dictate how much you subtract from the width. Standard side-mount ball-bearing slides need exactly 1 inch of total clearance, half an inch per side, so a drawer box for a 15-inch opening is built 14 inches wide. Undermount slides typically want 5/16 inch of clearance per side and a box built 13/16 inch narrower than the opening, but confirm the exact figure in your specific slide’s spec sheet because brands vary. For depth, standard slide lengths jump in 3-inch increments: 12, 14, 16, 18, 20, 22, and 24 inches. Pick the longest slide that fits your cabinet depth with about an inch of clearance behind the fully closed box.
Choose the Right Drawer Slide
The slide is the single biggest factor in how the finished drawer feels. Three types cover almost every kitchen.
- Side-mount ball-bearing slides: The workhorse. They mount to the drawer sides and cabinet sides, carry 75 to 100 pounds, and come in full-extension versions that let the whole drawer clear the face. Easiest to install and forgiving of small measurement errors.
- Undermount slides: Hidden beneath the box for a clean look, with soft-close built in on better models. They demand precise box construction, a 1/2-inch drawer bottom set into a groove, and exact width, but they feel premium and hide the hardware.
- Center-mount slides: A single slide runs under the middle of the drawer. Common on older and lighter drawers, they carry less weight and allow side-to-side play. Fine for a small utensil drawer, weak for a heavy pots-and-pans drawer.
For a kitchen, I default to full-extension side-mount slides rated for 100 pounds unless the customer wants the concealed look of undermounts. A pair of quality side-mount slides runs $12 to $30; soft-close undermounts run $25 to $60 a pair.
Build or Buy the New Drawer Box
You have two paths. Order a custom box online to your exact dimensions in 1/2-inch Baltic birch plywood with dovetailed corners, which runs roughly $30 to $70 per drawer depending on size, or build your own. To build, cut two sides, a front, and a back from 1/2-inch plywood, join them with dado or rabbet joints, and set a 1/4-inch plywood bottom into a 1/4-inch groove routed 1/2 inch up from the bottom edge of every side. Standard finished box heights are 4, 6, 8, and 10 inches to match typical drawer fronts.
Glue and pin the corners, check the box for square by measuring both diagonals, and let it cure before you touch it. A box that is out of square by even 1/8 inch will fight the slides for its whole life. If you reuse the original front, that front hides the box entirely, so cosmetics on the box itself do not matter; strength and square do.
Install the Slides and Hang the Drawer
Work in a logical order and the install goes fast. Separate each slide into its cabinet member and drawer member. Mount the drawer member flush to the bottom edge of the box, screwing through the factory holes. Mount the cabinet member level and square inside the opening; a scrap spacer block cut to the exact height keeps both sides at the same elevation. Full-extension slides usually sit with their front edge set back 1/16 inch from the face frame so the drawer front clears.
Slide the box in until the ball bearings engage, then check the action. It should glide with one finger and close without dragging. If it binds, one side is too tight or the cabinet members are not parallel; loosen and shift rather than forcing it. Finish by attaching the drawer front from inside the box with two 1-inch screws through the box front, using cabinet-face shims or double-sided tape to hold the reveal even before you drive the screws home.
Dial In the Reveal and Adjust the Front
A drawer front that sits crooked ruins an otherwise perfect job. Aim for an even 1/8-inch gap around the front on inset drawers and a consistent overlay on face-frame cabinets. Attach the front loosely first with the screws snug but not tight, adjust it by hand until the reveals match the neighboring drawers, then tighten. Better slides have height and side adjustment cams that let you nudge the front up to 1/8 inch in each direction without moving the box.
If you replaced a bank of drawers, step back and sight down the whole column. All the fronts should share the same vertical gaps. Small consistent adjustments across the stack read as professional; one drawer off by a hair is the first thing the eye catches.
Matching the New Drawer to an Existing Bank
When you replace one drawer in a stack of matching drawers, consistency is everything. Pull one of the good original drawers and measure its exact box height, bottom thickness, and how the front overlaps or insets, then copy those figures on the replacement so the new drawer behaves like its neighbors. A common trap is building the new box a touch taller or shorter, which throws off the reveal above and below it and makes the repair obvious.
Note whether the originals ride side-mount or undermount slides, because you cannot mix the two in one opening; the clearance math is different. If the cabinet uses a face frame, measure the frame opening rather than assuming the new box matches the old, since old boxes sometimes were undersized from the factory. When you order or build, add the drawer front last and dry-fit it against the adjacent fronts before driving screws, so the finished stack reads as one clean column.
Tools and Materials You Will Need
Gathering everything before you start turns a frustrating afternoon into a smooth one. For a straightforward box-and-slide swap you want a drill-driver, a combination square, a tape measure, a level, and a pencil. If you are building the box, add a table saw or a circular saw with a straightedge, a router or dado blade for the bottom groove, wood glue, and 23-gauge pin nails or brads.
On the materials side, buy 1/2-inch Baltic birch or maple plywood for the sides, front, and back, a 1/4-inch plywood or hardboard bottom, a matched pair of slides rated for the load, and 1-inch cabinet screws for attaching the front. Keep a handful of shims and a roll of double-sided tape on hand to hold the front at the correct reveal while you fasten it. Buying a spare set of slides is cheap insurance, since a bent or mismatched slide is the fastest way to stall the job.
What the Whole Job Costs
A single do-it-yourself drawer replacement using a custom box and quality slides runs about $50 to $130 in materials. Building your own from a half sheet of plywood drops the box cost but adds a few hours. Hiring a cabinet shop or handyman to build and install a replacement drawer typically runs $150 to $350 per drawer depending on whether they reuse the front.
Across a full kitchen, replacing all the drawer boxes and slides while keeping the doors and frames often lands between $600 and $2,000, still a small number next to $8,000 to $25,000 for new cabinets. That is the whole appeal of a targeted kitchen cabinet drawer replacement: you fix the part that failed, keep the part that did not, and walk away with drawers that glide like the day the kitchen was new.