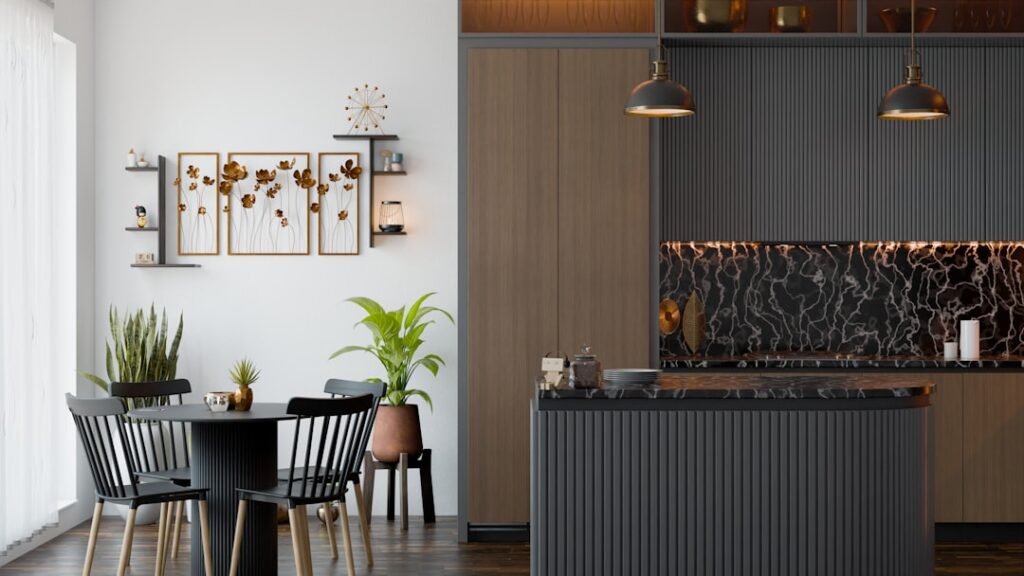
Most kitchens run short on two things at once: counter space and a place to stash the gear that clutters it. A kitchen island table with storage tackles both, giving you a work surface for prep, a spot to eat or gather, and cabinets, drawers, or open shelving underneath to swallow pots, small appliances, and pantry overflow. Unlike a built-in island, this piece is furniture you can position where you want and take with you when you move. Choosing the right one comes down to size, storage layout, material, and how the piece will earn its keep in your daily routine.
- Island vs Table vs Cart: Know the Differences
- Getting the Size Right
- Storage Configurations That Actually Help
- Countertop Materials Compared
- Adding Seating
- Mobility: Casters or Fixed Legs
- Build vs Buy
- Style and Finish Tips
- Wood Species and Construction Quality
- Placement and Workflow Tips
- The Bottom Line
Island vs Table vs Cart: Know the Differences
The terms get used loosely, so it helps to sort them out before you shop. A traditional island is a fixed cabinet base topped with counter and often plumbed or wired in. A kitchen island table blends the height and footprint of an island with the movable, freestanding nature of a table, usually 34 to 36 inches tall to match counter height. A kitchen cart is smaller and rolls on casters. The island table sits in the sweet spot: big enough to prep and dine, sturdy enough to feel permanent, but still a standalone furniture piece with real storage built in.
Getting the Size Right
Fit is the make-or-break factor. An island that crowds the walkways turns a helpful upgrade into a daily obstacle. The rule contractors use is at least 36 inches of clearance on every side, and 42 to 48 inches on sides where two people pass or where an appliance door swings open.
- Small kitchens (under 150 sq ft): Look for a 36 to 42 inch wide piece, or a slim console-depth table around 20 inches deep.
- Medium kitchens (150 to 250 sq ft): A 48 to 54 inch island table works well and can seat two on one side.
- Large kitchens (250+ sq ft): You can go 60 inches or longer and seat three to four, with room for deeper cabinets.
Measure your open floor space, then tape out the island footprint on the floor and live with it for a day. You will quickly feel whether the walkways still work when the dishwasher and oven doors are open.
Storage Configurations That Actually Help
Storage is the whole point, so match the layout to what you own. The best island tables mix several storage types rather than relying on one.
- Drawers: Ideal for utensils, linens, and small tools. Soft-close full-extension drawers are worth the premium because you can reach the back.
- Cabinets with doors: Hide bulky items like stand mixers, stock pots, and small appliances. Adjustable interior shelves add flexibility.
- Open shelves: Great for cookbooks, baskets, and items you grab constantly. They keep the piece from feeling heavy but do collect dust.
- Wine or towel racks and hooks: Side-mounted extras use space that would otherwise go to waste.
A common winning combination is two drawers over a closed cabinet on the working side, with open shelves or a stool nook on the seating side.
Countertop Materials Compared
The top takes the abuse, so choose a surface that suits how hard you cook. Here is how the common options stack up:
- Solid wood / butcher block: Warm, repairable by sanding, and knife-friendly, but needs oiling every month or two and cannot take standing water. Expect $200 to $600 as part of the piece.
- Stainless steel: Nearly indestructible, heat-resistant, and hygienic, though it shows fingerprints and scratches to a patina over time.
- Granite or quartz top: Premium, heat- and scratch-resistant, and heavy enough to feel built-in. These push island tables into the $500 to $1,200 range.
- Laminate or engineered wood: The budget choice at $150 to $350, fine for light use but prone to chipping at the edges.
If you will chop directly on the surface, butcher block or a built-in cutting section makes sense. If you set hot pans down often, lean toward stainless or stone.
Adding Seating
An island table doubles as casual dining when you leave a counter overhang for stools. Plan on 24 inches of width per seat and a 12-inch overhang so knees fit under the top. At the standard 36-inch counter height, you want 24-inch counter stools, not 30-inch bar stools. A 48-inch island seats two comfortably; a 60-inch model seats three. If space is tight, a drop-leaf island table folds a hinged section down when not in use and opens up for meals or extra prep.
Mobility: Casters or Fixed Legs
Some island tables ride on locking casters so you can roll the piece to the sink, to the dining area, or out of the way for a party. Others sit on fixed legs or a solid base for a planted, permanent feel. Casters add flexibility but slightly reduce stability when you are rolling out dough or kneading. If you choose wheels, insist on locking casters on at least two corners, and check that the piece does not rack or wobble when locked. For heavy stone tops, fixed legs are usually the safer bet.
Build vs Buy
Retail island tables range from $150 flat-pack units to $1,500 hardwood pieces with stone tops. Buying is fast and predictable. Building lets you match your exact cabinets and dimensions: many DIYers repurpose a pair of stock base cabinets, screw them back to back, add a plywood deck, and cap it with a butcher block from a home center for $300 to $500 in materials. A weekend build gives you custom storage and a top sized to your walkways, which is hard to find off the shelf.
Style and Finish Tips
An island table is a focal point, so let it either match or intentionally contrast your cabinets. A painted base in a deep navy or forest green against white perimeter cabinets reads as designed, not mismatched. Bring the same metal finish as your faucet and cabinet pulls to the island hardware to tie the room together. For farmhouse kitchens, turned legs and open shelving suit the look; for modern spaces, flat-panel doors and a waterfall stone edge feel cleaner.
Wood Species and Construction Quality
The base construction determines how long the piece survives daily kitchen use. Solid hardwood bases in maple, oak, or acacia resist dings and can be refinished, while pieces built from MDF or particleboard with a veneer are cheaper but swell if water reaches the core. Check the drawer glides, since cheap wood-on-wood runners bind under load while metal ball-bearing glides stay smooth for years. Look at how the joints are made: dovetailed drawers and mortise-and-tenon or dowel-and-screw joinery outlast staples and glue. A heavier piece usually signals more solid material, so if you can, lift a corner before you buy. For a kitchen that sees hard daily use, spending more on solid construction pays off in a piece that does not wobble or sag after a couple of years.
Placement and Workflow Tips
Where you park the island affects how useful it is. Position it to complete the kitchen work triangle between the sink, stove, and refrigerator without blocking any of those paths. If you cook heavily, put the island within a step or two of the stove so it becomes a landing zone for hot pans and prepped ingredients. For entertaining, angle the seating side toward the living space so guests can perch without crowding the cook. If your kitchen is open to a dining or family room, a handsome island table also acts as a visual divider that defines the cooking zone without a wall. Keep the most-used storage, like everyday utensils and cutting boards, in the drawers facing your primary work area.
The Bottom Line
A kitchen island table with storage is one of the highest-value upgrades a busy kitchen can get, adding prep surface, casual seating, and hidden storage in a single freestanding piece. Nail the size so walkways stay clear, pick a storage mix that fits what you actually own, and choose a top that matches how hard you cook. Whether you buy one or build it from stock cabinets, the right island turns wasted floor space into the hardest-working spot in the room.